Update 21/6 jeg er nu stille og roligt igang med at opbygge det system der skal måles op imod Killer Panda for at se hvor vild min gaming PC fra 2018 egentlig er.
-------------------------------------------------------------------
I får den altså lige på engelsk, håber I klarer den, det er mest for billedernes skyld ![]()
24/5-18 13:23 (sorry for the delay) FINISHED PICTURES, LETS REVEL THIS PANDA!
[Blocked Image: http://imagizer.imageshack.us/a/img922/5830/eS5j9u.jpg]
A big thanks for everyone showing an interest in this build, it's been a long journey and it does not stop here, I'm still not done with the closet to put it in or the new desk setup, so will do some little updates as that comes along to.
But the main attraction is done:
[Blocked Image: http://imagizer.imageshack.us/a/img923/2623/hEnC7a.jpg]
It's a really really tight fit to make everything I wanted possible in this case, but I did it!
[Blocked Image: http://imagizer.imageshack.us/a/img923/3724/zouLln.jpg]
Bonus beauty shot:
[Blocked Image: http://imagizer.imageshack.us/a/img921/1505/8a9v4r.jpg]
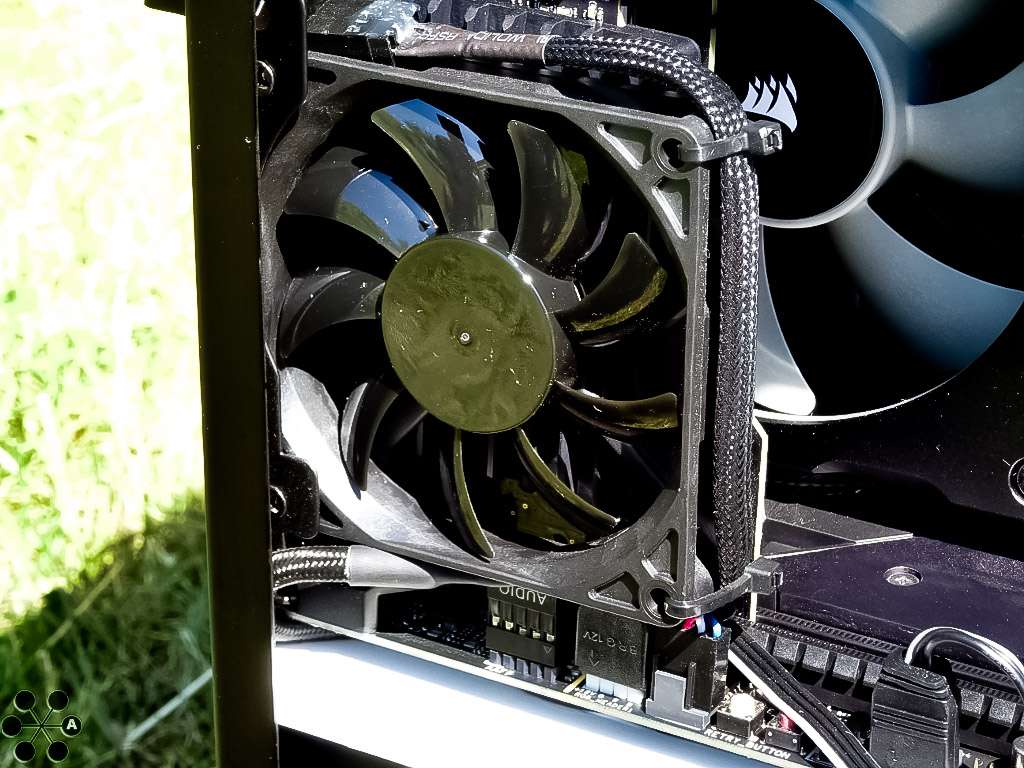
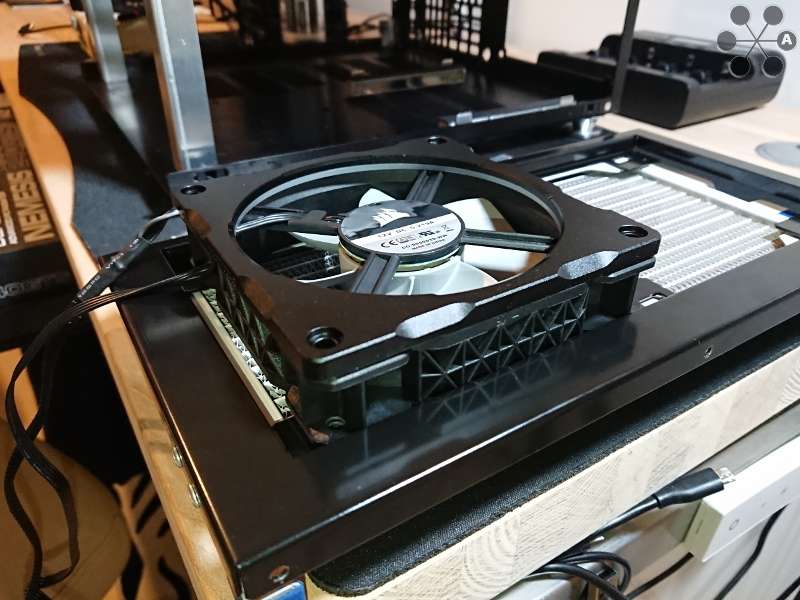
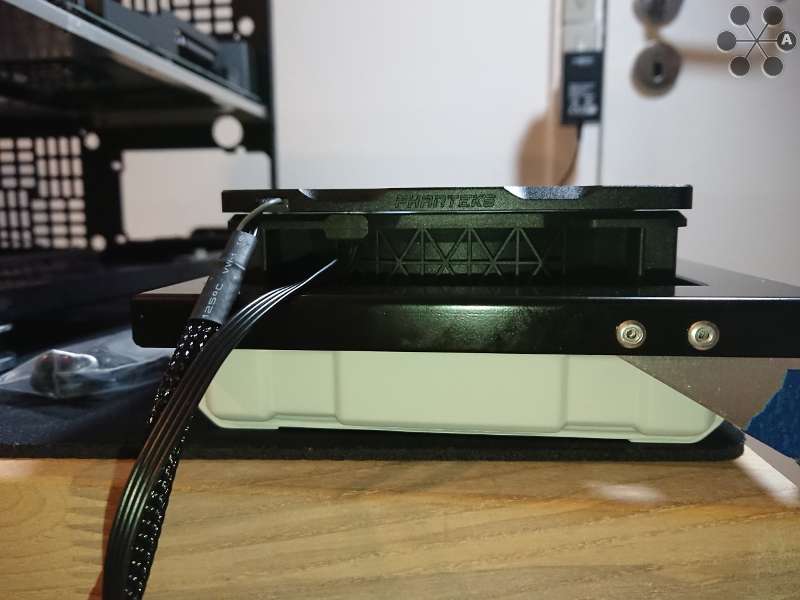
My re-made GPU cooler and active m.2 cooler is both working like a dream
[Blocked Image: http://imagizer.imageshack.us/a/img923/4943/Fzwyyl.jpg]
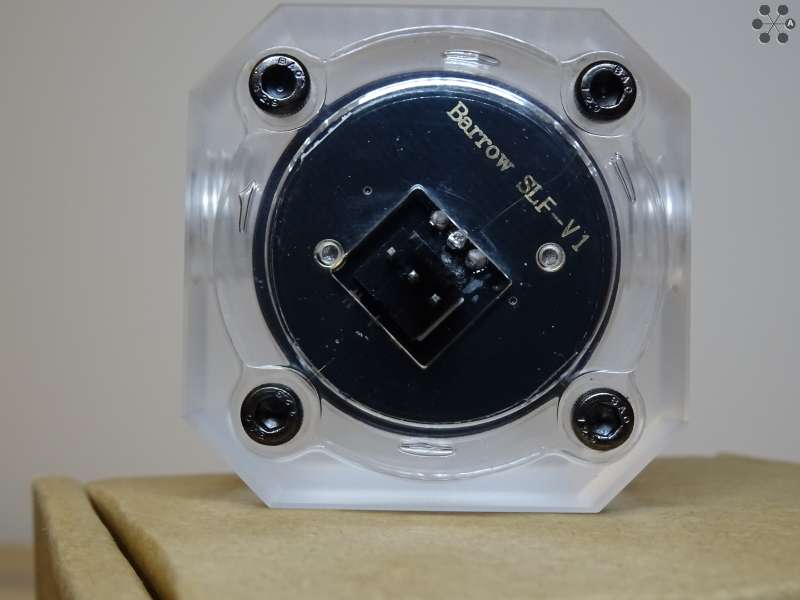
That slim 15mm fan was a really good idea, on top of a AquaComputer Kryo M2
[Blocked Image: https://imageshack.com/a/img924/8431/eUrCu8.jpg]
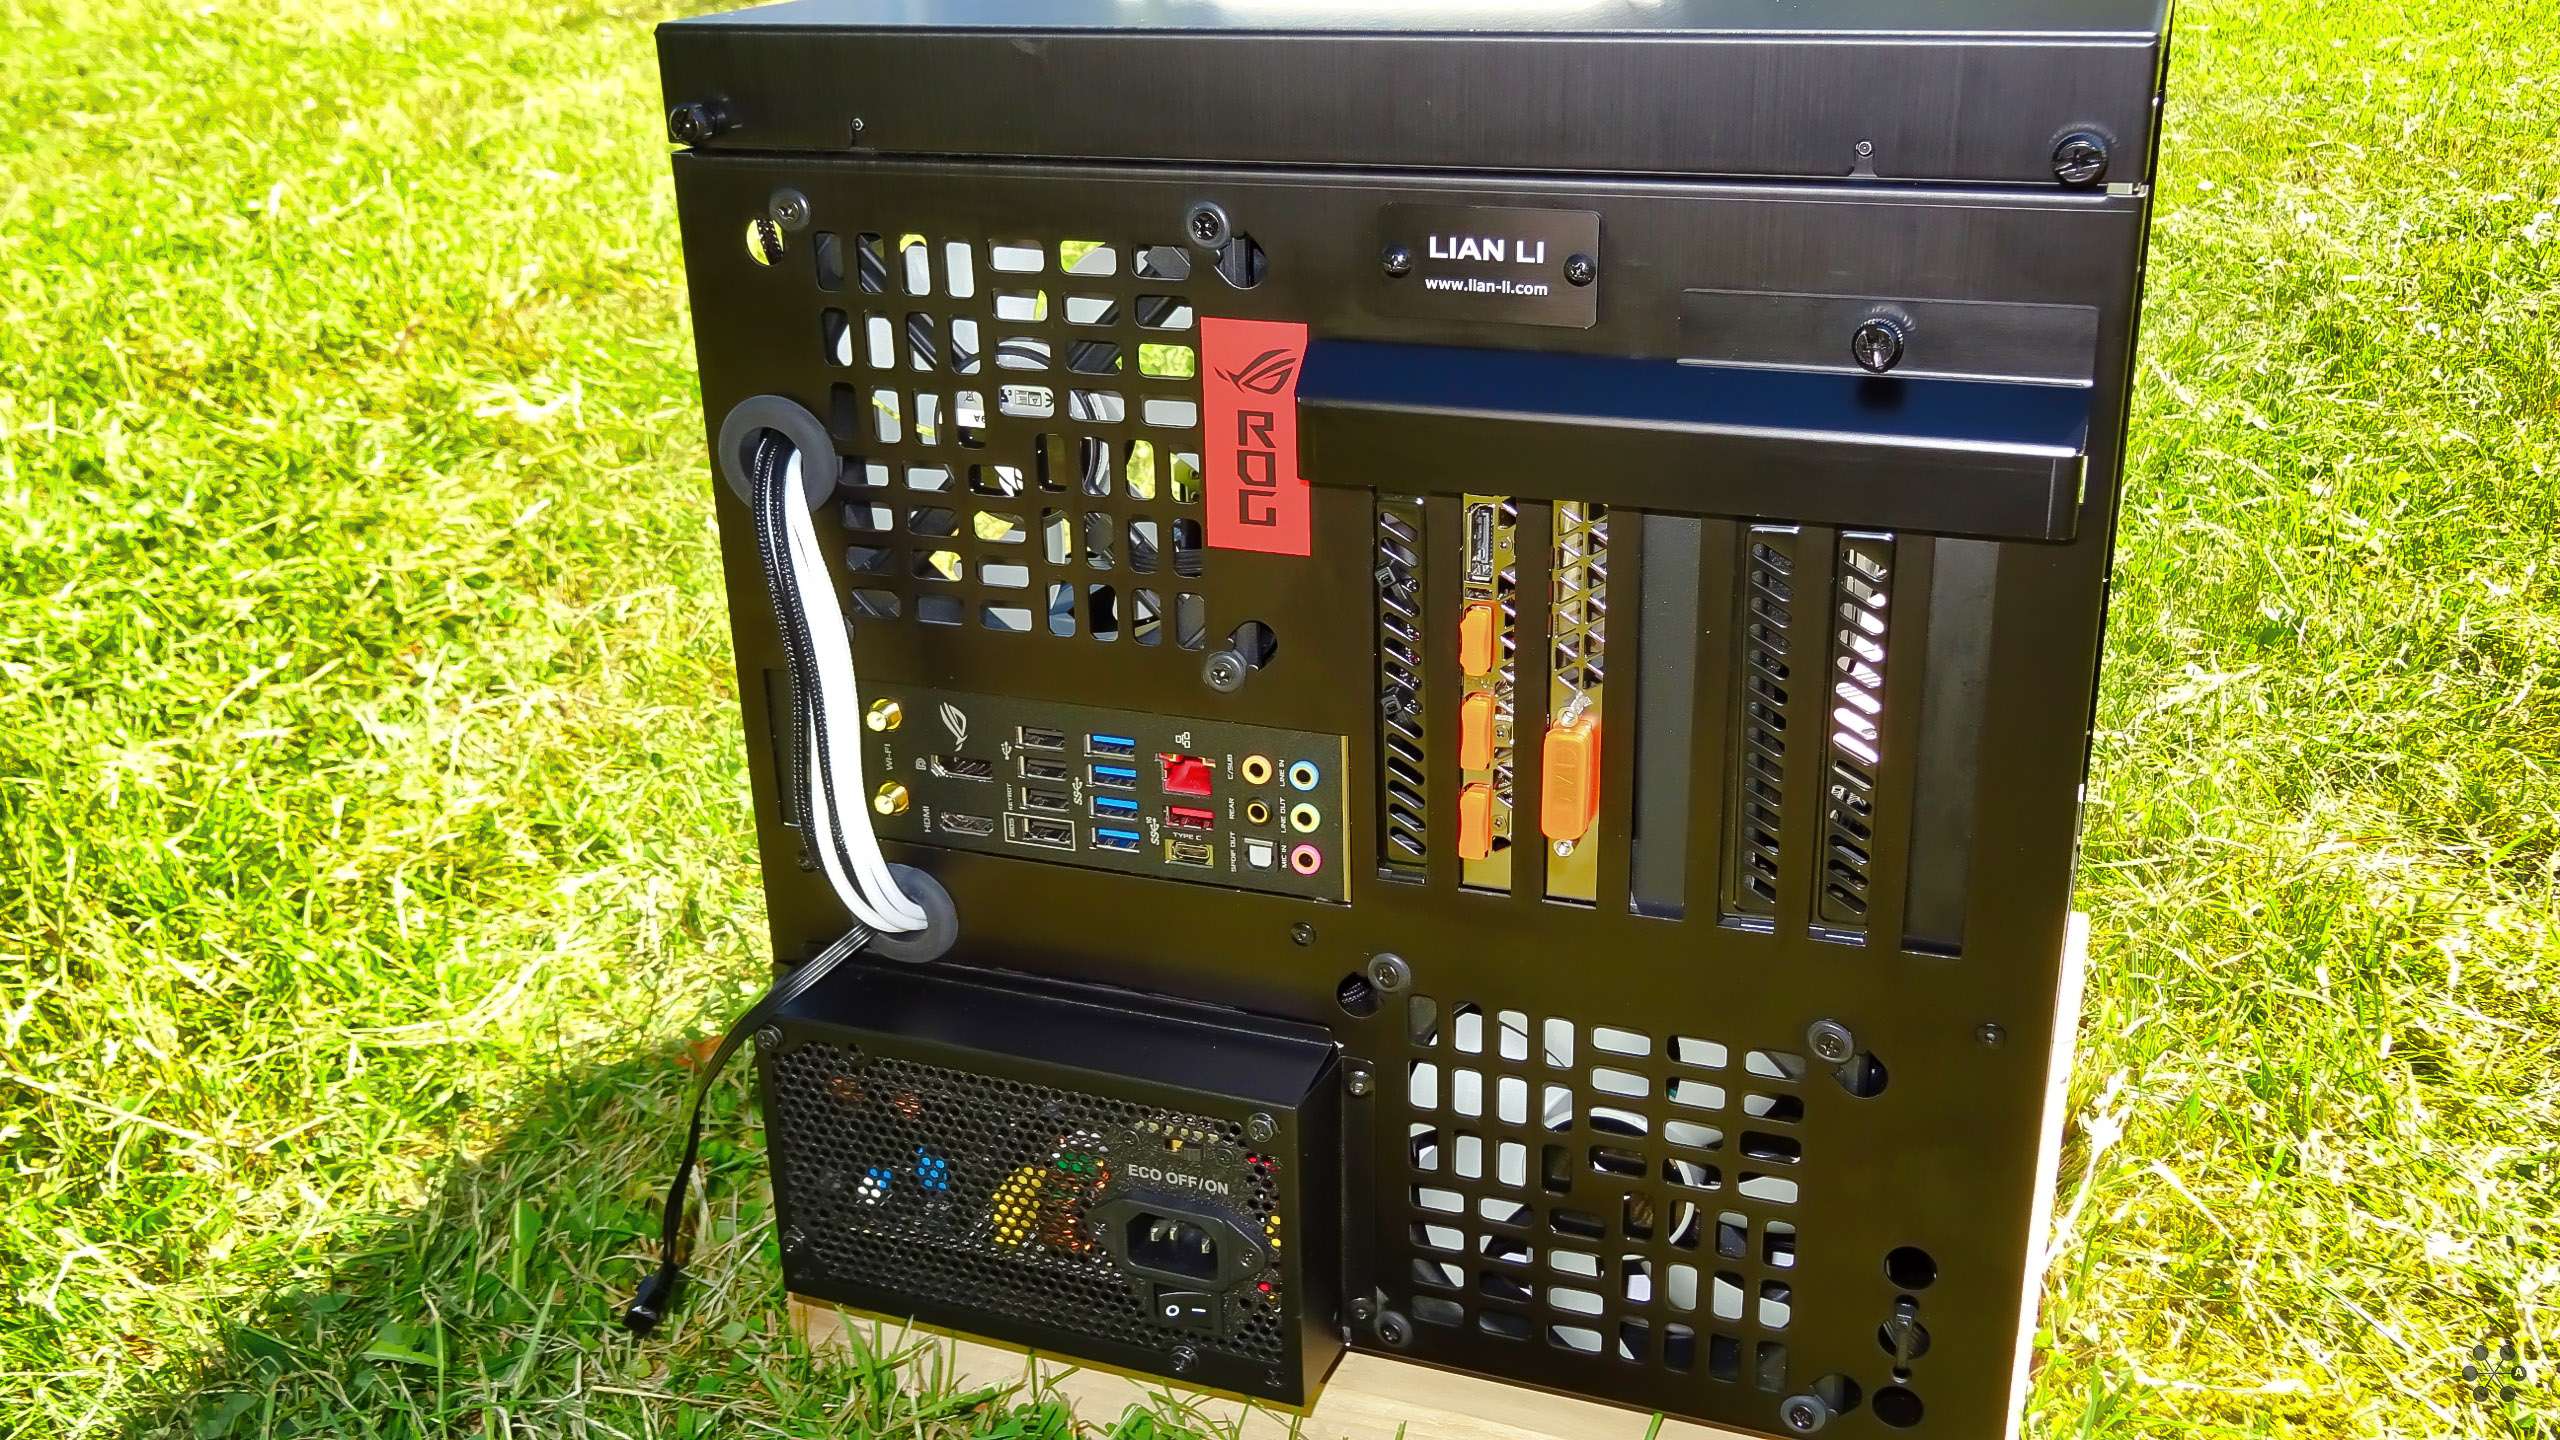
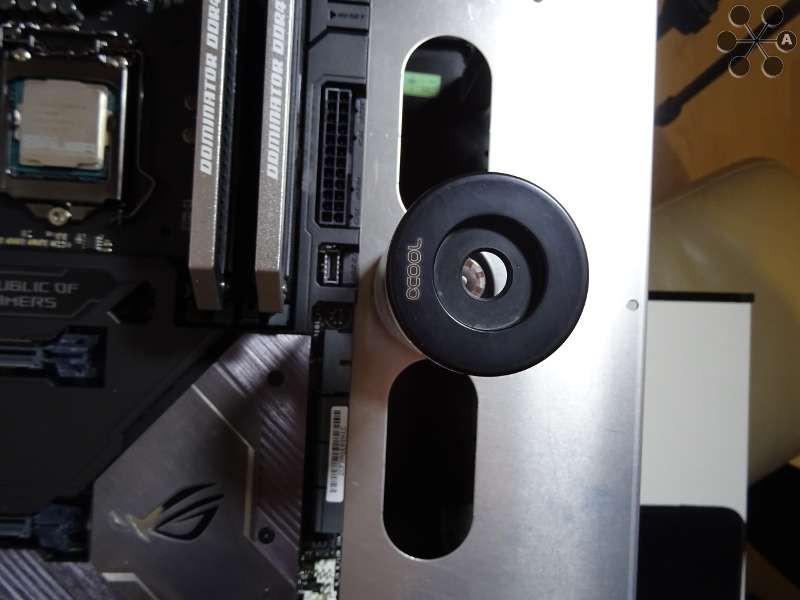
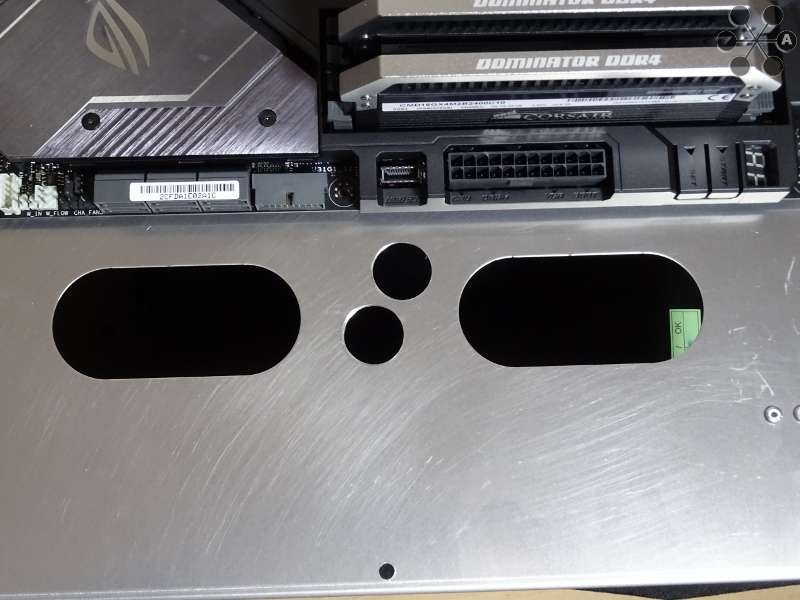
Everything from my extended PSU mount, to my external EPS cables and my tons of fans are blending in pretty neatly IMO.
[Blocked Image: http://imagizer.imageshack.us/a/img923/4629/GiSYzX.jpg]
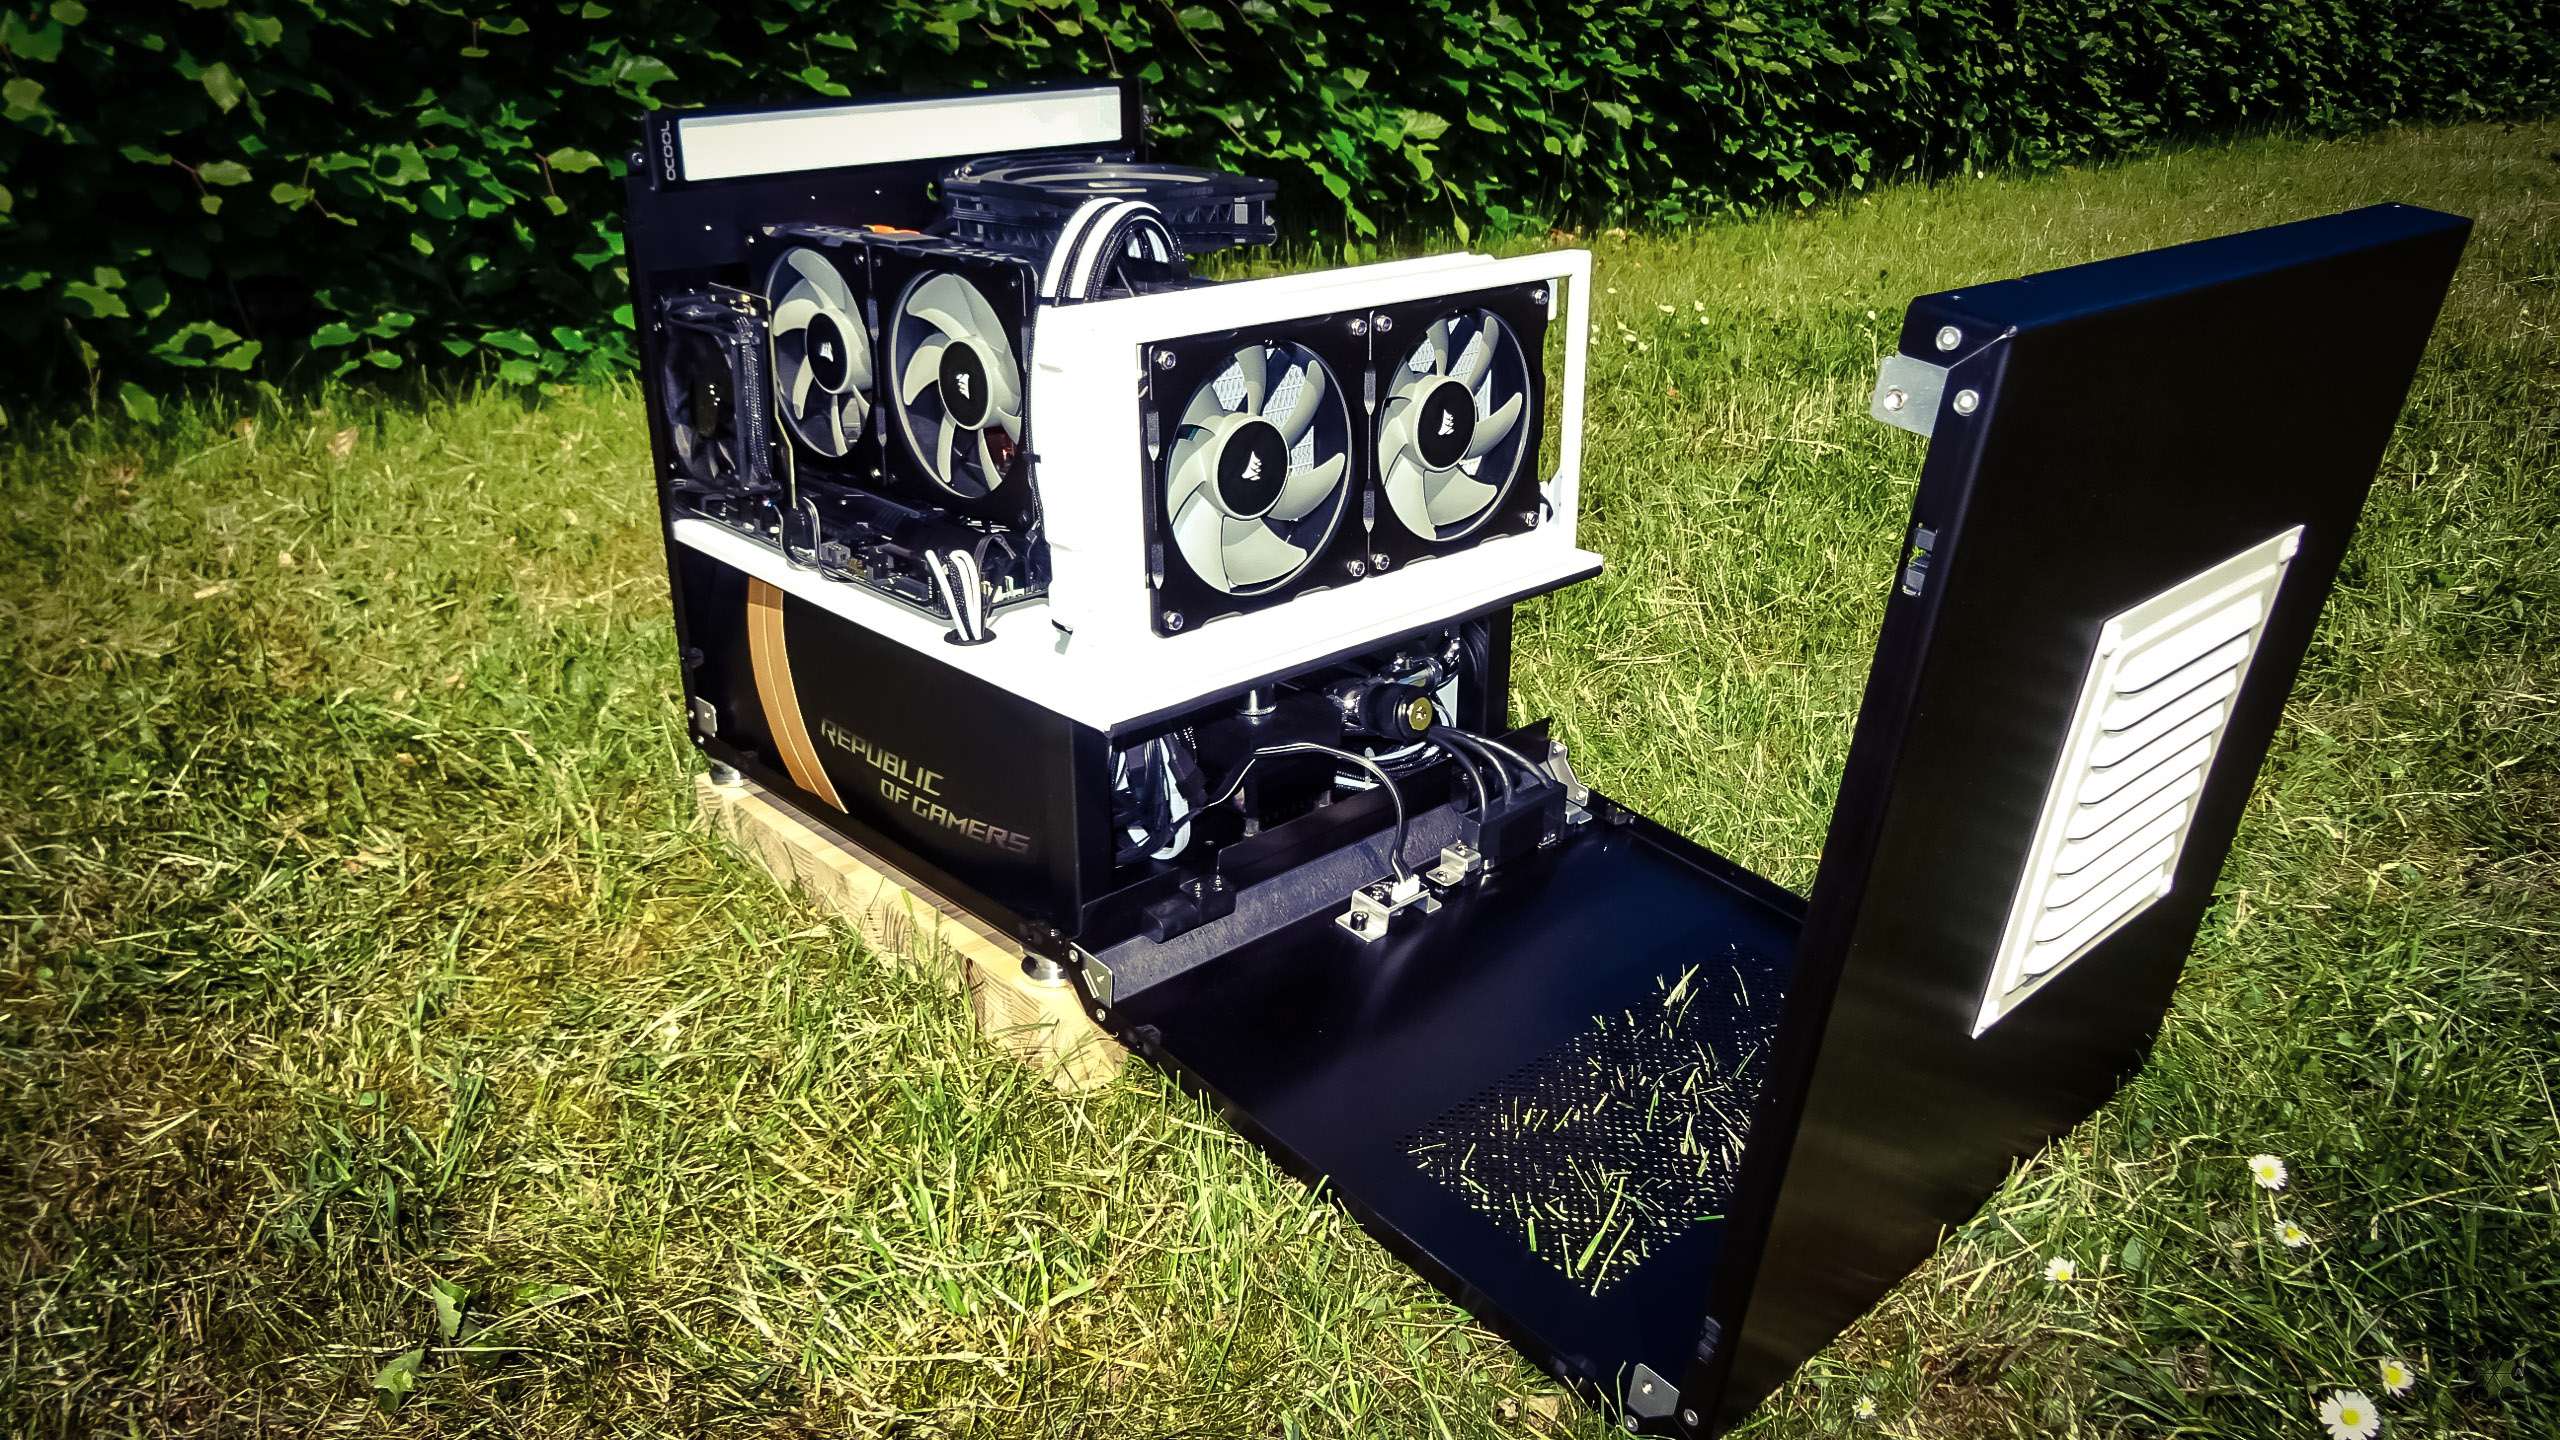
If I had not made a long build log about it, then you would probably not have a clue about all the work I have gone trough, I have exchanged every screw and pop rivet in the case, painted, put vinyl, drilled and more on all surfaces.
[Blocked Image: http://imagizer.imageshack.us/a/img924/9941/nruKEJ.jpg]
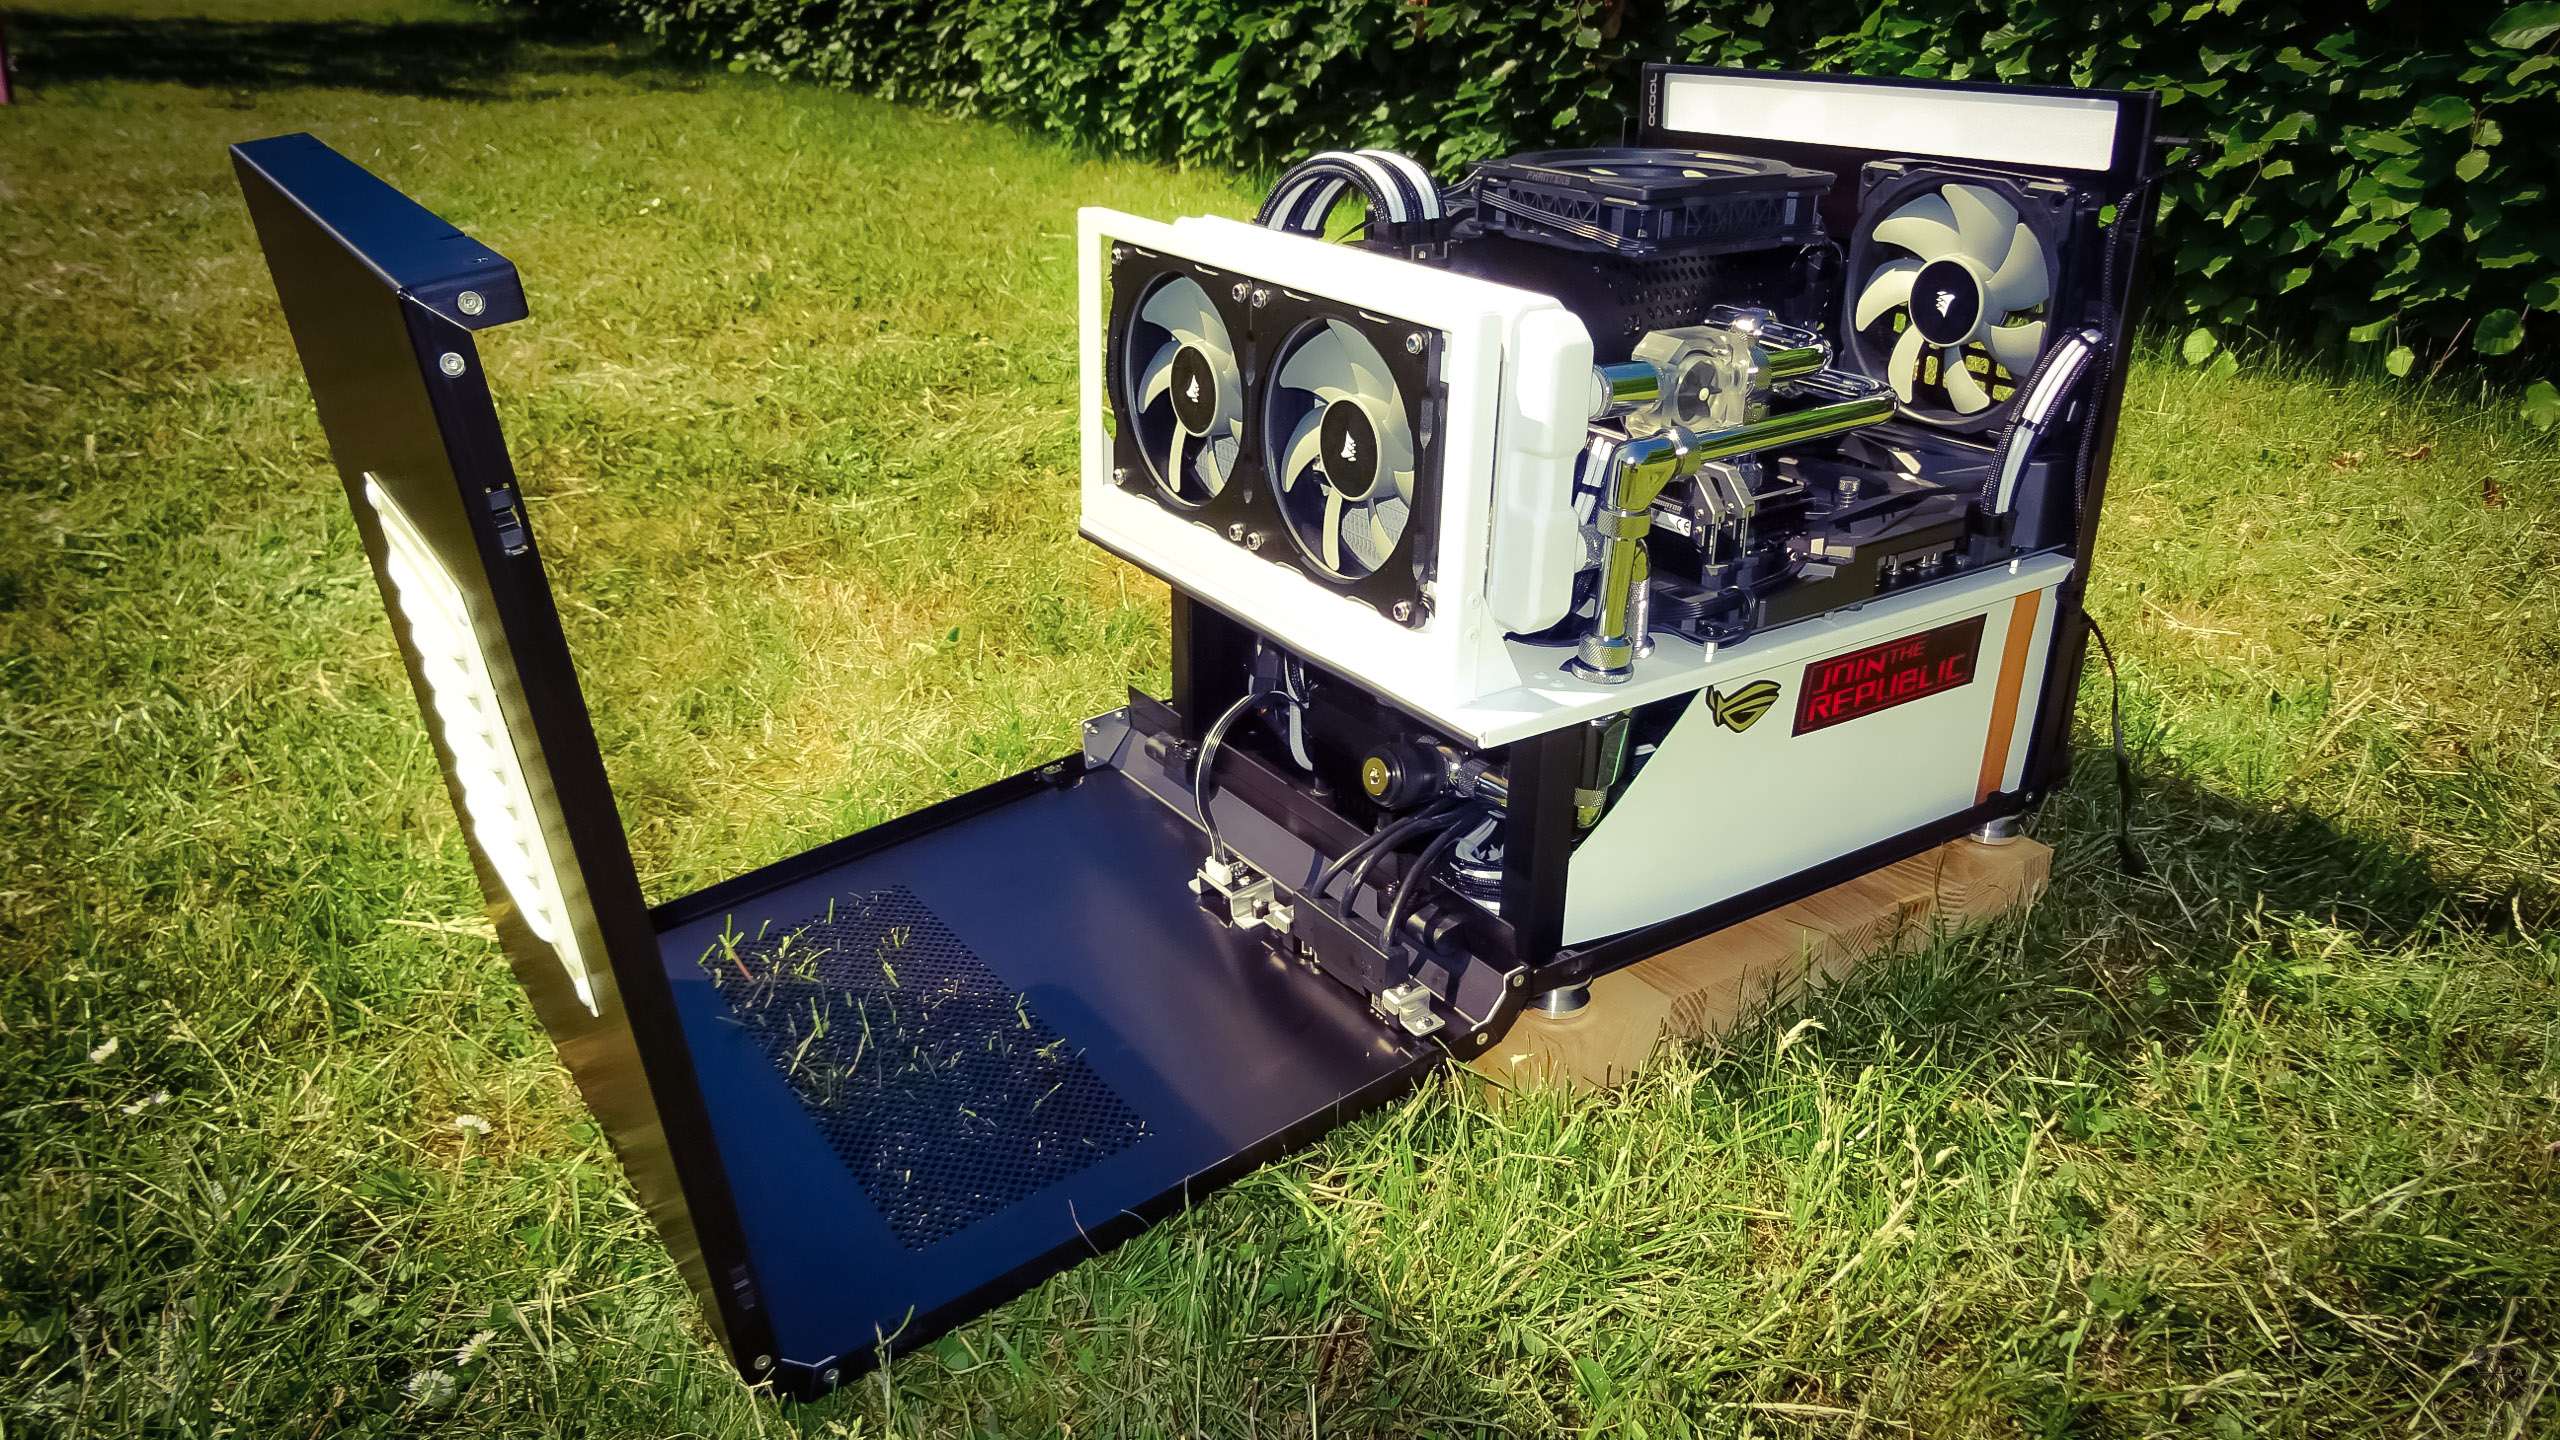
It was already a very rare and unique case to begin with, now even more so.
[Blocked Image: http://imagizer.imageshack.us/a/img924/6186/GUbNs0.jpg]
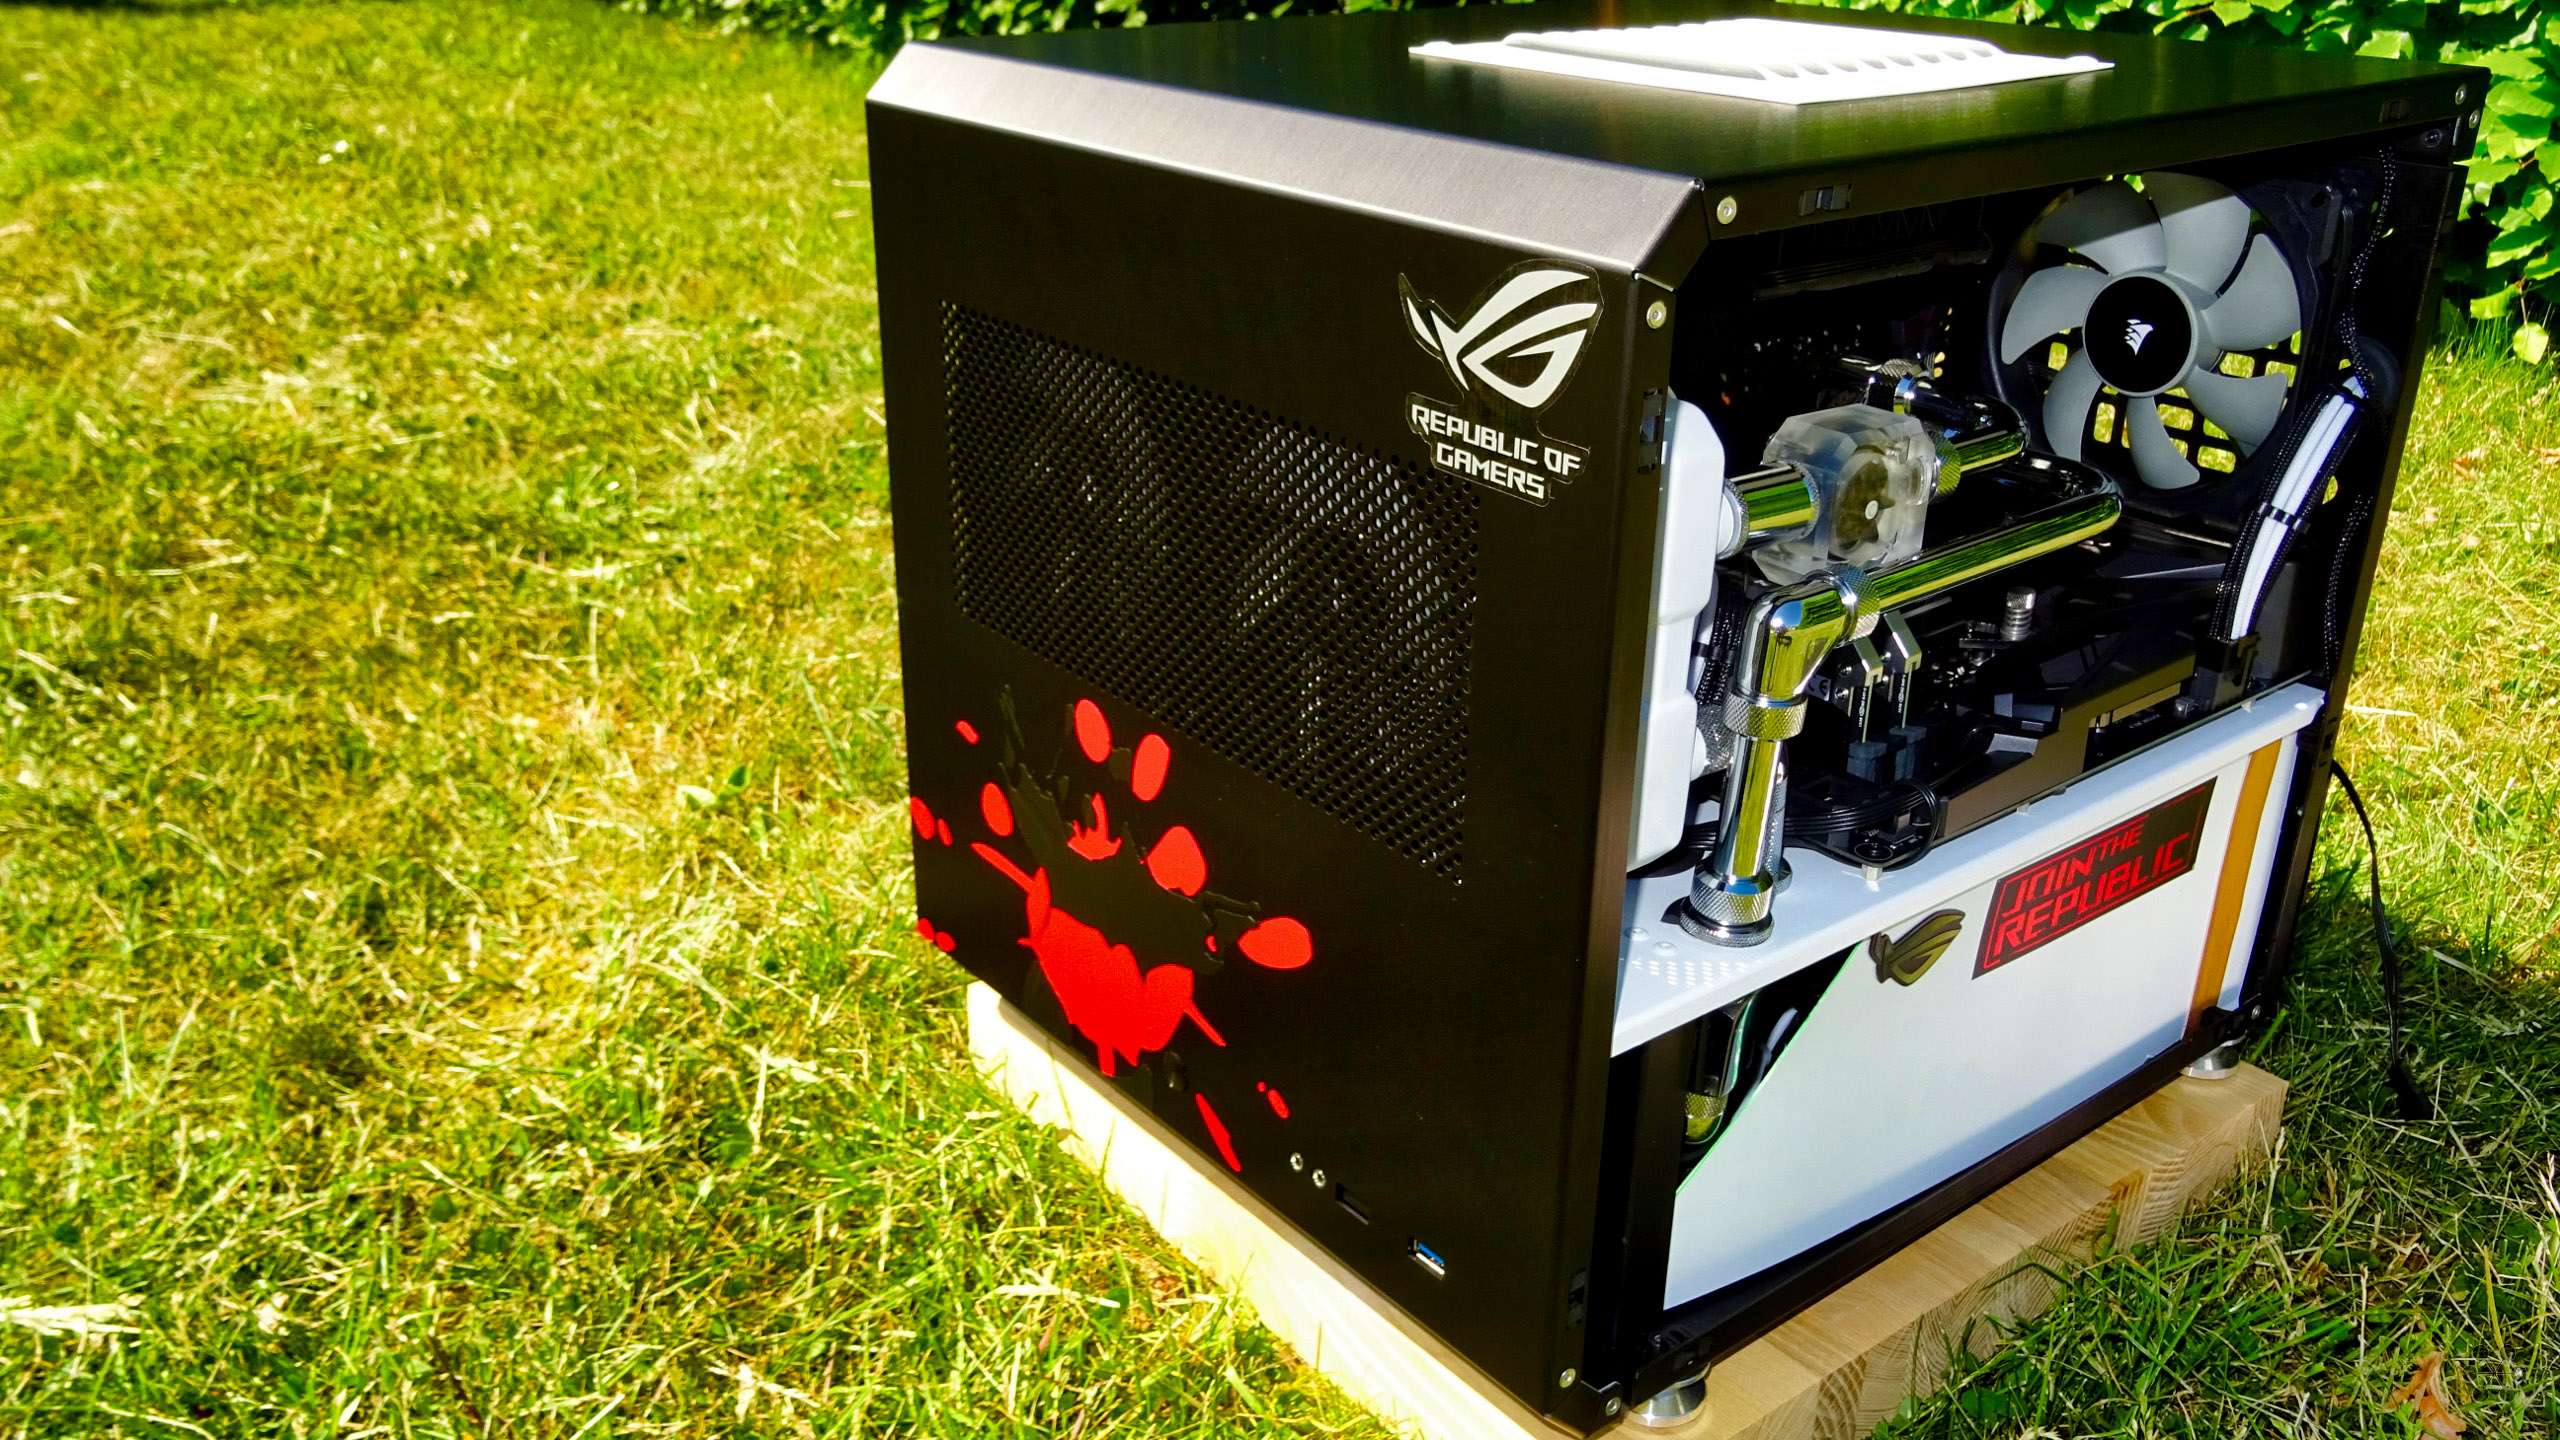
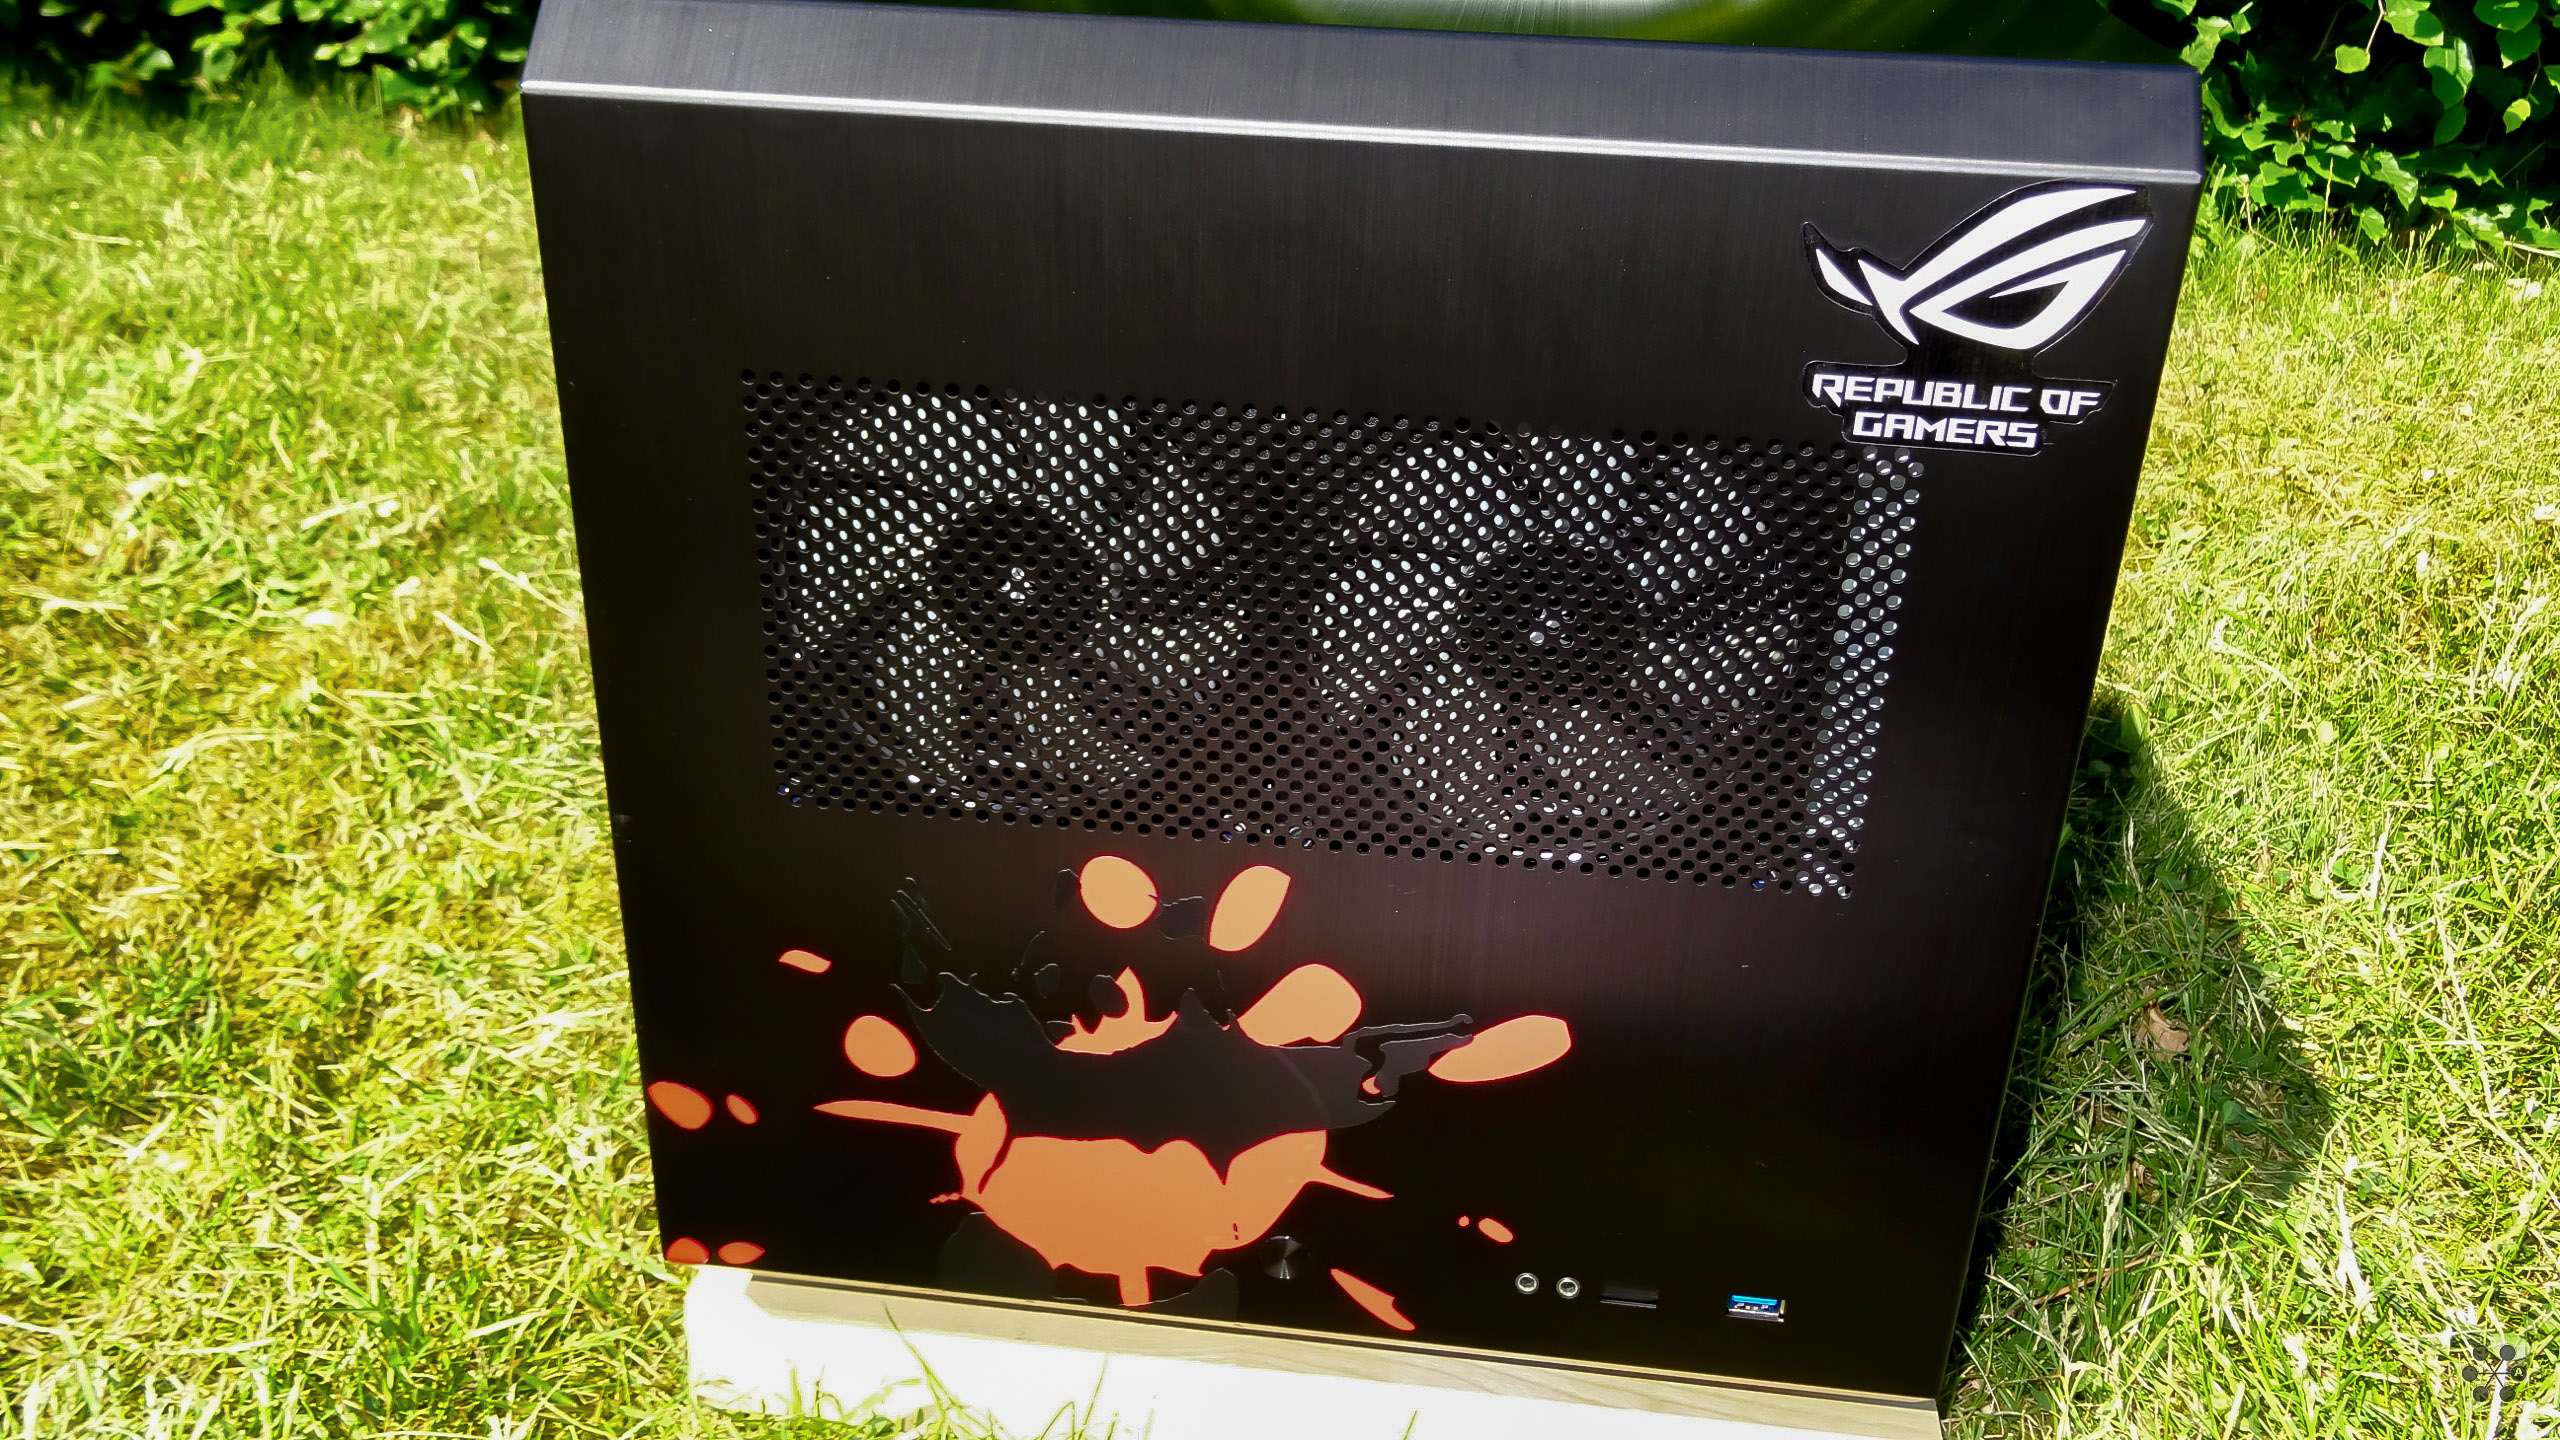
And now, the killer panda!
[Blocked Image: http://imagizer.imageshack.us/a/img921/2346/PvlnM7.jpg]
The really strong sunlight played monkey tricks on me, it is red and black, not orange, will try and get better pictures indoors another day.
[Blocked Image: http://imagizer.imageshack.us/a/img922/771/k67CFt.jpg]
----------------------------------------------------------------------------------------------------------------
Desktop update!
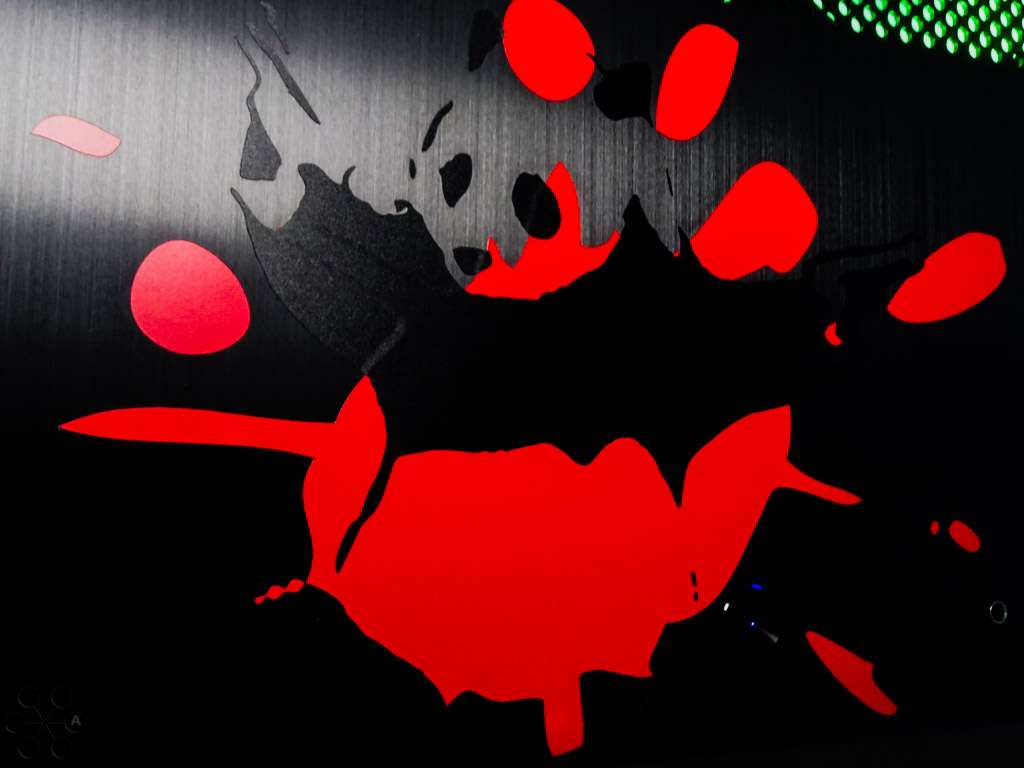
This is the front logo seen from indoor light, more like how it looks in real life.
The black aluminum and black vinyl is almost the same tone, so it's only in very specific angles and light conditions that the panda is visible, it's a shy animal.
[Blocked Image: http://imagizer.imageshack.us/a/img921/921/W0qE6p.jpg]
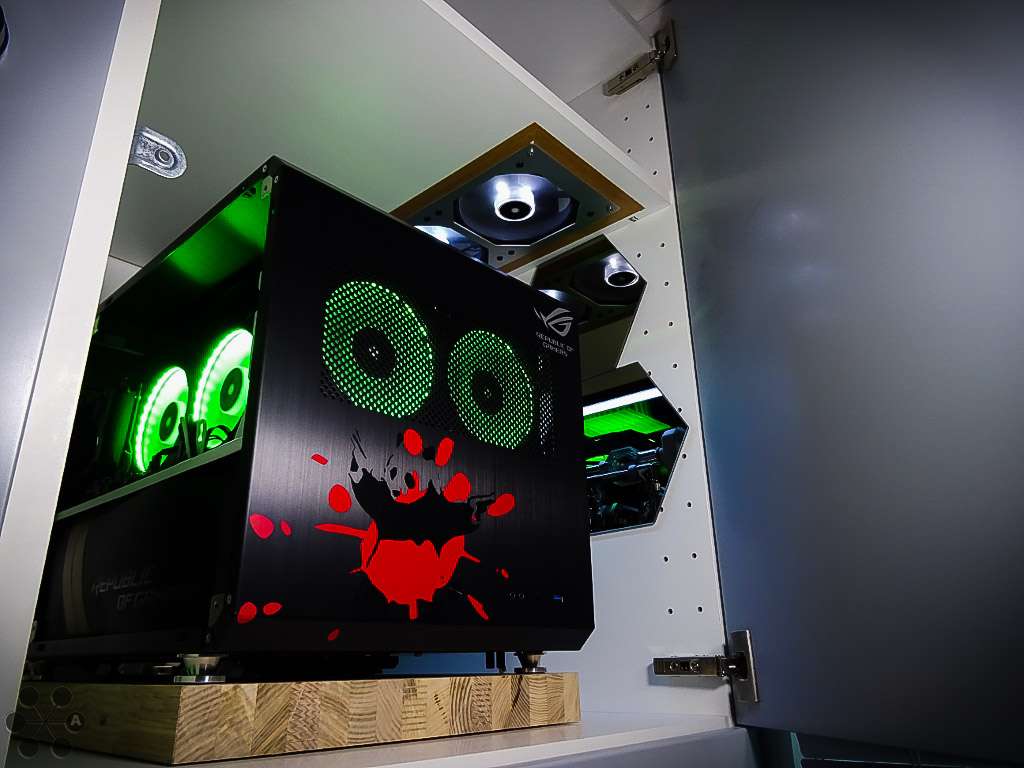
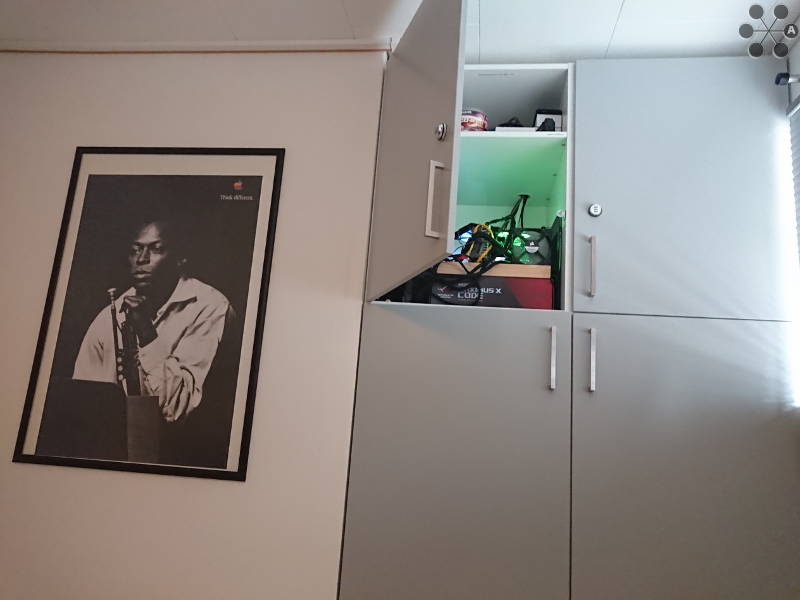
The closet setup at the spot it was intended to be right from the start.
You can also kind of see the 3x ML140 Pro white light fans there suck air up to the upper compartment, where the other 2x ML140 fans are placed on the inside of the air ducts - with the help of the 2x ML120 inside the ducts to draw the hot air out.
Works better than I could have hoped for actually, at idle the CPU is staying around 40C with a very warm room temp of 27C because of summer.
[Blocked Image: http://imagizer.imageshack.us/a/img924/6480/c6ZVsB.jpg]
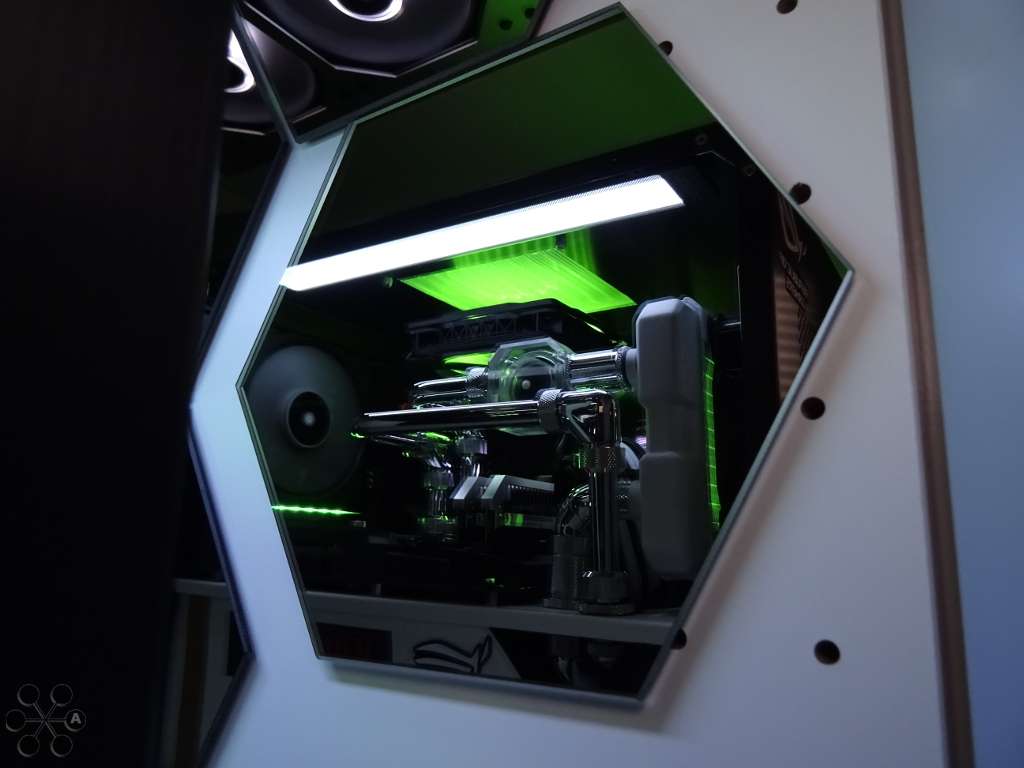
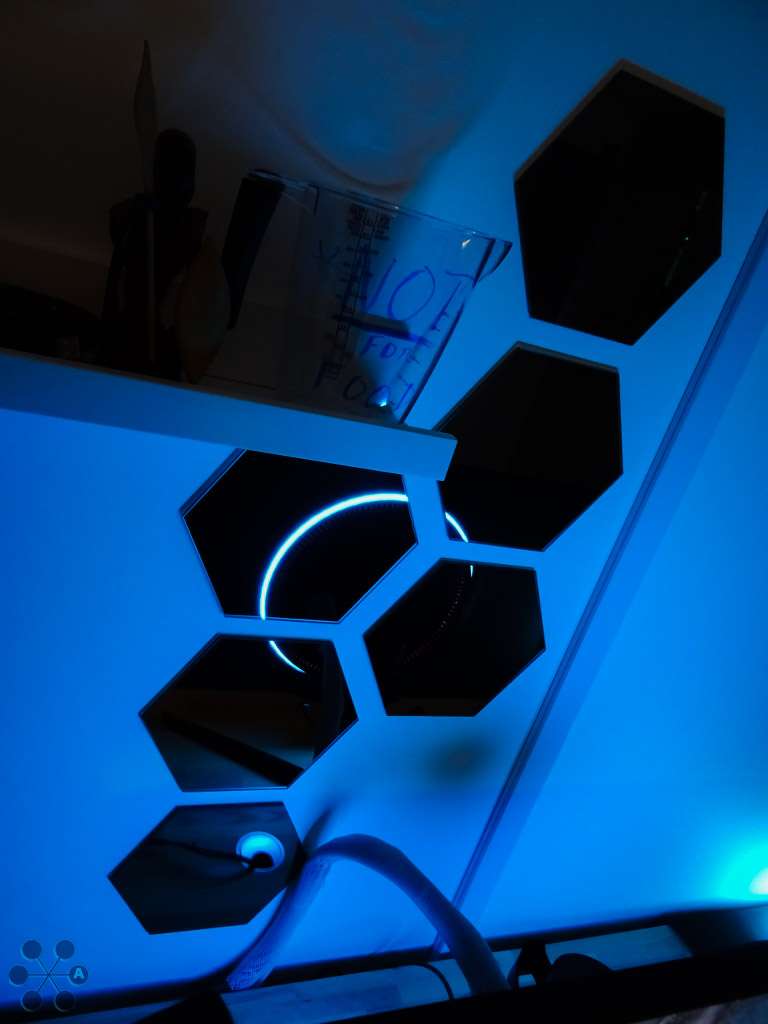
Tried to take pictures so you can see the helping mirrors, they are mostly for a purpose other than *bling*, but actually they are more useful when the system it not finally installed and the system can be pushed around a little, as I can way better look behind it and inside it, to see if everything is installed the way I intended it.
Remember, it is a closet after all, there is really limited space and I have to stand on something to reach there, so to get all the help I can i.e. to plug in a cable behind, that is a huge bonus.
[Blocked Image: http://imagizer.imageshack.us/a/img921/6678/AZQ2bD.jpg]
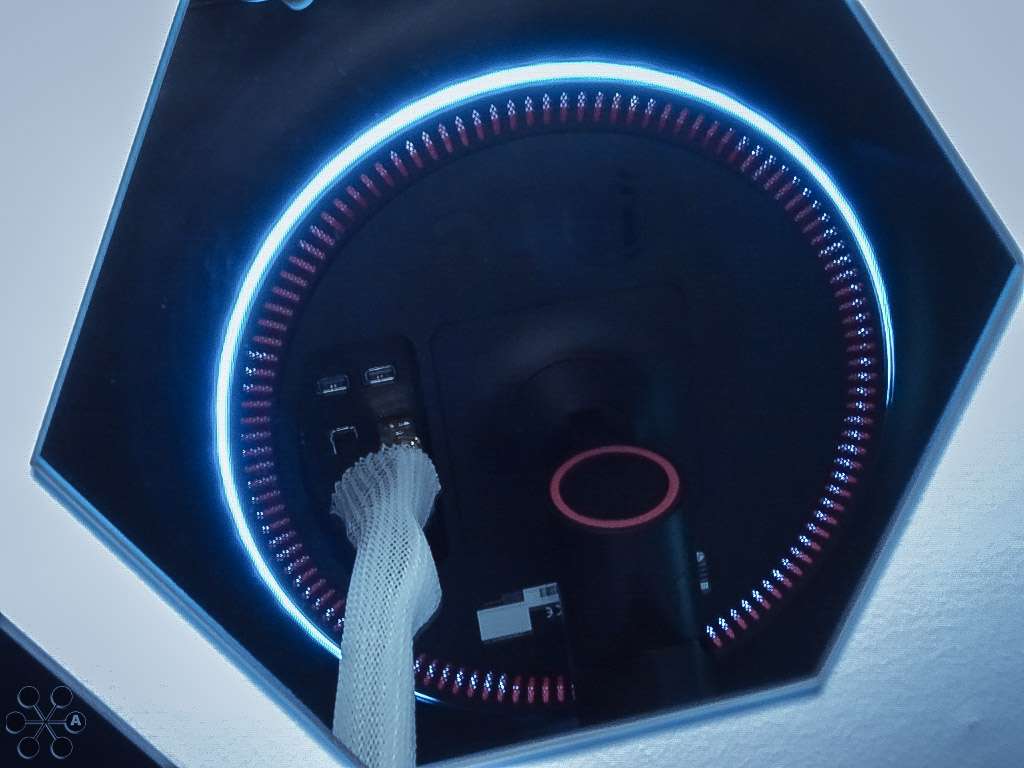
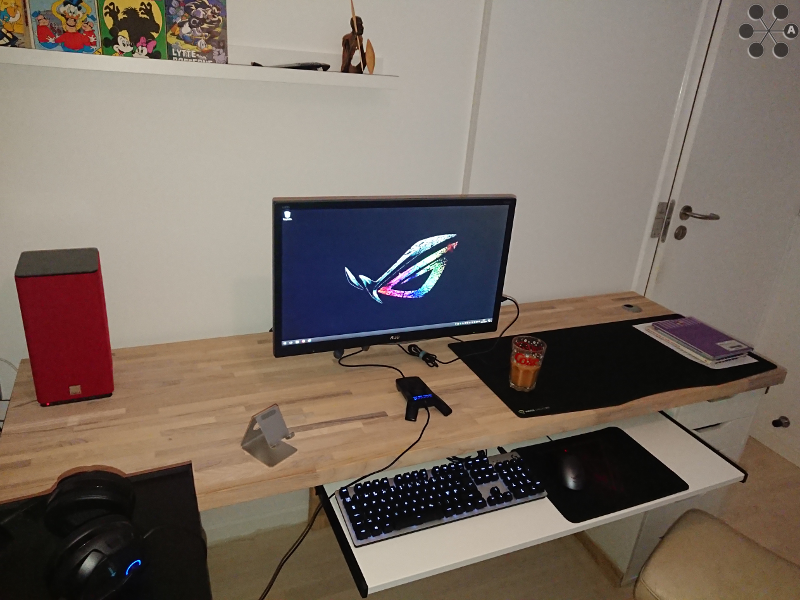
Speaking of mirrors, I did the same behind my big a$$ monitor.
[Blocked Image: http://imagizer.imageshack.us/a/img923/2103/3275br.jpg]
Here it's slightly easier to show you what the purpose is.
I can see the inputs!
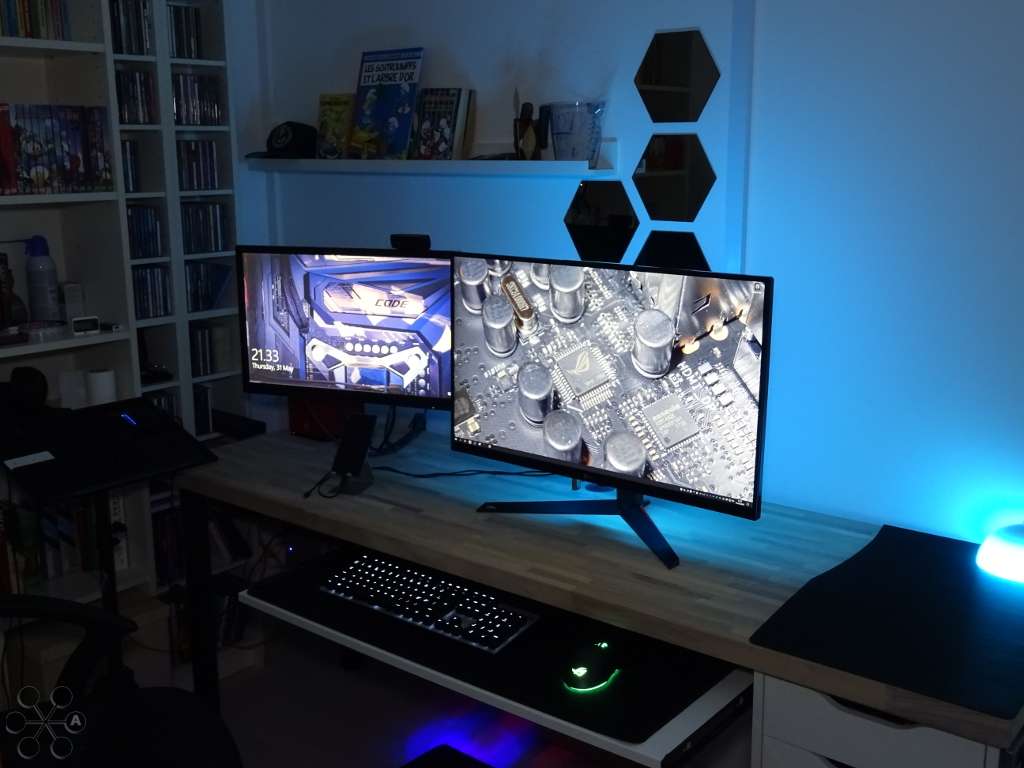
[Blocked Image: http://imagizer.imageshack.us/a/img922/3847/MAmNxT.jpg]
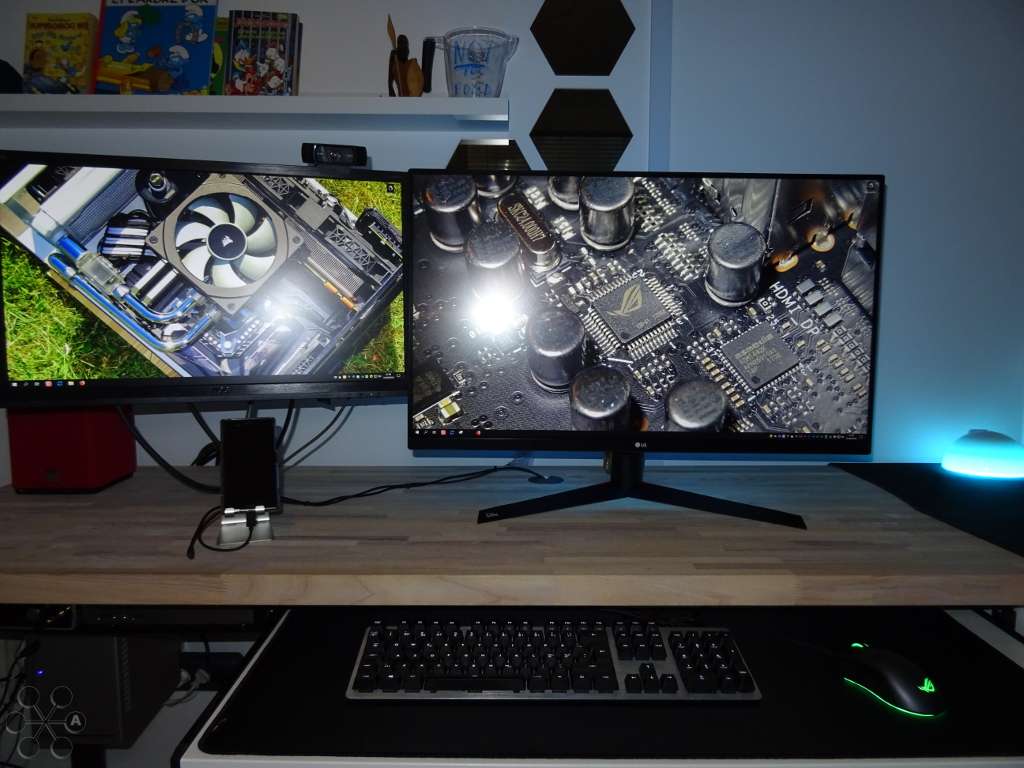
Looks like this from the front, the "bubble" at the end of the table is my brand new Hue Go lamp that I just picked up, am charging it now to play around with tomorrow.
[Blocked Image: http://imagizer.imageshack.us/a/img924/9369/khwNXq.jpg]
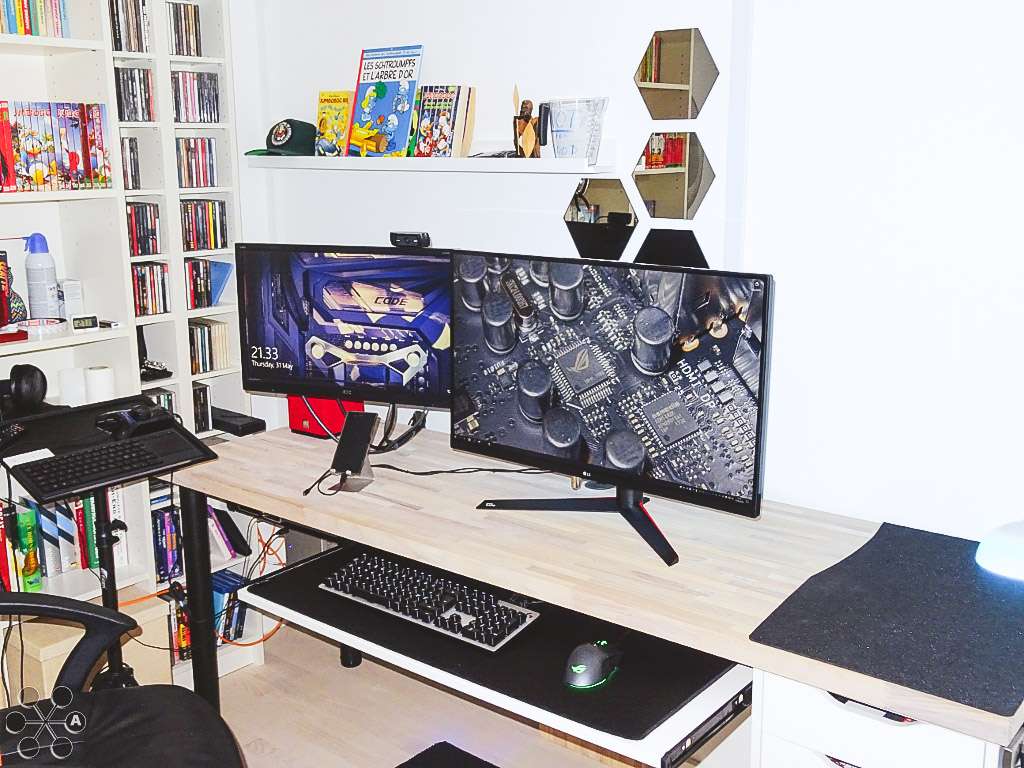
Same setup looks something like this at brighter light.
Sorry for the colors, my camera and indoor light is not the best combo so tried to compensate in post process and ended up at this.
[Blocked Image: http://imagizer.imageshack.us/a/img924/8862/UQRkvr.jpg]
From another angle
[Blocked Image: http://imagizer.imageshack.us/a/img922/5650/wDX3Ay.jpg]
[Blocked Image: https://imageshack.com/a/img924/5183/7RAfQS.jpg]
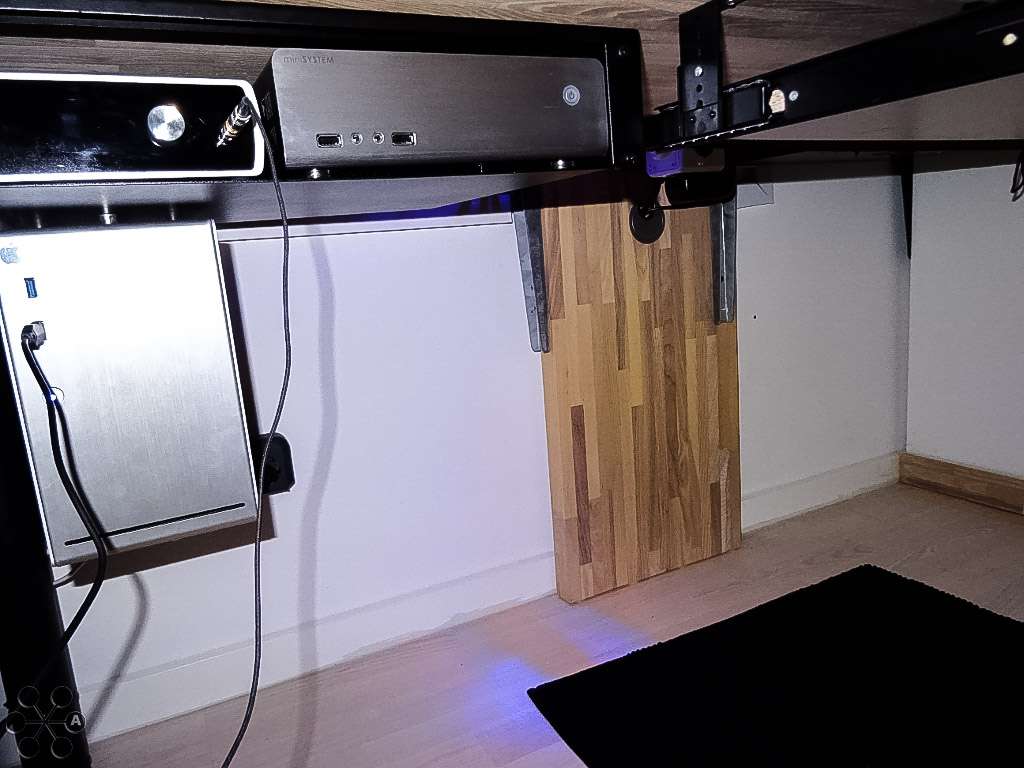
If you wonder why I have 2 keyboards, then the wireless Logitech one is connected to 2 machines below the table, where I'm also hiding my music DAC I use for well yea, music, and right now my surround headset is plugged into one of the machines, my "Mini3" i3 based tiny magnetized PC that can carry it's own weight under one of the desk shelves.
The other one is an even lower powered Linux machine only used to browse the web on, if I don't need any power for anything extra, build both of them out of scrap parts I had laying around from other builds that are worth too little to sell but are too good to throw away.
[Blocked Image: http://imagizer.imageshack.us/a/img921/8260/cfzTsf.jpg]
I'm trying to keep it pretty clean with no visible cables under the desk, mainly because my son loves to stay under there when I play games, so he can watch a movie or sleep.
Stay tuned if interested in a last update about the numbers of this PC, all the specs and benchmarks. Cheers m8
----------------------------------------------------------------------------------------------------------------
ORIGINAL POST:
Jeg har de sidste 3 måneder været ved at planlægge hvordan min gaming PC skal være i 2018.
Dele er ved at blive bestilt og det hele er ved at blive en realitet.
Lets get on with it!
------------------------------------------------------------------
UPDATE DEN 20/5-2018
Deadline torsdag 24. maj kl. 12:00 middag (GMT+1) Dansk tid
![]()
------------------------------------------------------------------
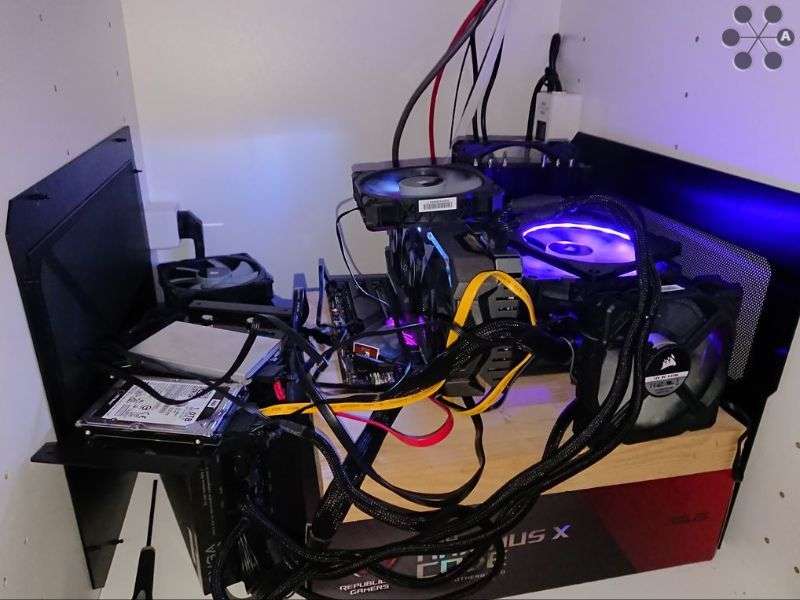
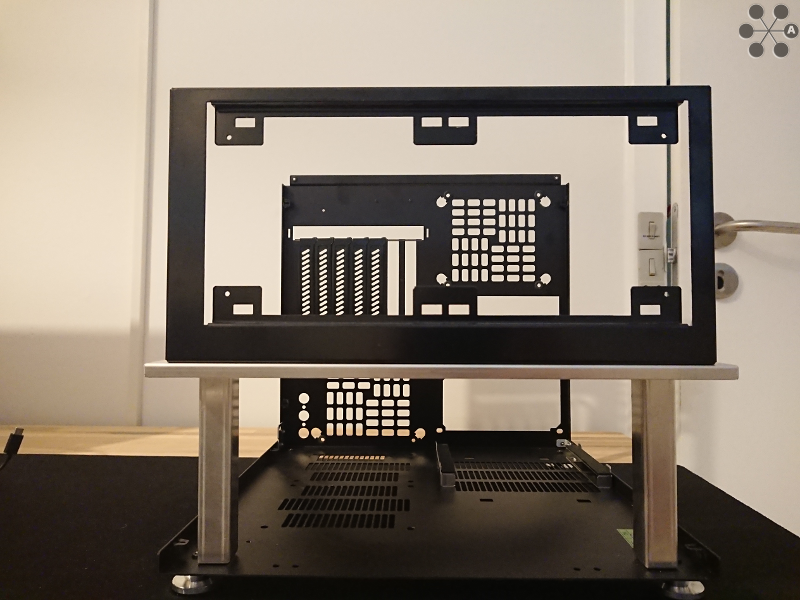
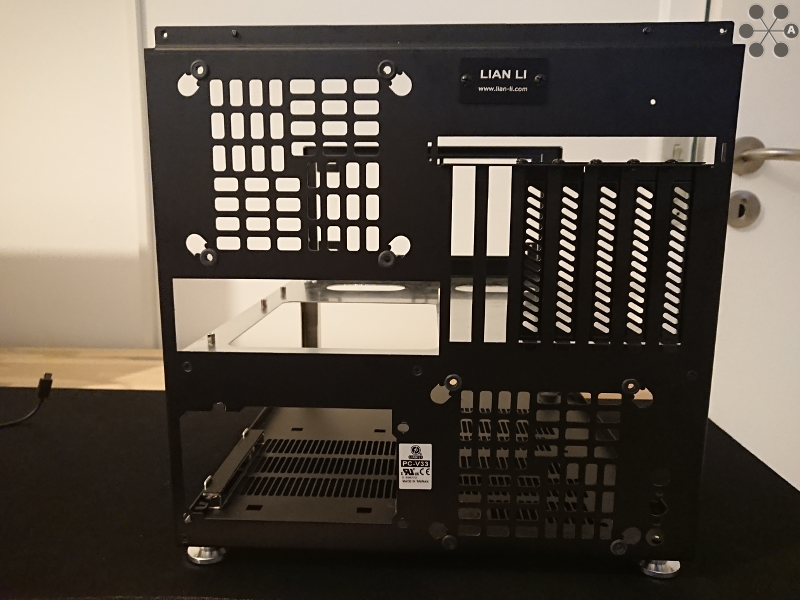
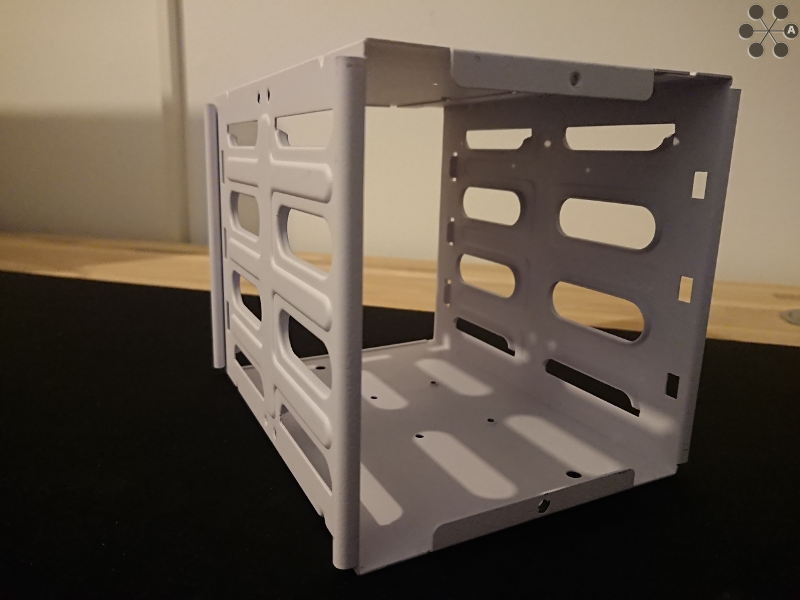
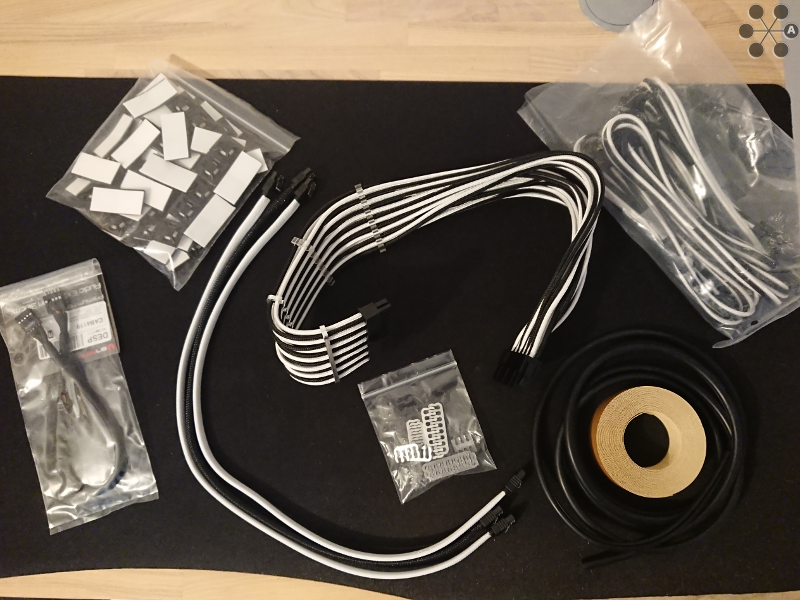
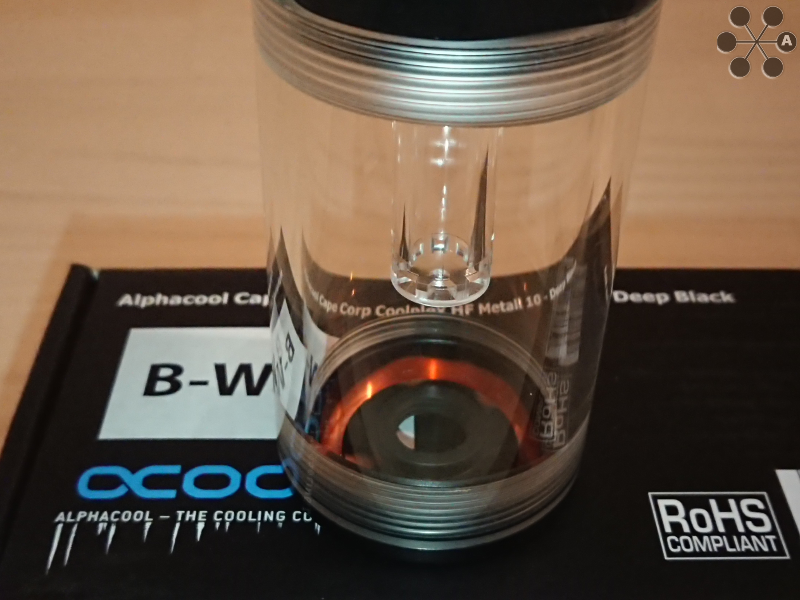
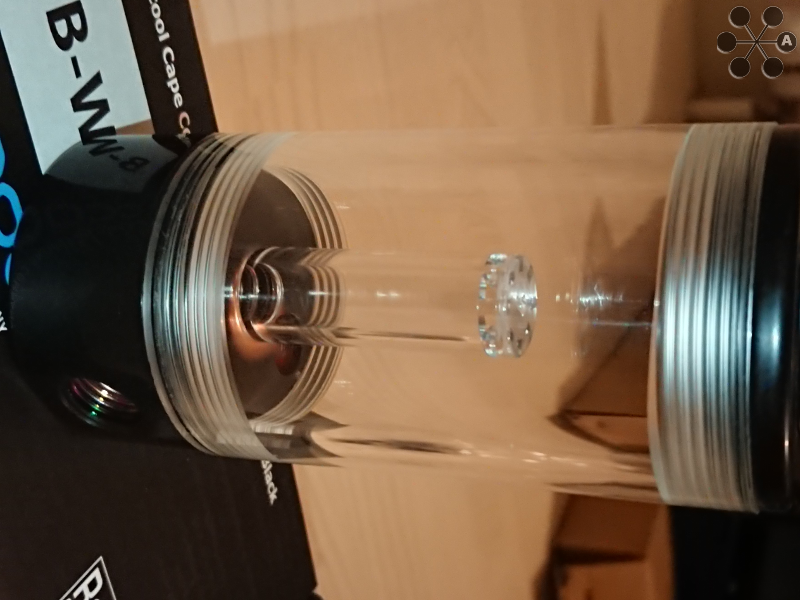
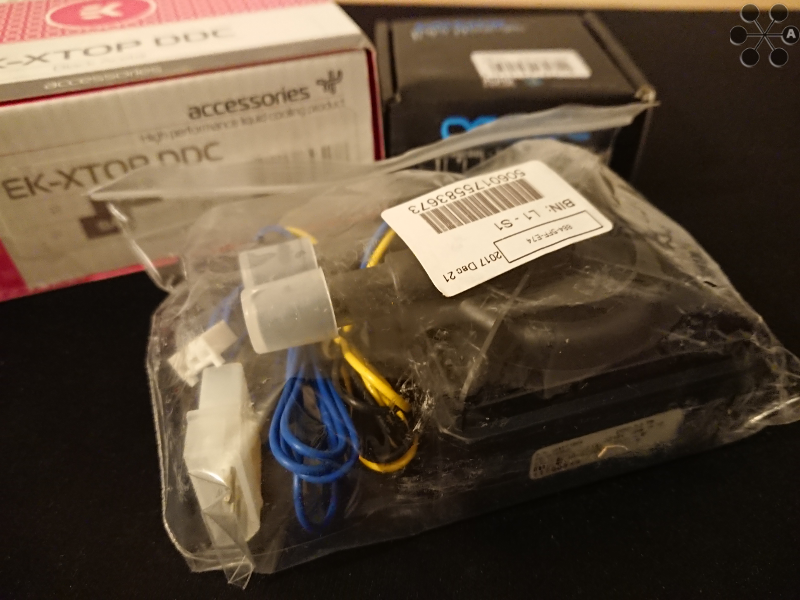
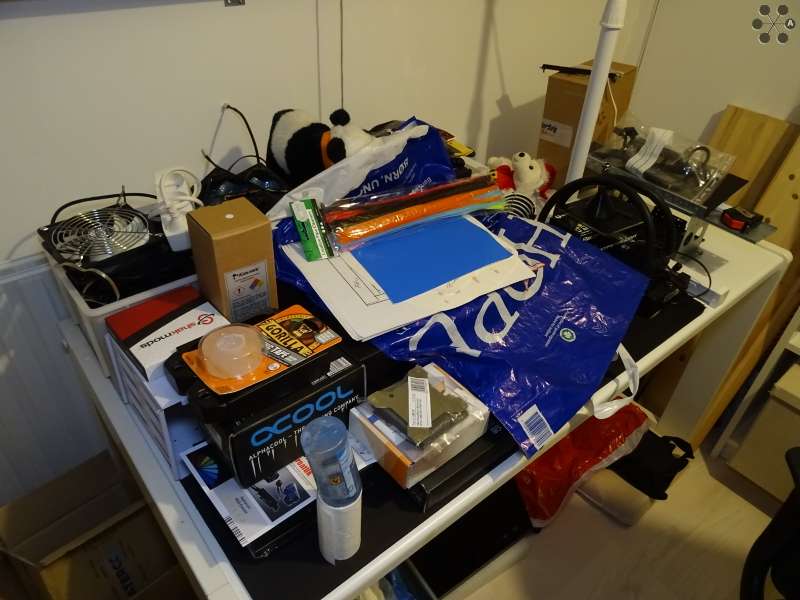
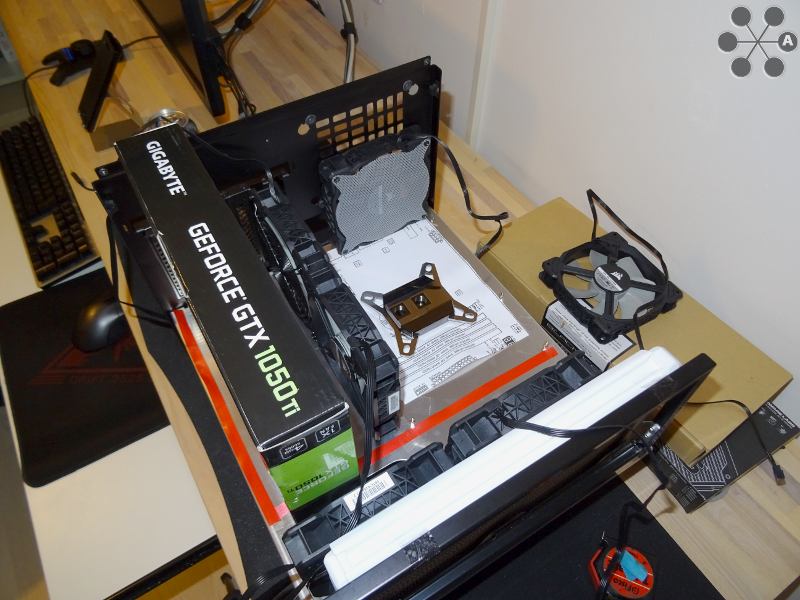
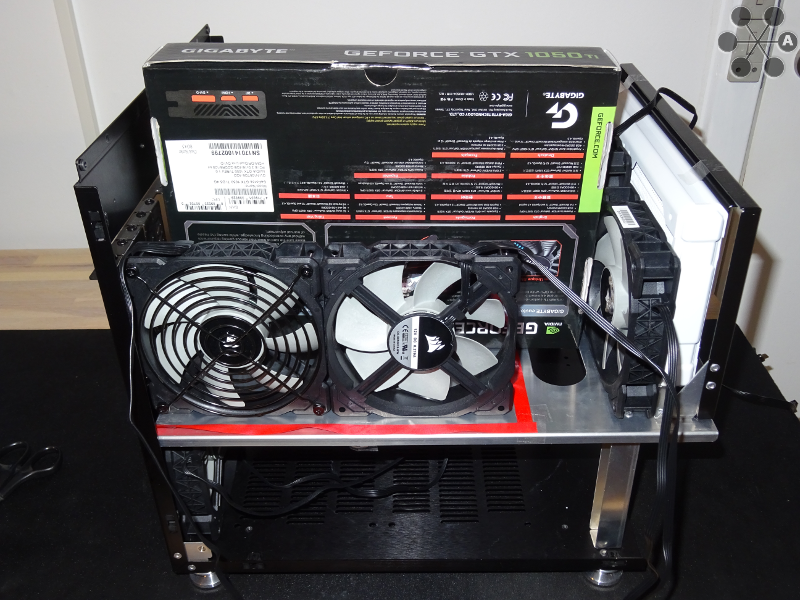
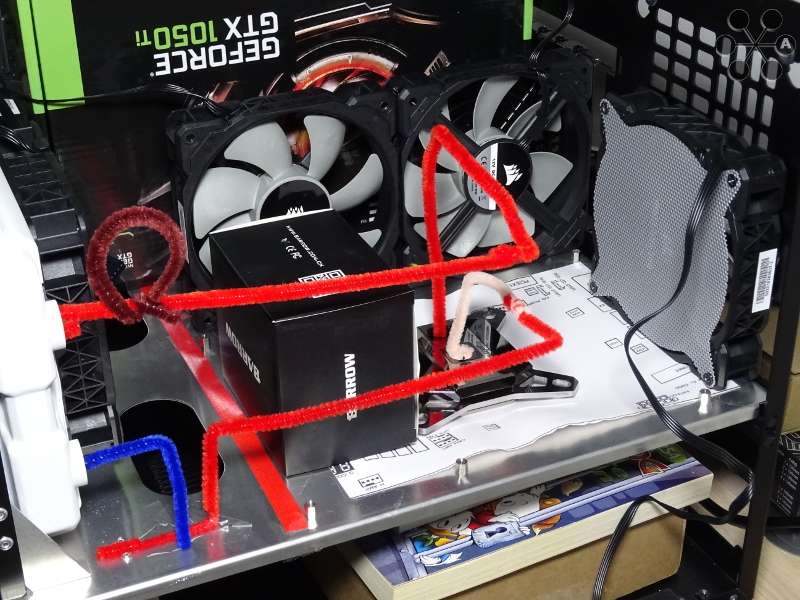
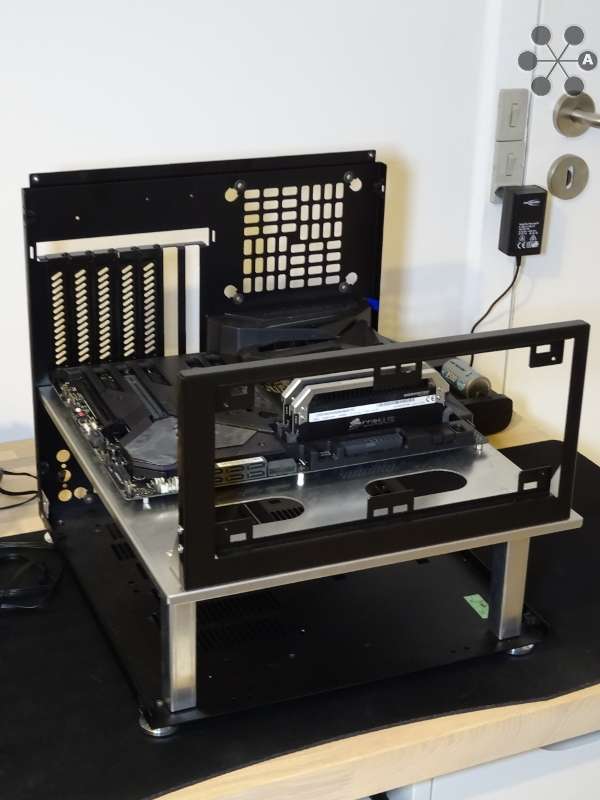
Sådan som det ser ud lige nu ligner det ligner det mest af alt elektronik skrot:
[Blocked Image: http://imagizer.imageshack.us/a/img924/6949/5jhefl.jpg]
Som det kan ses på billedet, så bygges computeren inde i et skab, skabet ser nogenlunde ud som sådan her:
[Blocked Image: http://imagizer.imageshack.us/a/img924/580/52YQWB.png]
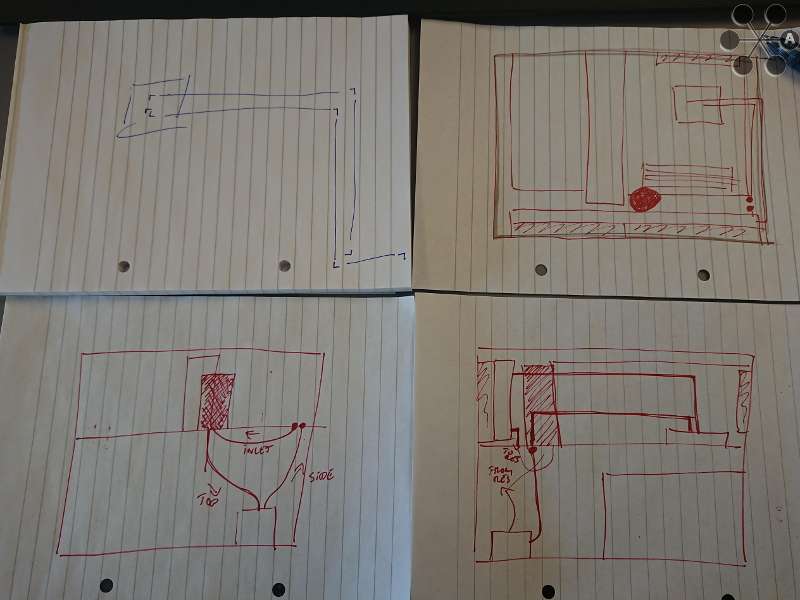
Jeg prøver altid alting af først i SKetchUp, men har givet lidt op nu og er bare begyndt at bestille det jeg forventer der kan være plads til.
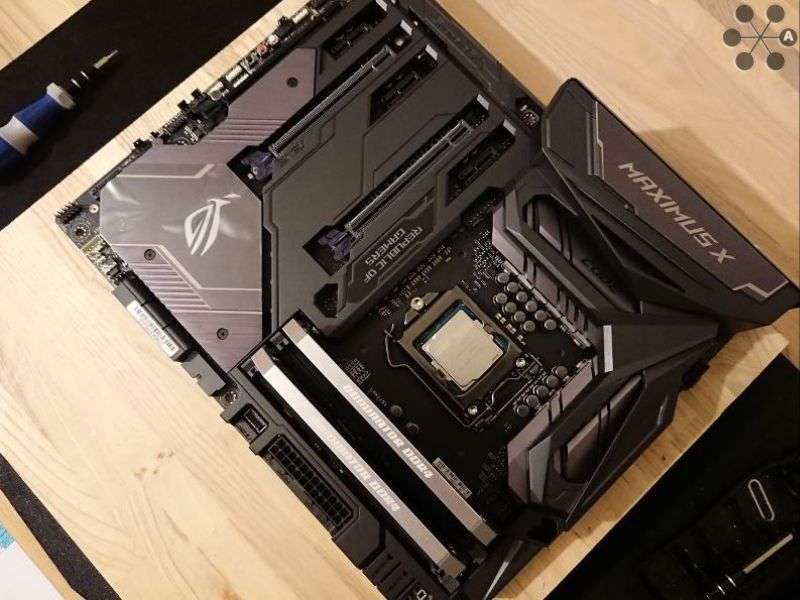
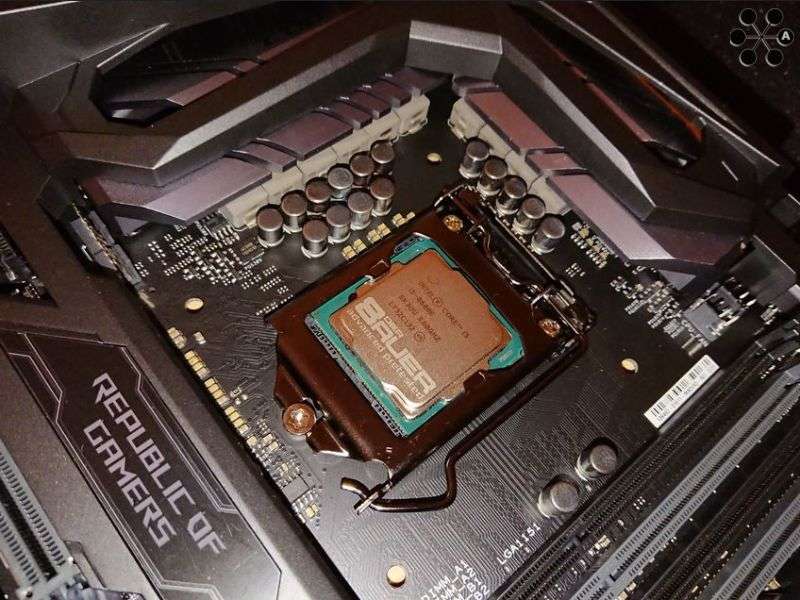
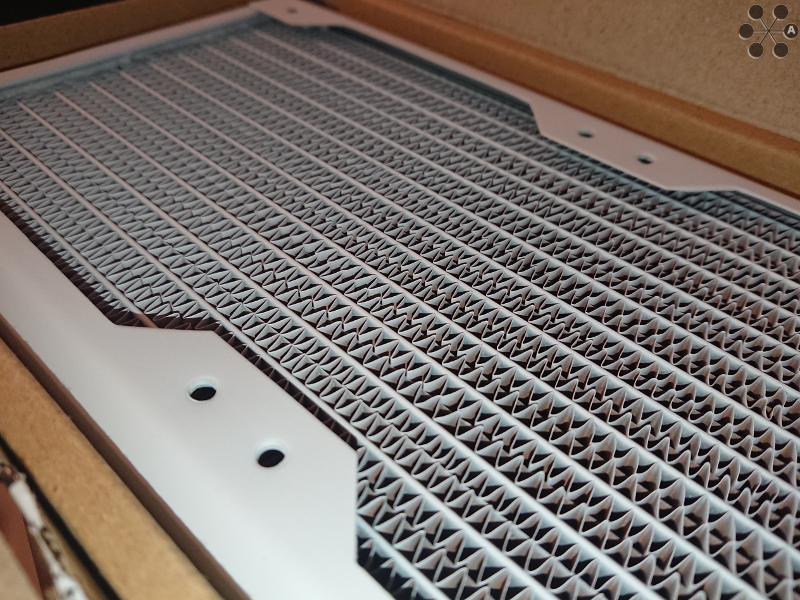
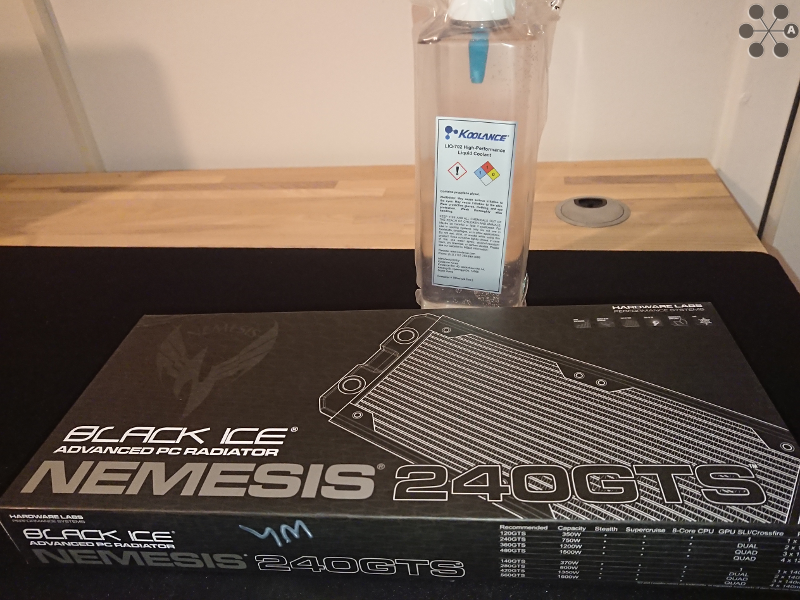
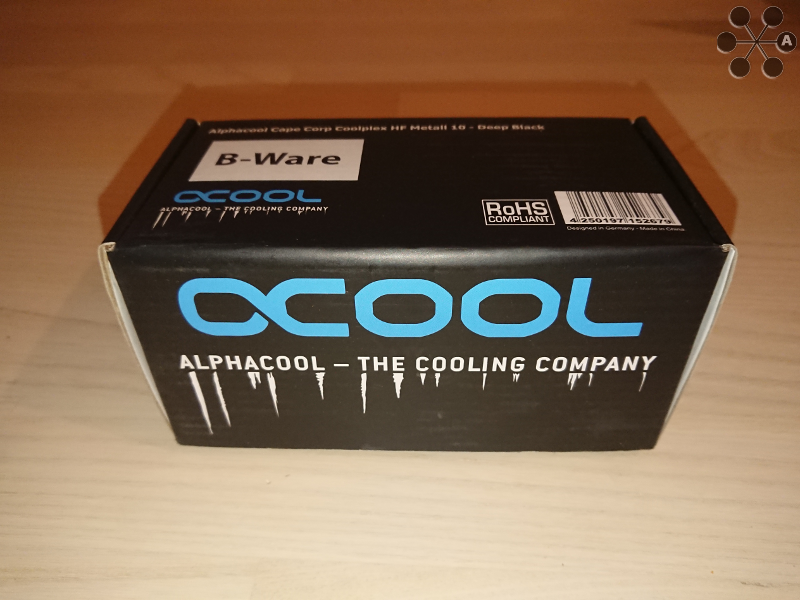
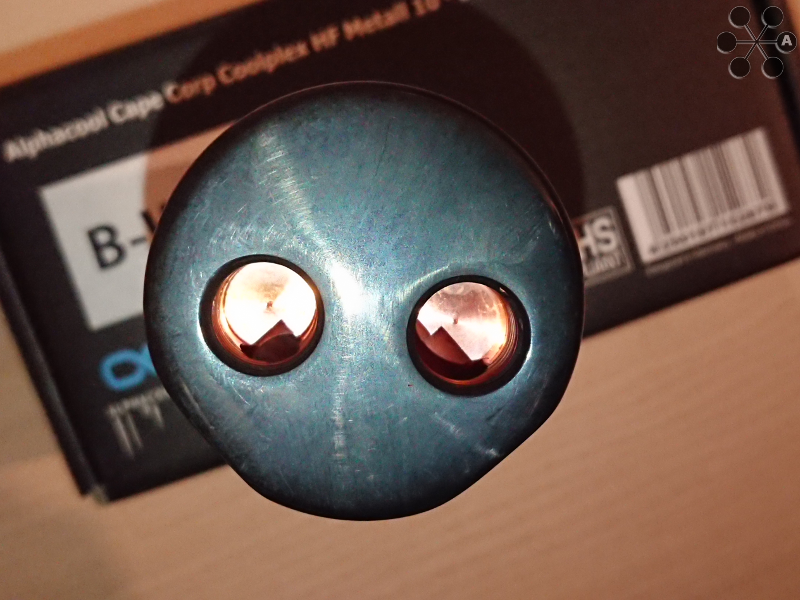
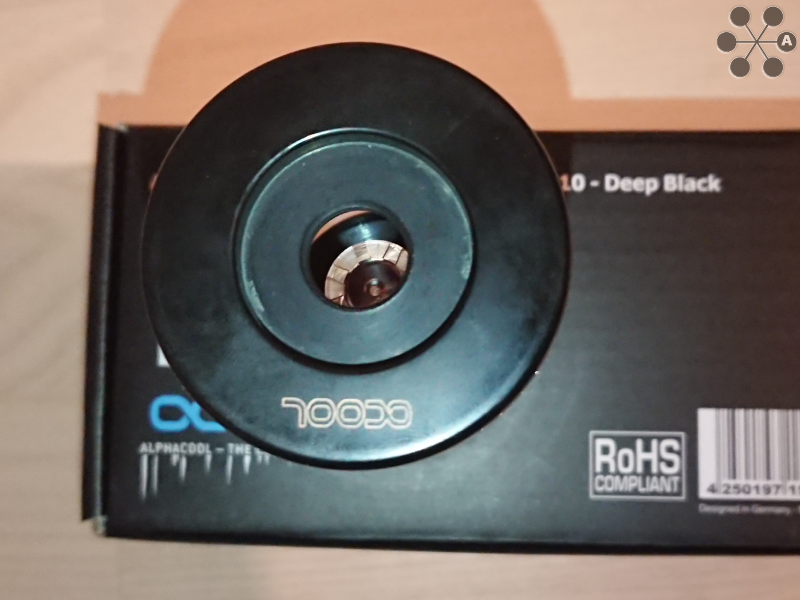
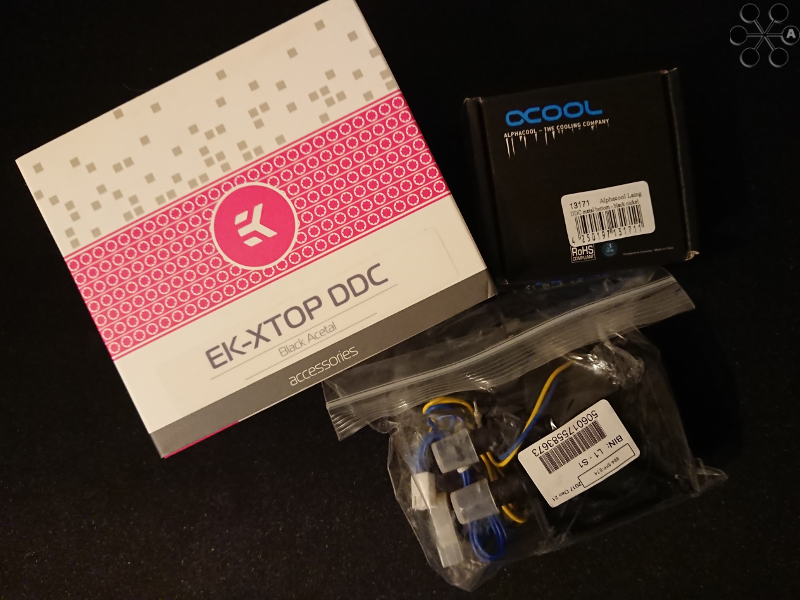
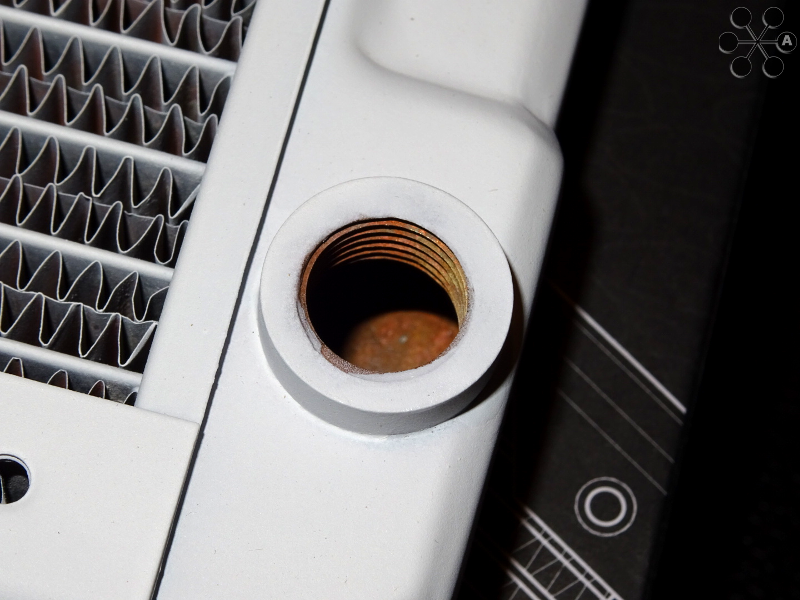
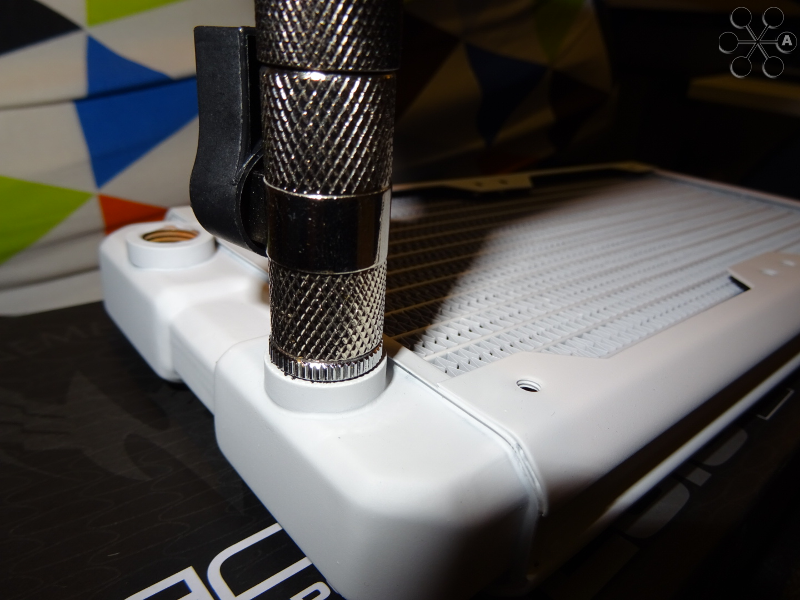
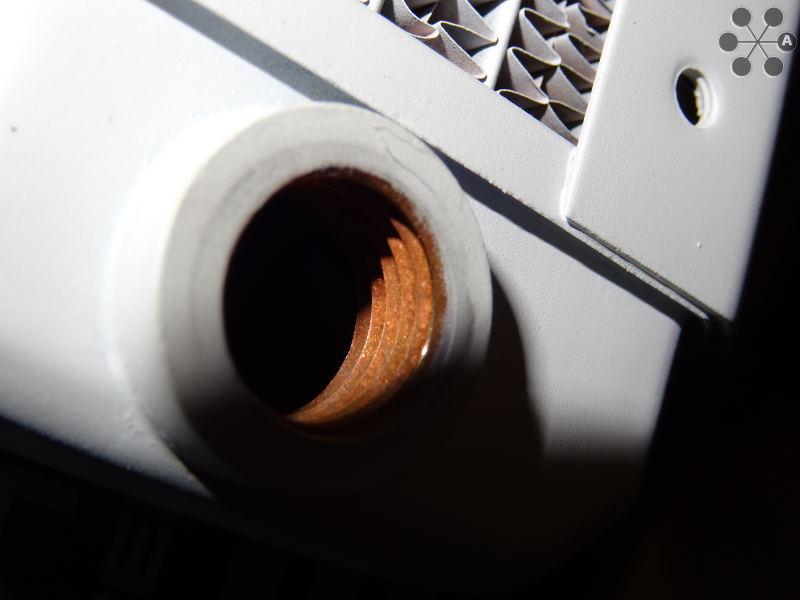
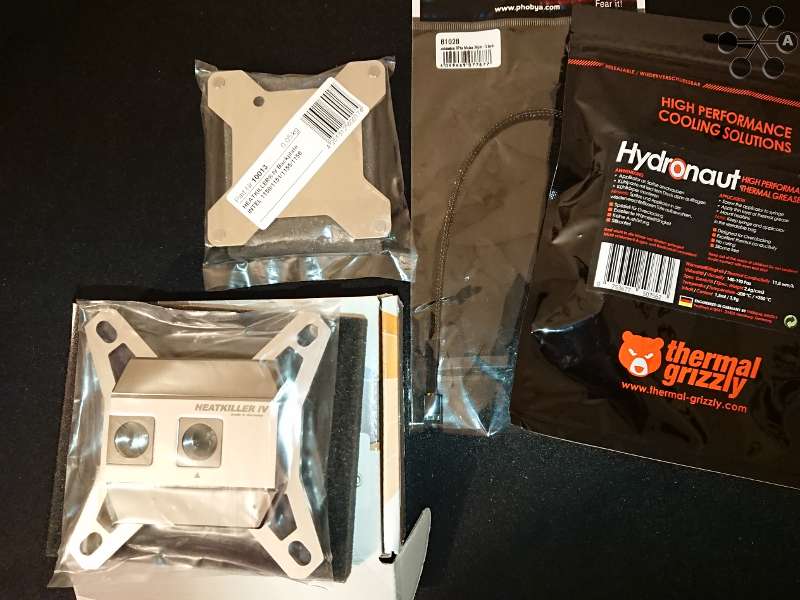
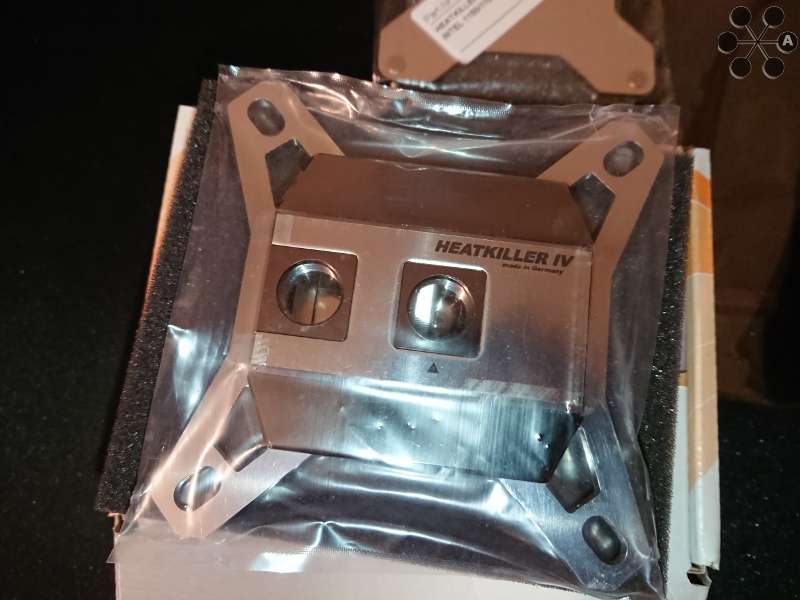
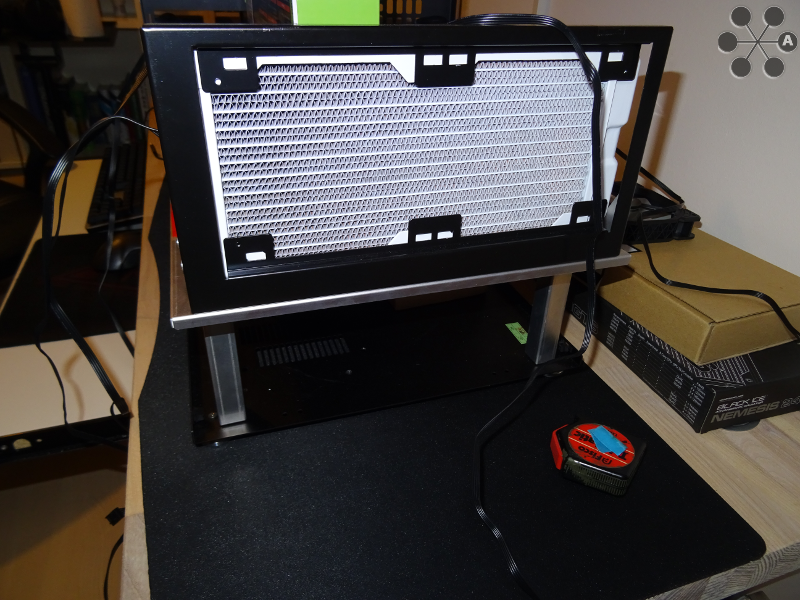
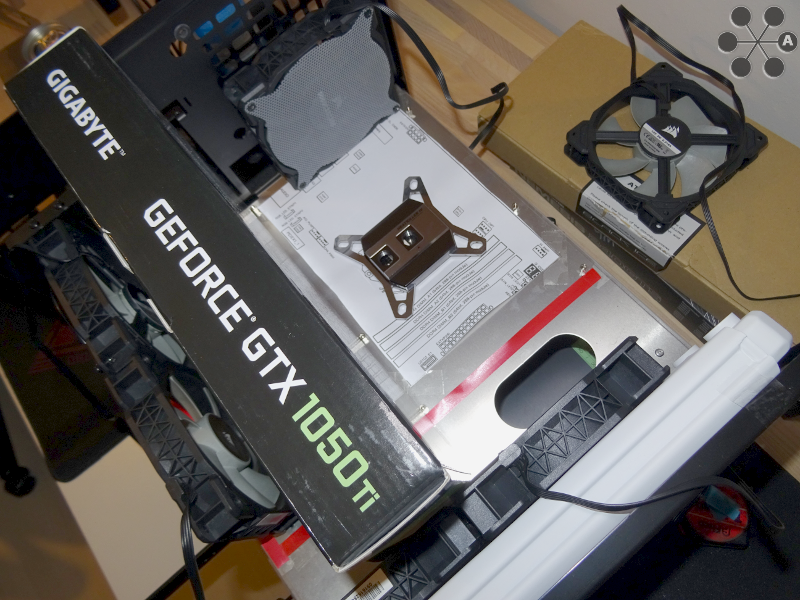
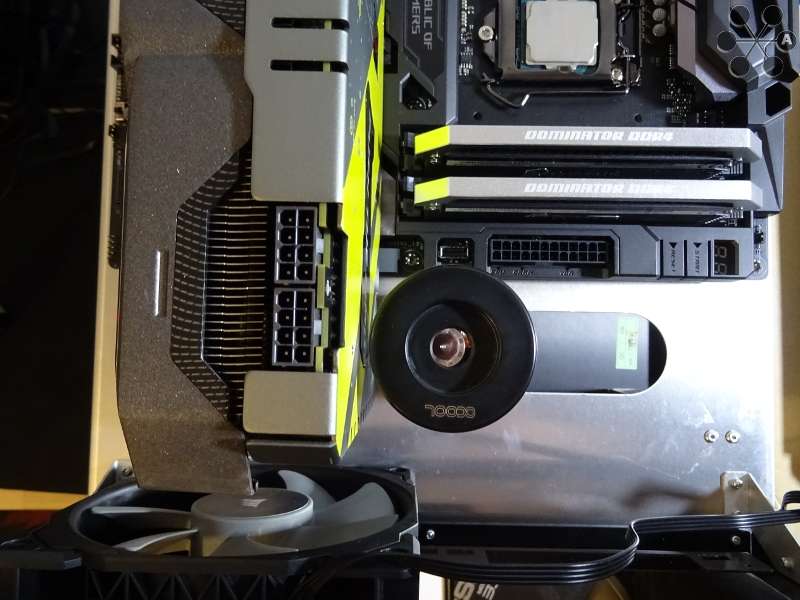
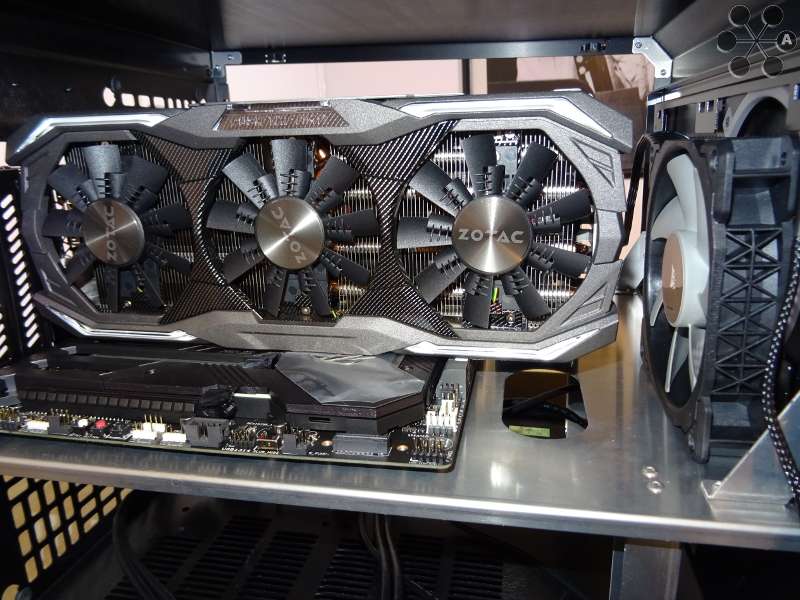
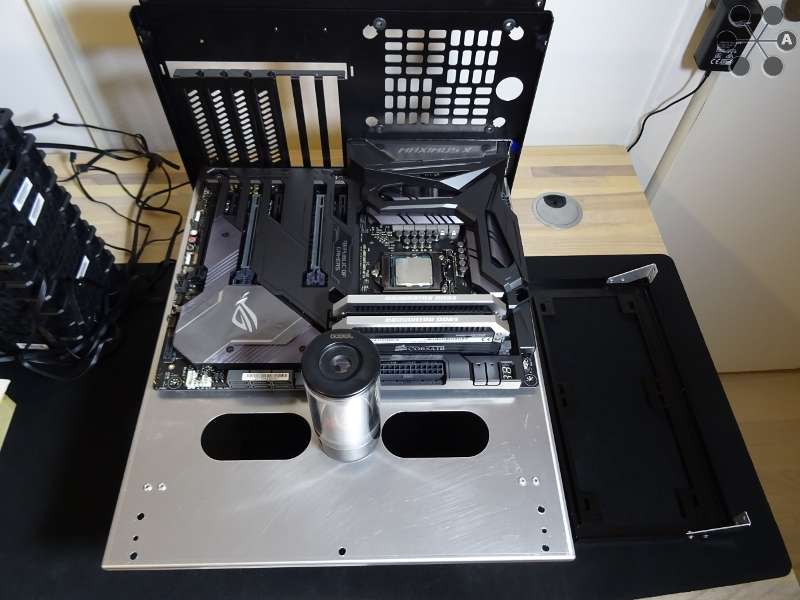
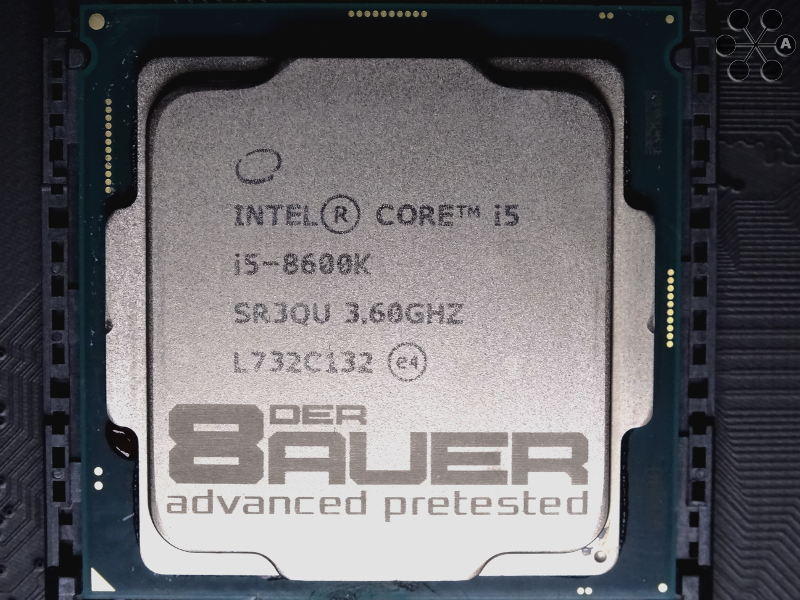
De eneste dele jeg er helt sikker på hvordan skal være er bundkort, kølehoved, radiator, blæsere og grafikkort:
[Blocked Image: http://imagizer.imageshack.us/a/img922/1765/tlHXio.jpg]
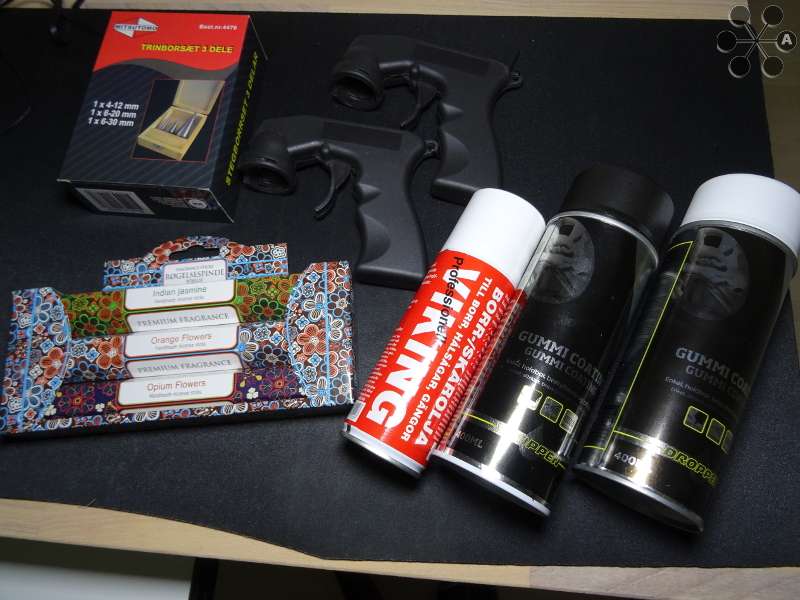
Dele jeg har nu:
- Asus Maximus Code X Z370
- Intel i5 8600K Der8auer Advanced Edition CPU
- 16 (2x8) GB Corsair Dominator Platinum DDR4 2400MHz CL10 RAM
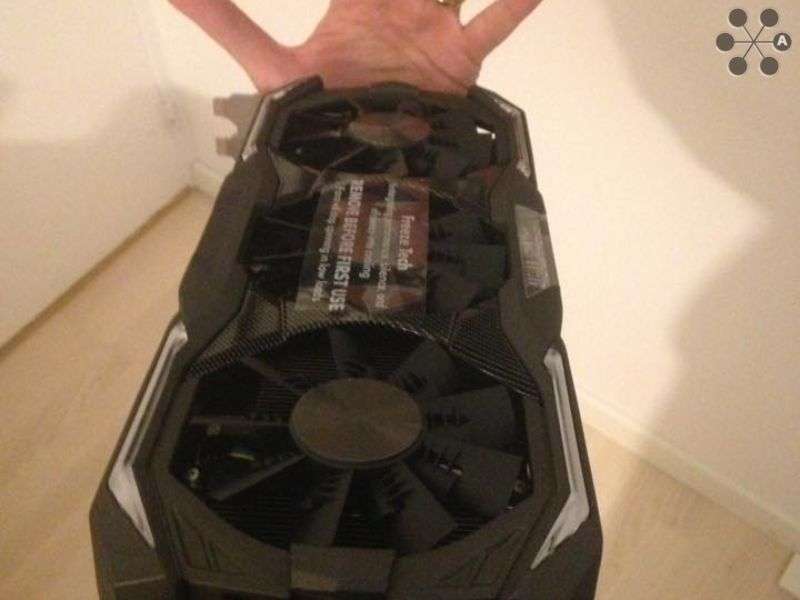
- Zotac Amp Extreme GTX 1070
- Corsair Force MP500 120GB NVME SSD boot
- 500 GB backup HDD
- 1TB WD Black til spil
- Corsair ML120 120mm blæsere
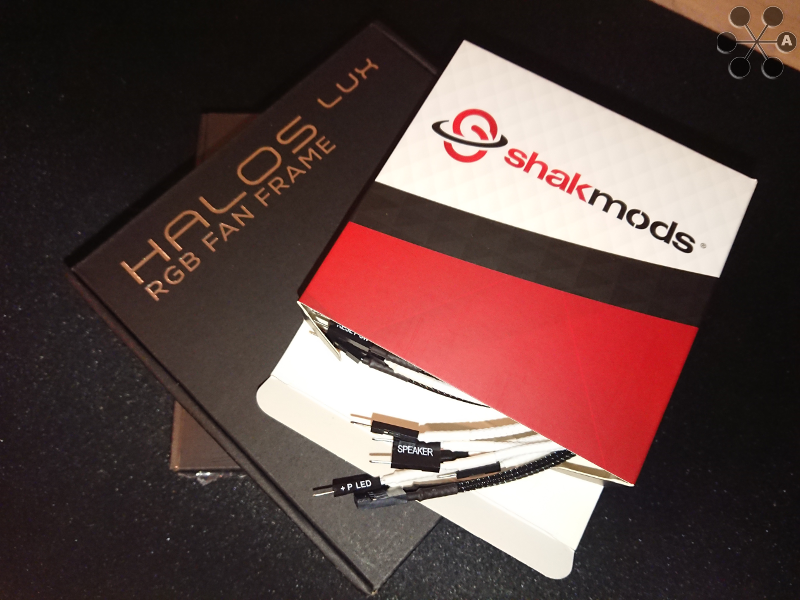
- Phanteks 120mm Halos Lux fan frames
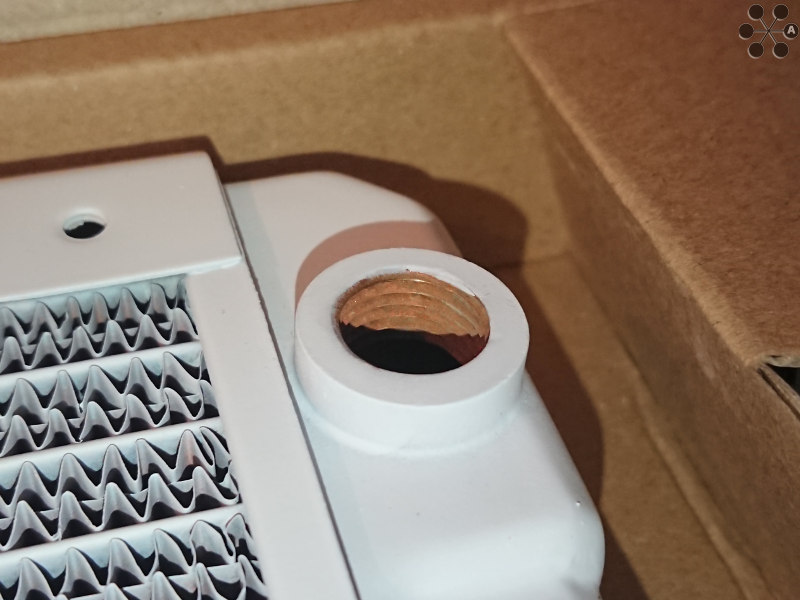
- HW Labs Nemesis GTS 240 hvid radiator
- EVGA SuperNova G2 750watt Gold PSU
-
Koolance 702 coolant
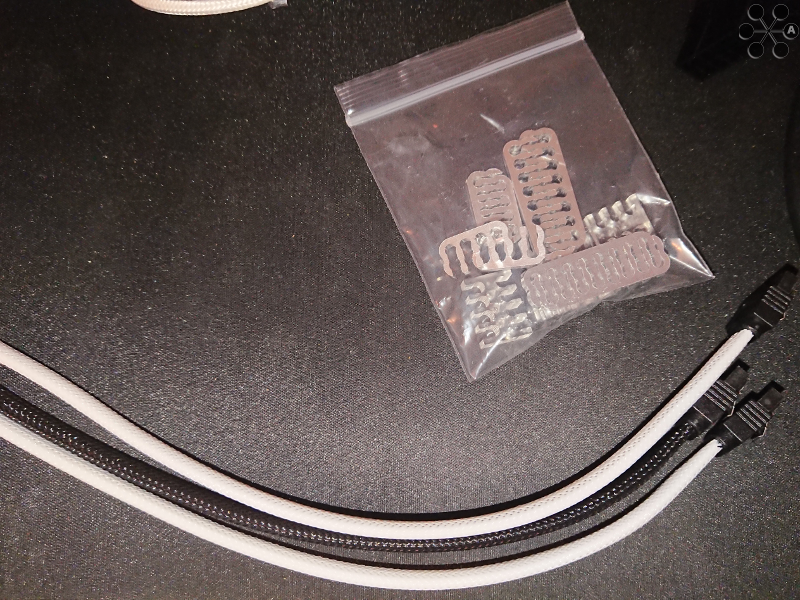
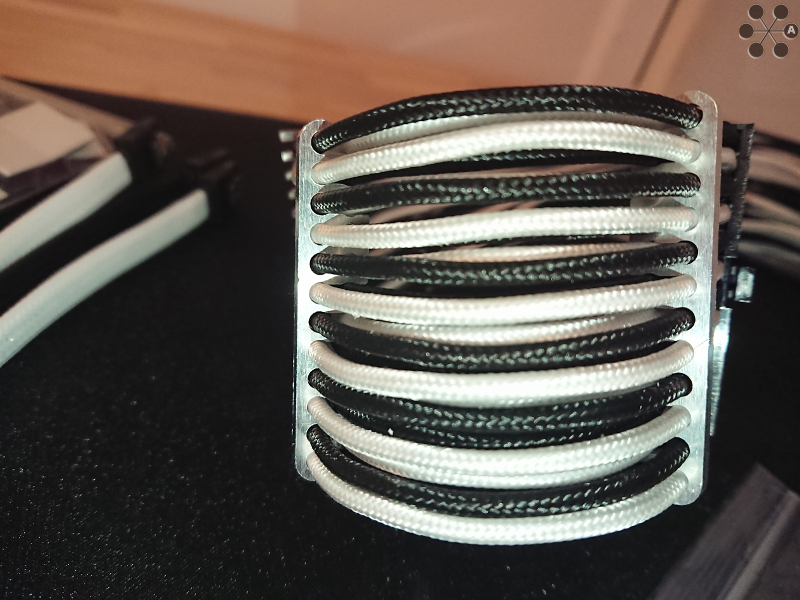
- Lednings forlængere af forskelig slags
- Panda klistermærke
- Blood spatter klistermærke
- Bamboo tape
Hele listen er også på PC-Partspicker sådan som det er sat op lige pt:
https://pcpartpicker.com/b/h929TW
Jeg kommer ikke til at skrive meget herinde da jeg ellers bruger andre sider til at dele byggeriet på, så hvis jeg har vækket din interesse så kig med her:
