Killer Panda - Z370 X Code

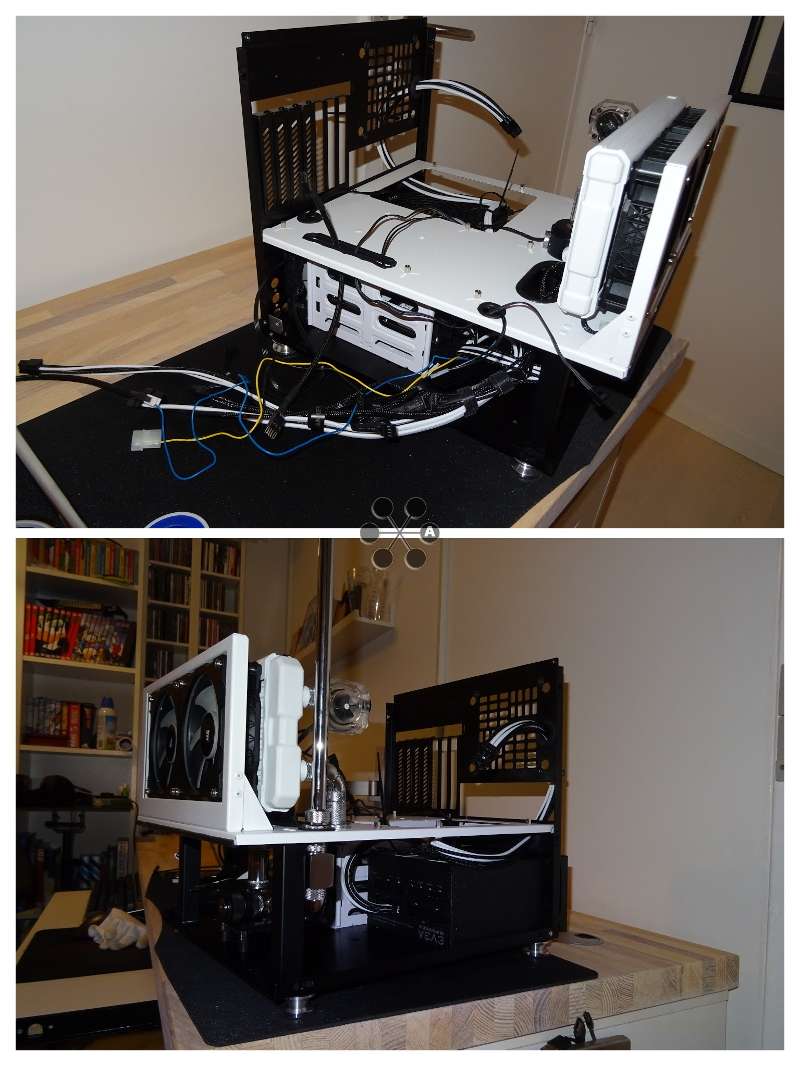
  • The past week I have not done much on the build as I'm waiting for the last few parts to arrive.
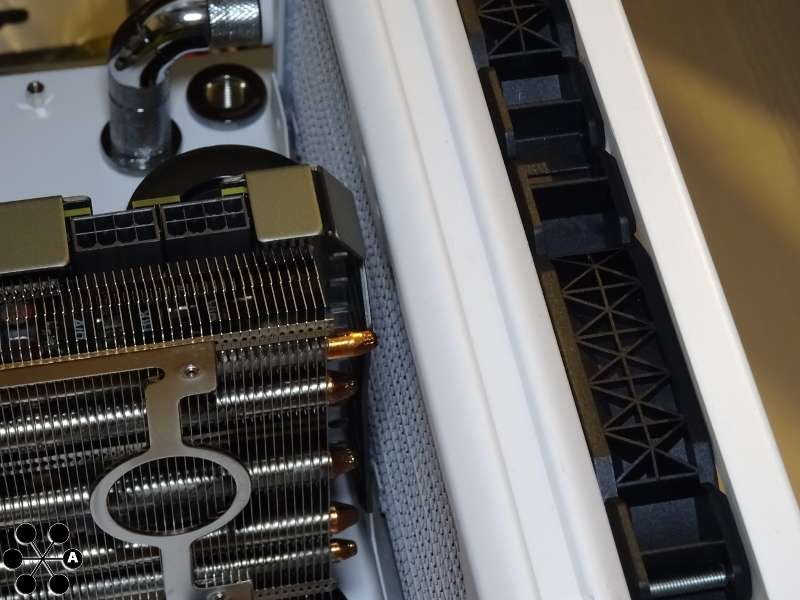
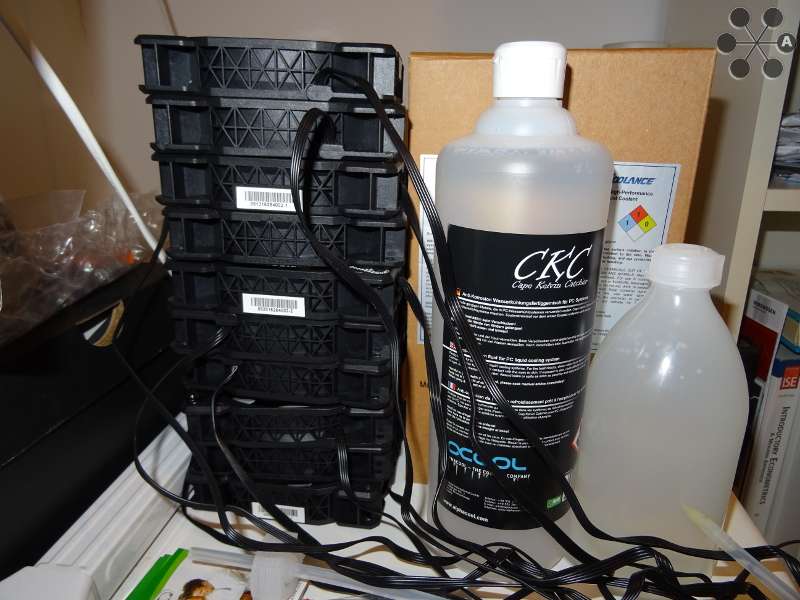
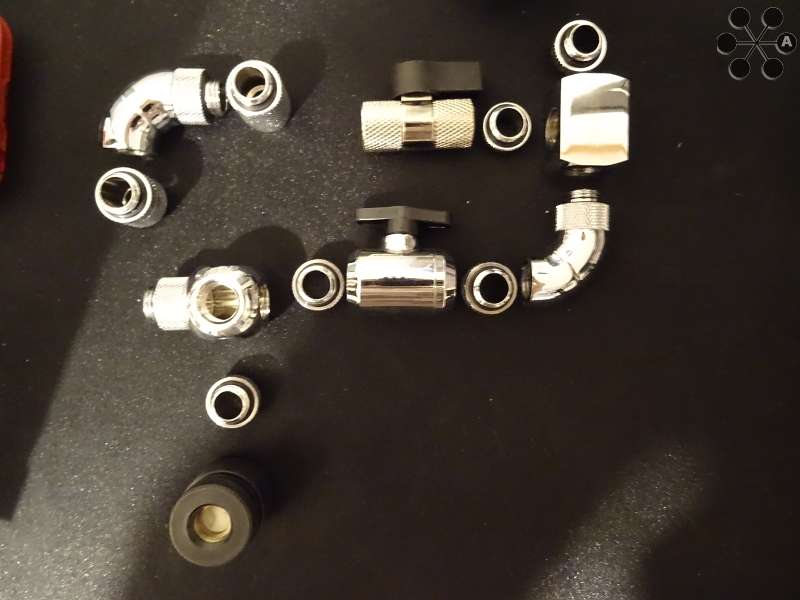
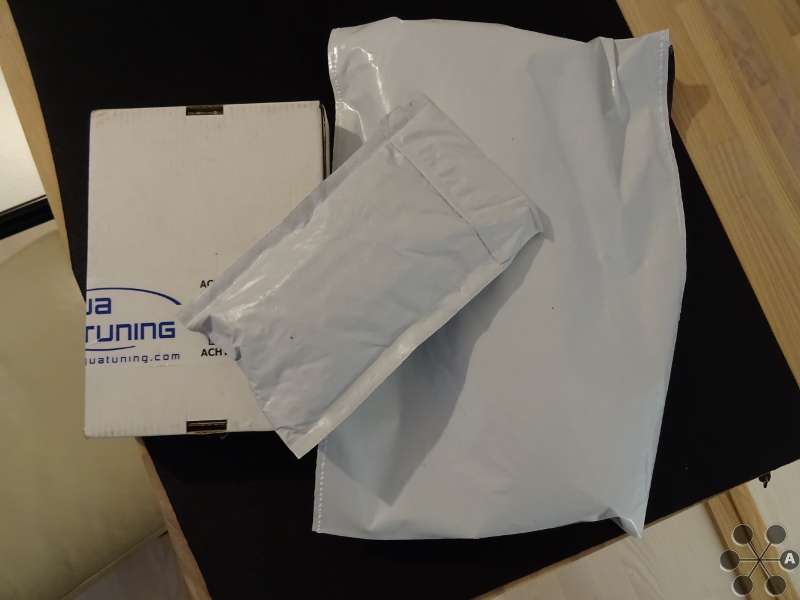
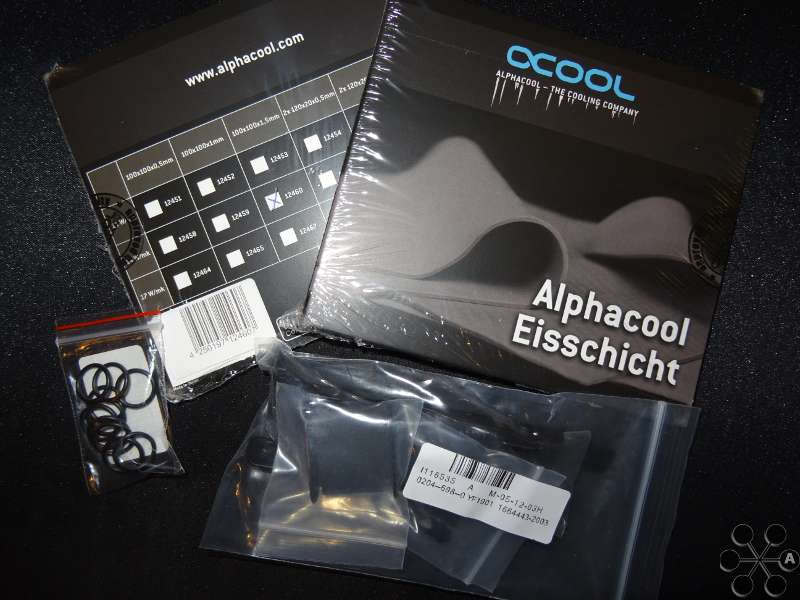
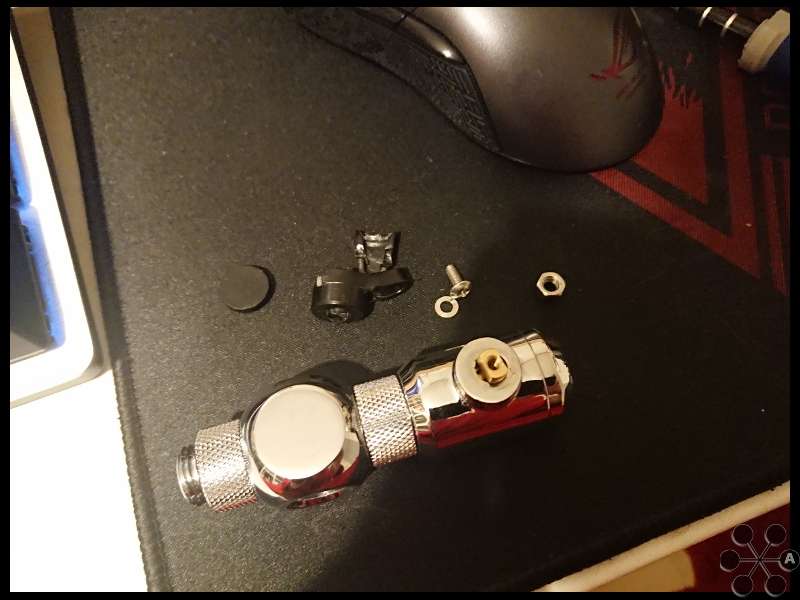
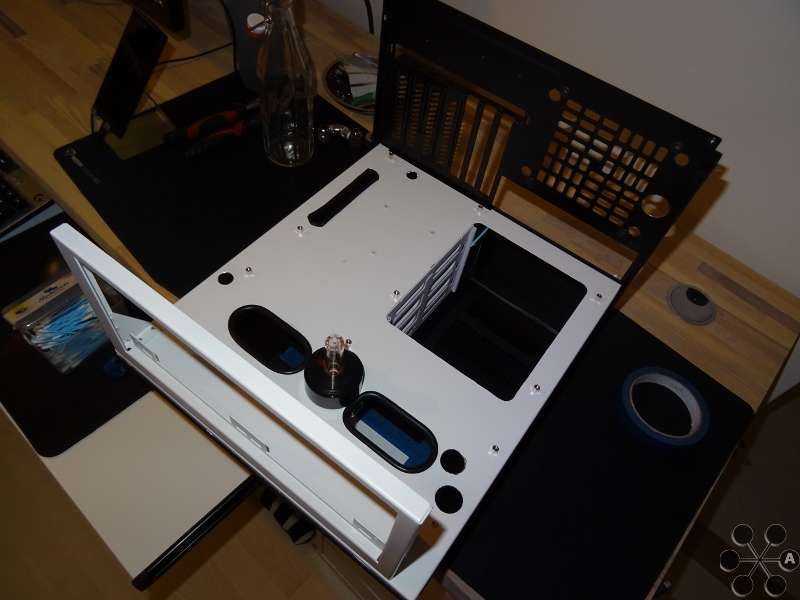
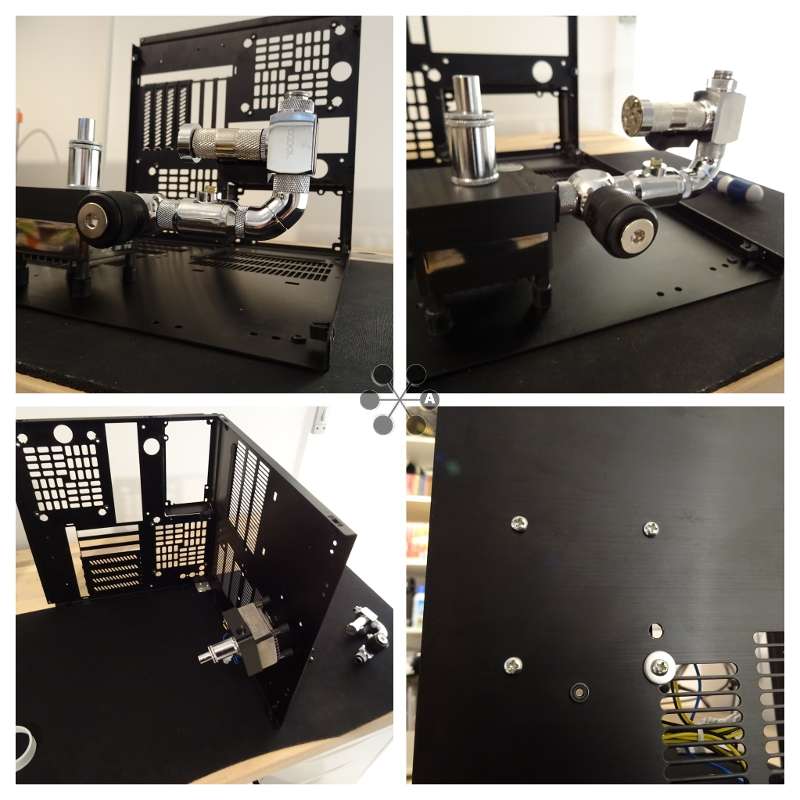
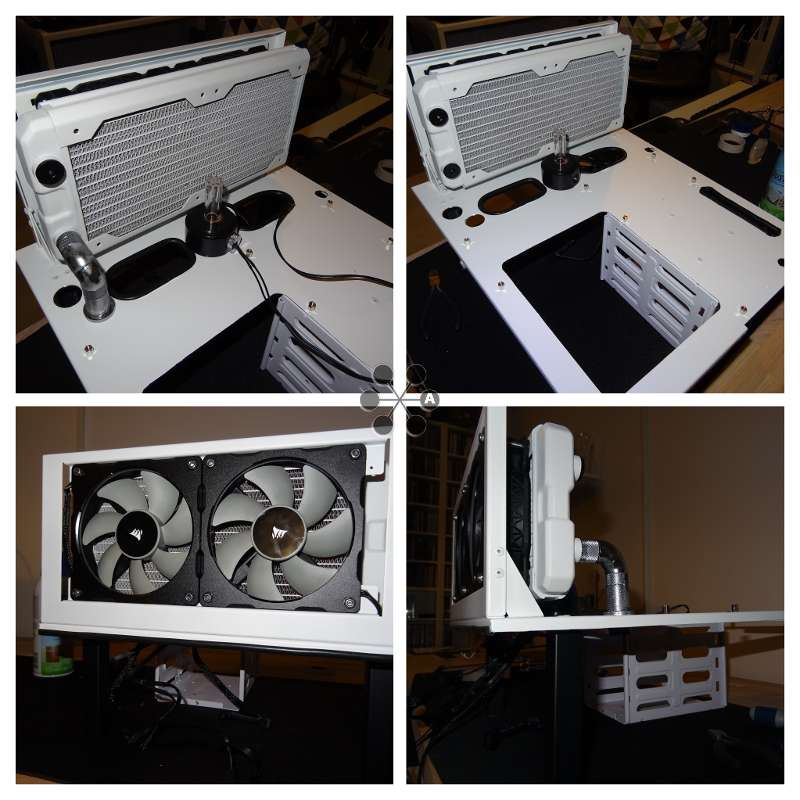
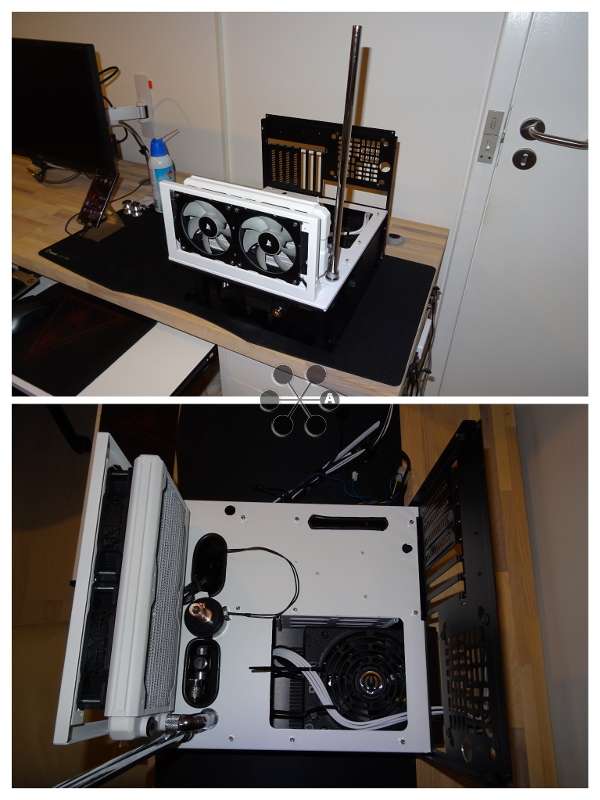
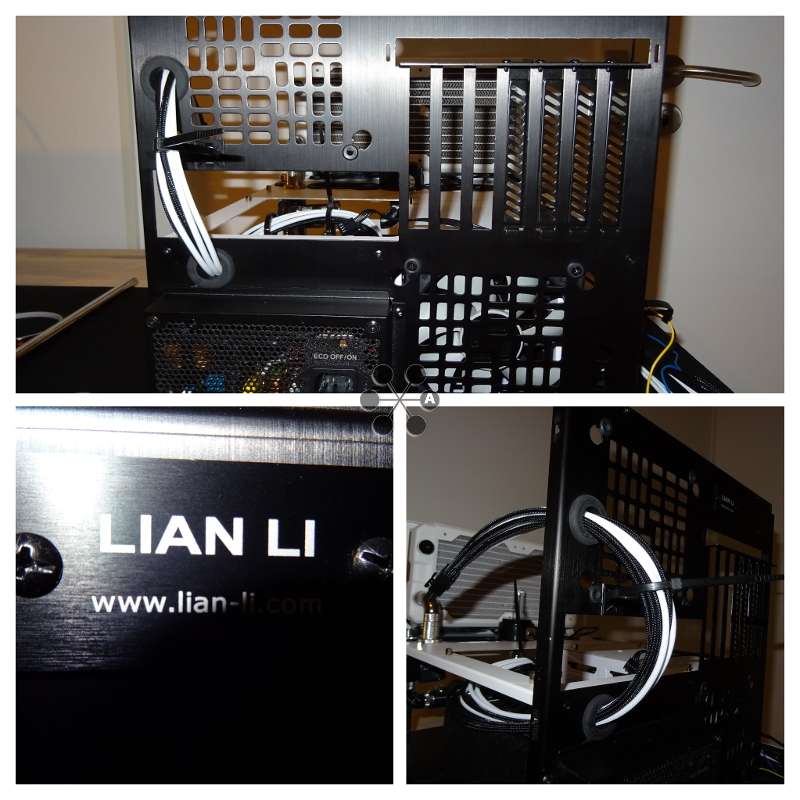
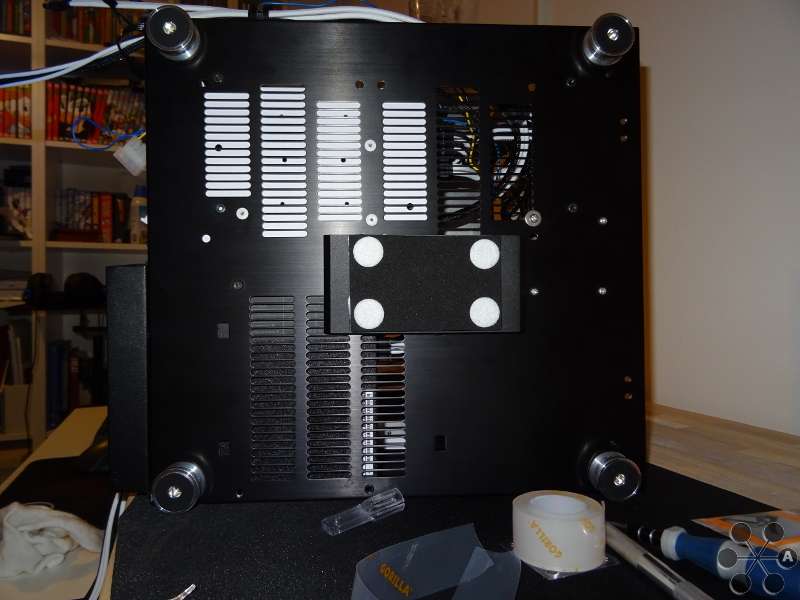
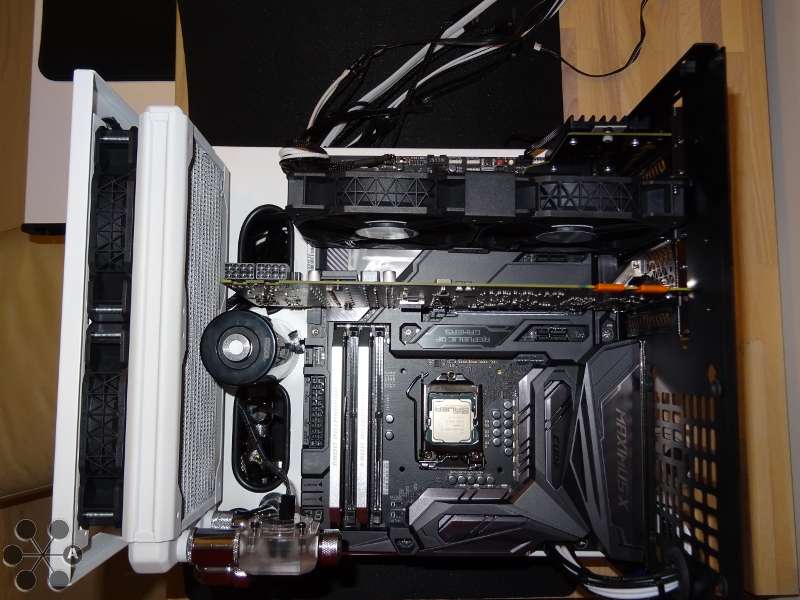
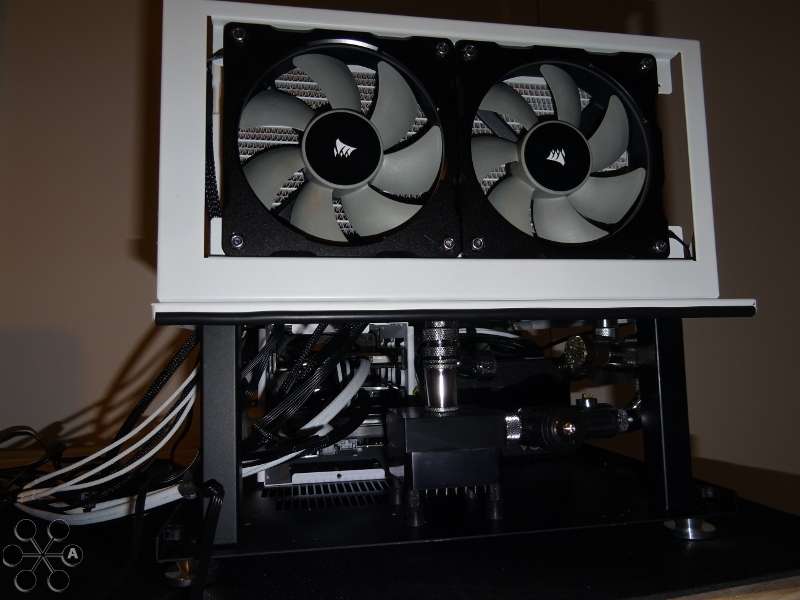
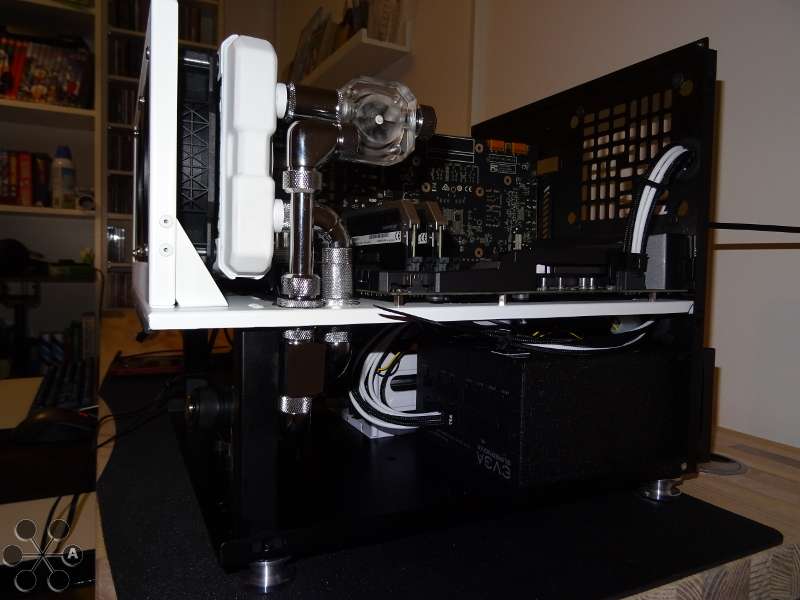
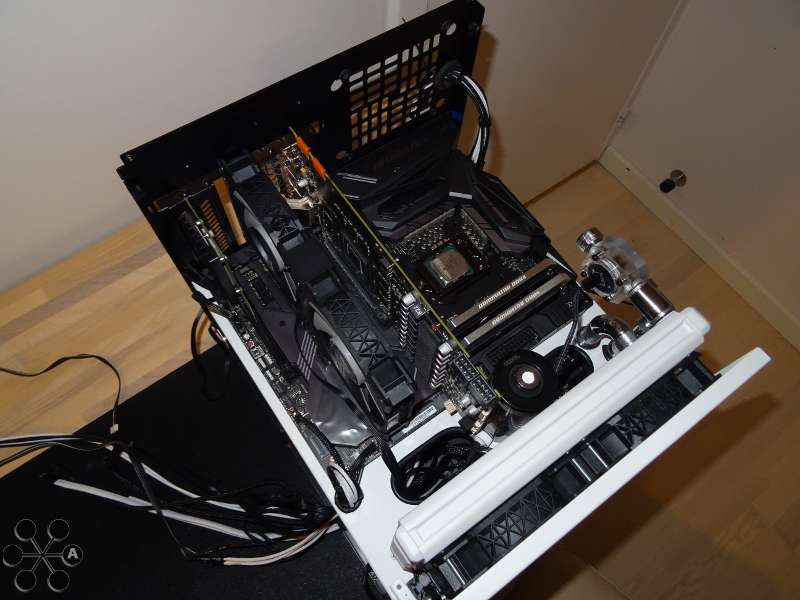
    It was Easter time so during most of last week nothing arrived, but I managed to get my fan brackets today and my g1/4" sealing caps - both from china.
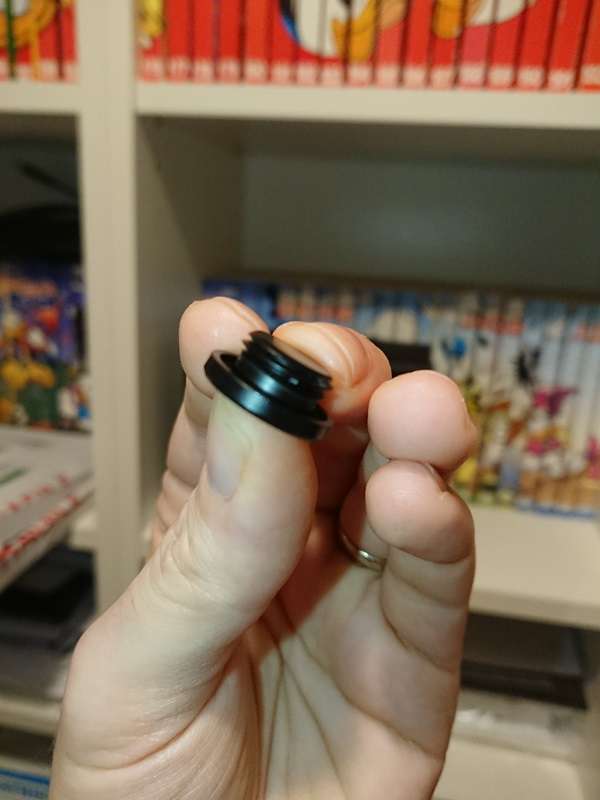
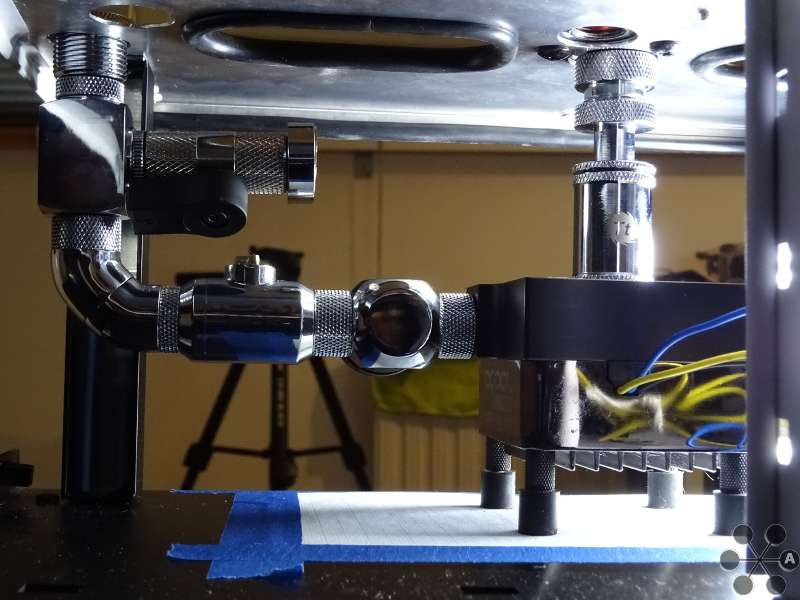
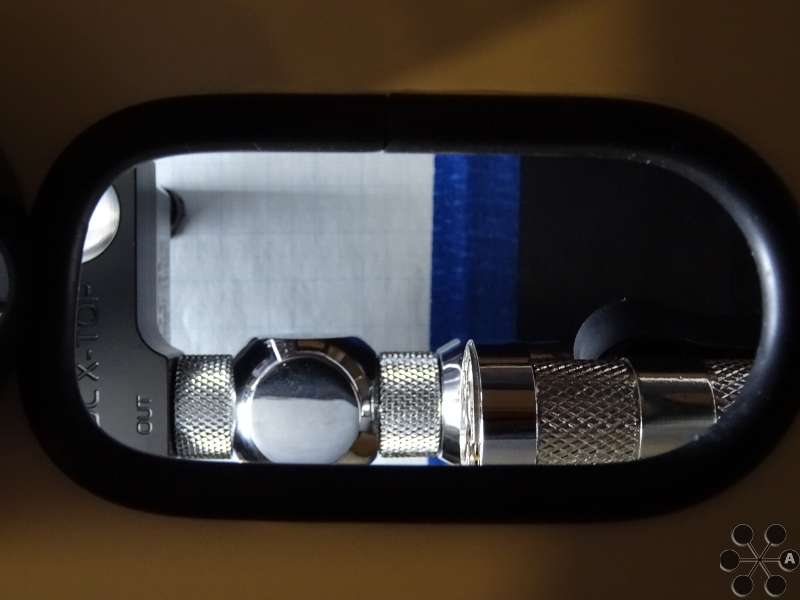
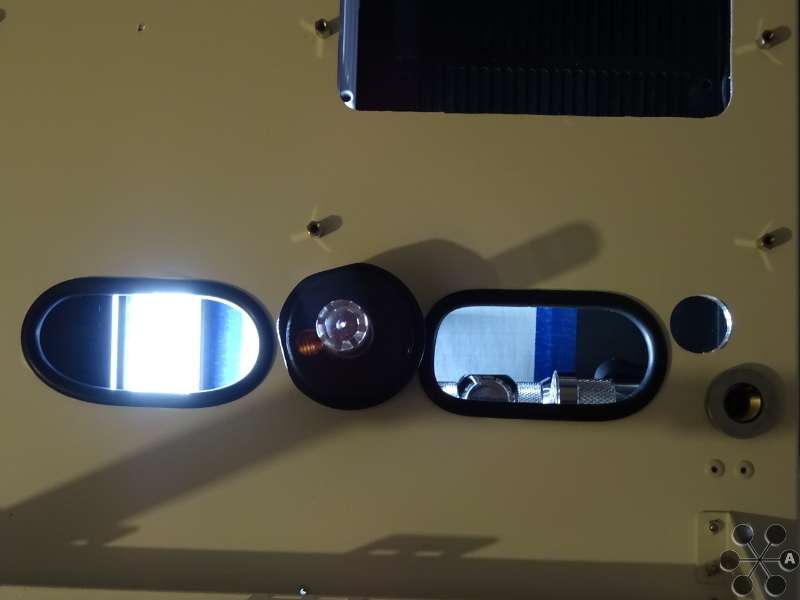
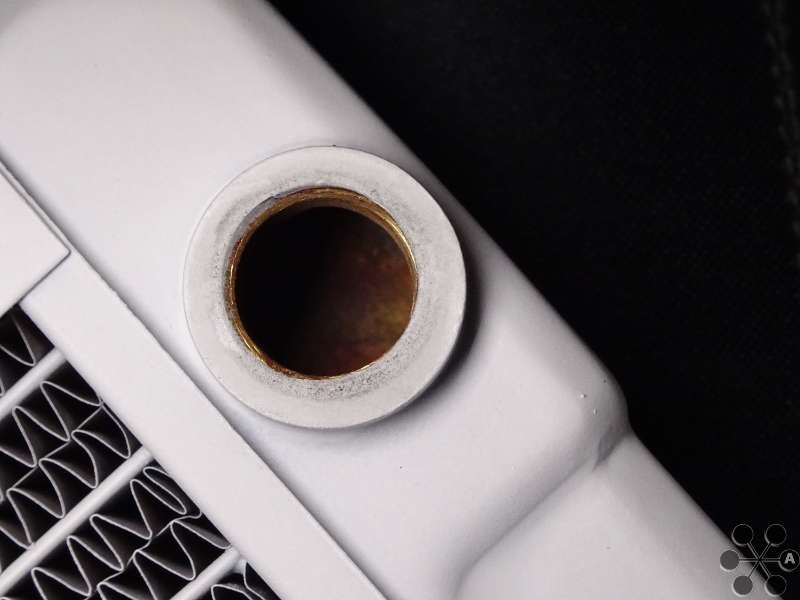
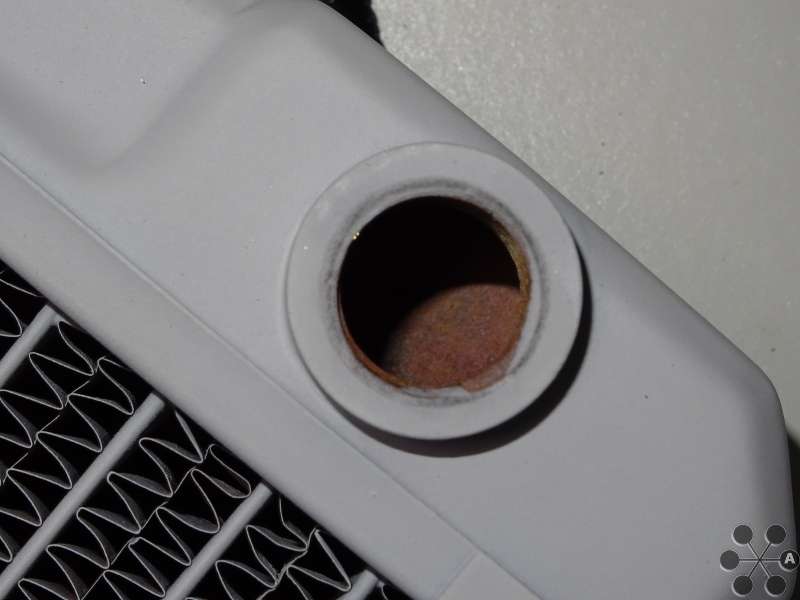
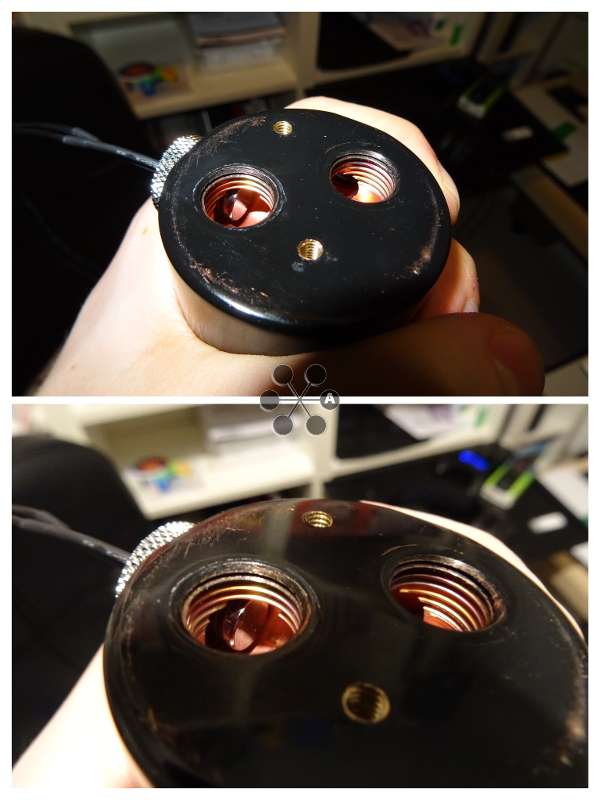
    Problem with the caps is they are actually the wrong color, had ordered chrome but black arrived, and there is no o-rings on them...


    [Blocked Image: http://imagizer.imageshack.us/a/img923/2922/ltYfuP.jpg]


    Well I will see what to do when my highflow.nl order comes as there is also a sealing cap in there and i have some old ones laying around.


    So to sum it up, I'm now waiting for:

    • PWM splitters (there is going to be somewhere between 10-12 fans in total in this build, because I can and because I need the airflow as it sits inside a closet)
    • Kapton tape, high heat resistant tape for my GPU when I put liquid metal on it
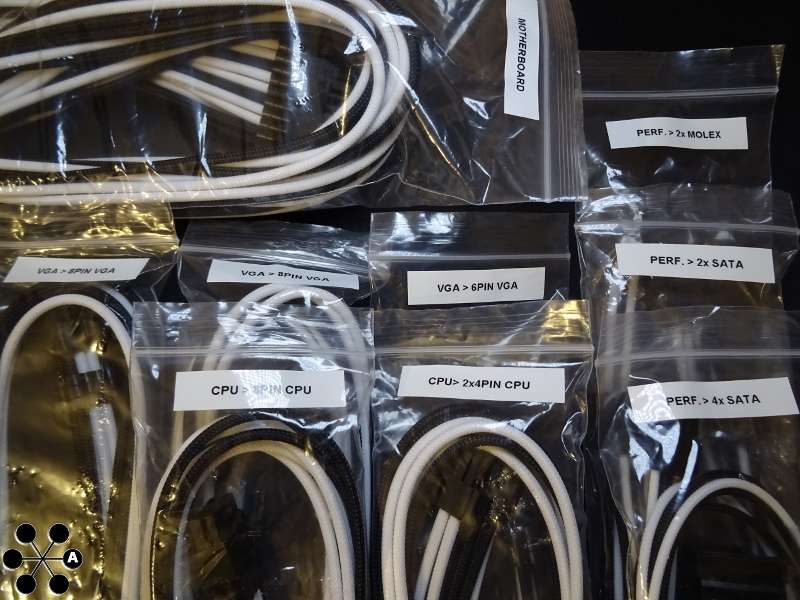
    • highflow.nl order of various parts
    • amazon order of various parts


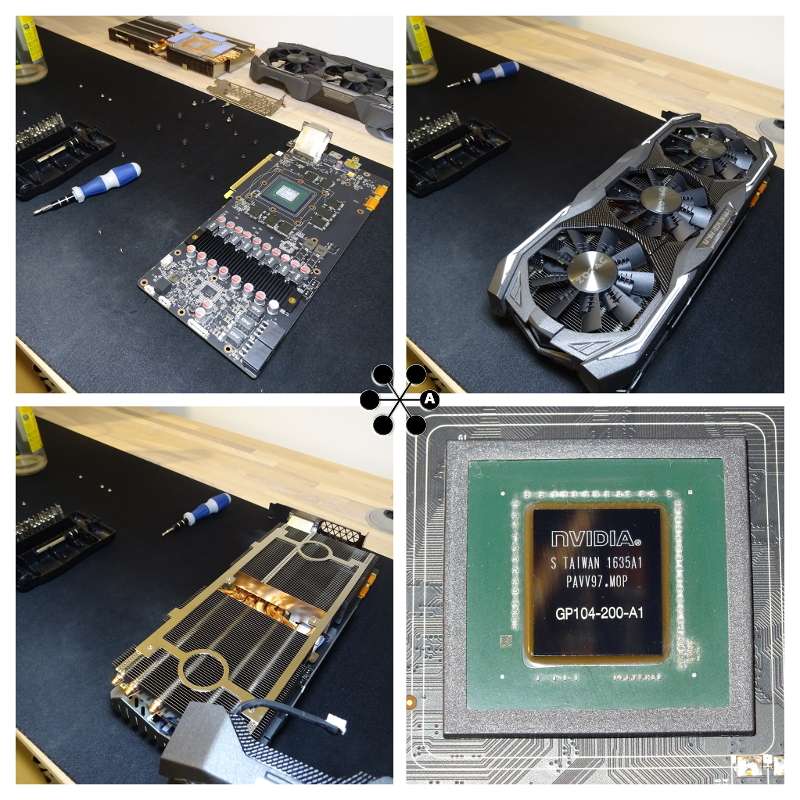
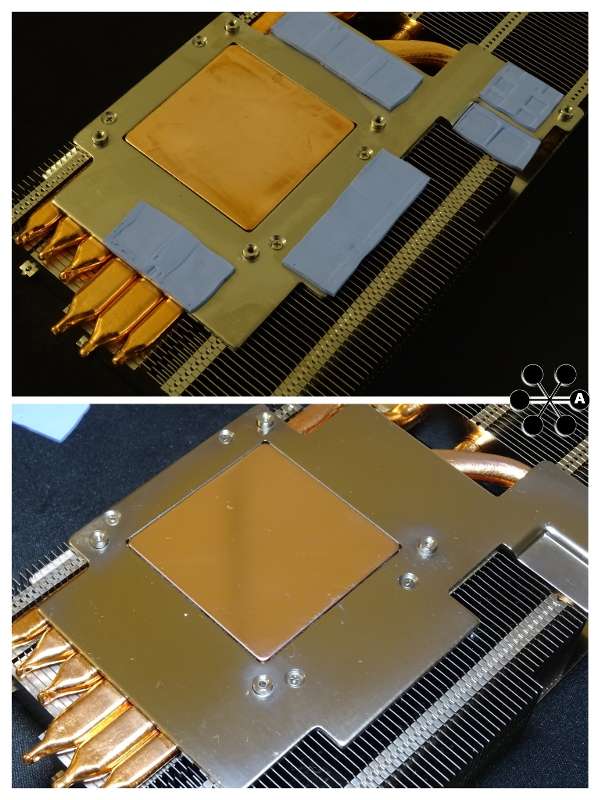
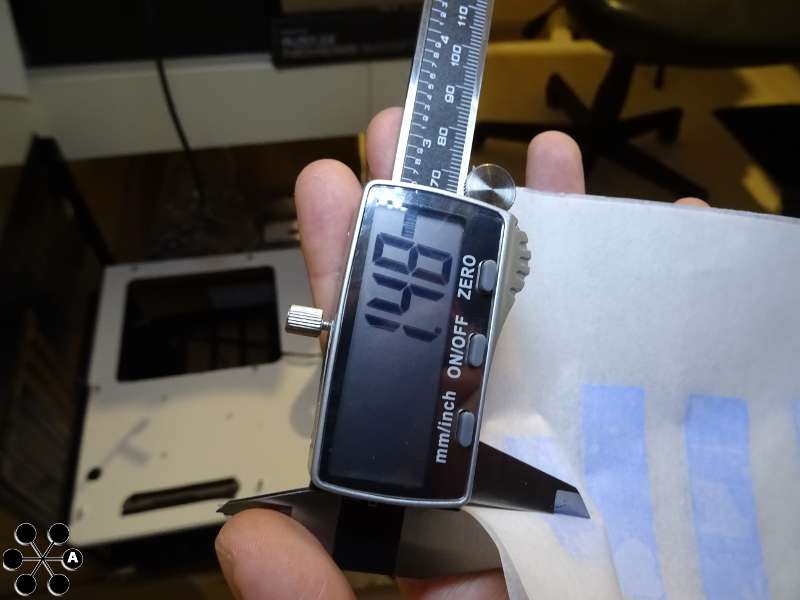
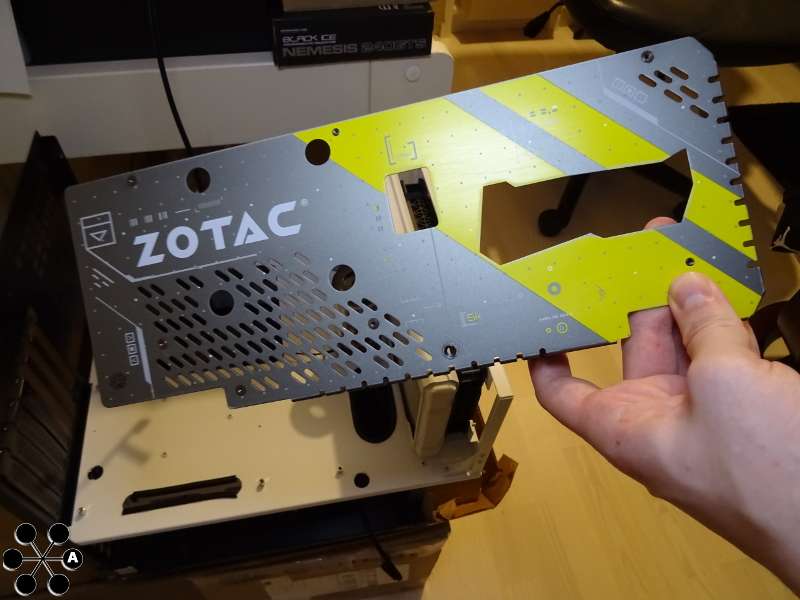
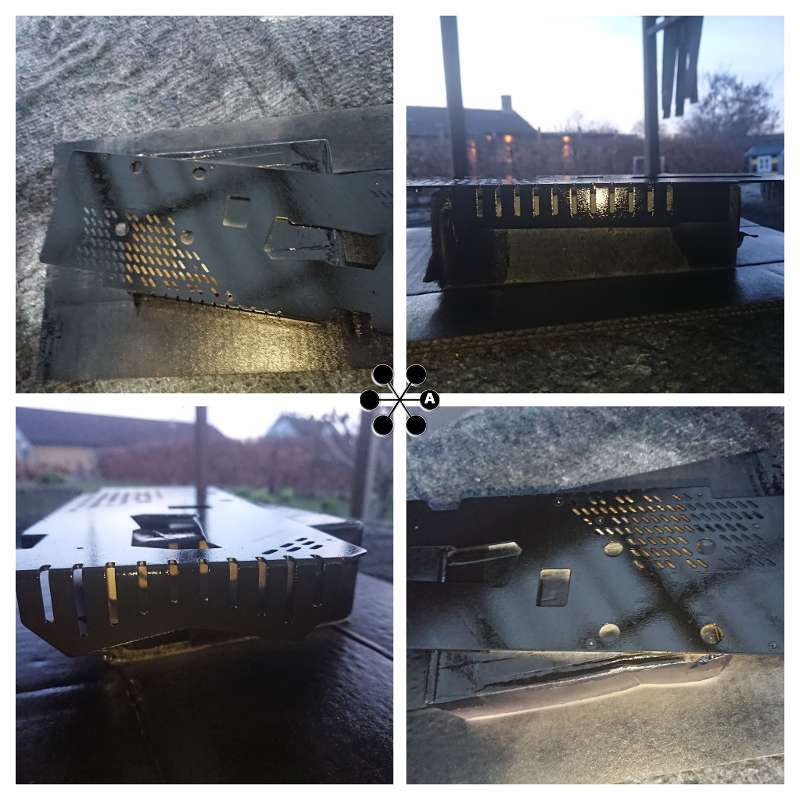
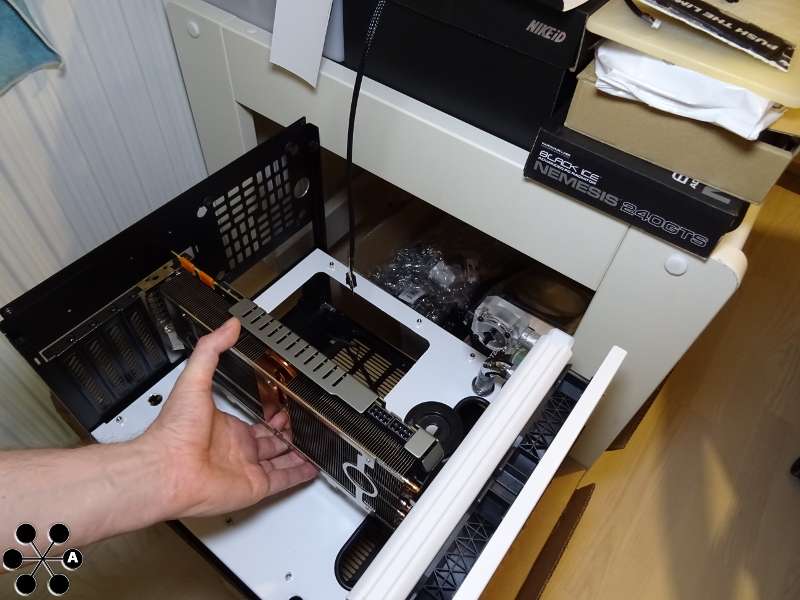
    Need to disassemble my graphics card cooler and take a look on how to shorten the whole thing, would also now when I take it off anyway like to replace thermal pads, so need some better pads to do so, will not order them until I know the needed size.


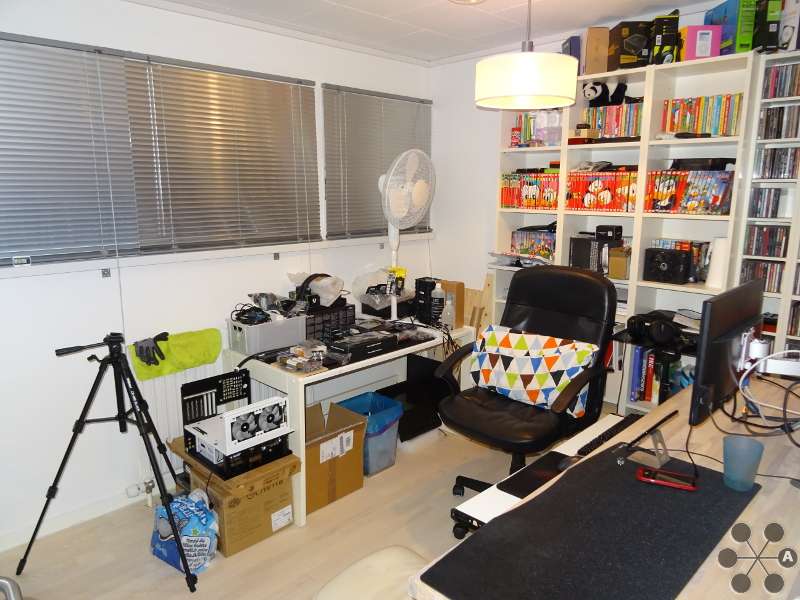
    Despite taking it slow on the build I have other related projects I have been working on, soon going to build 2 machines for colleagues (off the shelf parts), need to fix my wife's laptop for a rising heat issue and have had some trouble with my data server which i'm currently fixing. If I have not mentioned it I have 3 laptops and 6 desktop computers here at home at the moment, so there is always something to work on, almost like running a small IT department despite I don't work in any IT related field as my daily job.


    Also it was Easter Break, so have taking some family time and also some game time


    [Blocked Image: http://imagizer.imageshack.us/a/img922/3850/8ekT4J.jpg]


    PUBG mobile is pretty cool (manged to be 4th in a few games, no chicken dinner yet)


    [Blocked Image: http://imagizer.imageshack.us/a/img923/9885/tUQ86q.png]


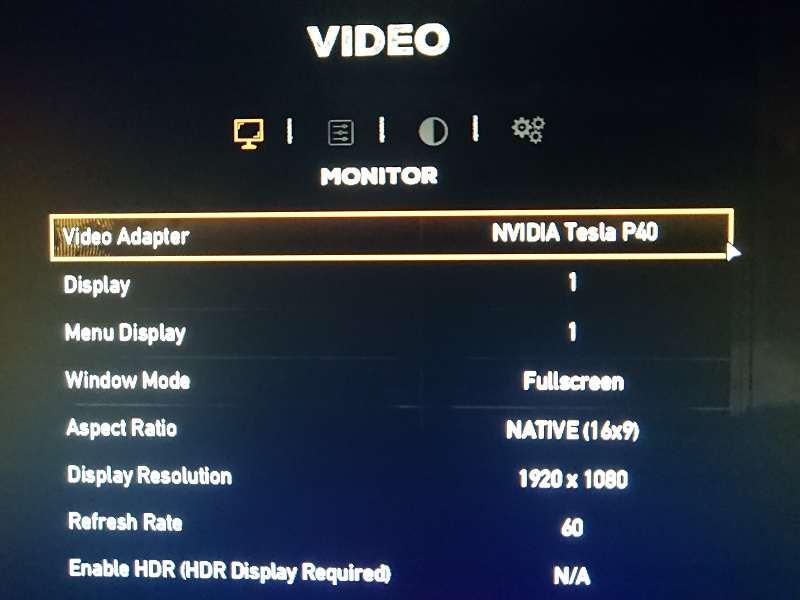
    ...and also FarCry 5 on GeForce Now, as this project is my gaming PC I had to use my daily driver PC that have only a small 1050Ti in it and wanted something better, so with the power of GeForce now I could play on a Tesla P40 machine!


    [Blocked Image: http://imagizer.imageshack.us/a/img924/3553/JWitUT.jpg]


    Anyway, stay tuned, soon some real progress will be made.

  • Ended up not having as much time as I initially wanted today, but anyway, got some things done after all.


    Firstly, disassembled my graphics card.


    [Blocked Image: http://imagizer.imageshack.us/a/img923/4770/kFSddf.jpg]


    After removing the cooler and backplate I discovered a few things.


    First, the plate that connects to the heatpipes is rather large and pure cobber!
    But it was dirty and needed a good clean.
    After the cleaning I noticed the cobber have some small scratches, I guess it's from the manufacturing, because it's not visible they don't care.
    That means I will not use liquid metal and will rather go for a high quality paste, to fill out the little air pockets in the scratches.


    [Blocked Image: http://imagizer.imageshack.us/a/img924/4554/aUEMUc.jpg]


    Then it was time to measure the thermal pads, so I can order some better ones and improve cooling a little.


    [Blocked Image: http://imagizer.imageshack.us/a/img924/9320/LuZqa6.jpg]


    About 1.5mm.
    God I love this digital caliper!


    After that I took a look at the backplate...


    [Blocked Image: http://imagizer.imageshack.us/a/img923/5159/S2rNDn.jpg]


    I really don't like the design, the whole space look with writing all over and the yellow lines, looks like a prop for the movie The Fifth Element...


    So I thought, hey, I wrapped the legs in vinyl, so still have a black un-used plastidip!


    [Blocked Image: http://imagizer.imageshack.us/a/img922/2771/O2c3yL.jpg]


    So shot the backplate 4 layers of flat black, currently drying but looks much much better!
    Sorry for the bad pictures, only had my phone on me that time and paint drying is very very reflective so it screws up autofocus.


    By the way, before I painted the backplate, I test fitted the "new" graphic card, aka same card, without coolers on.


    Everything only fits in one way in this case, no room for anything. Specially the graphics cards size was an issue, but now it will just fit! A really really tight fit. Almost touches the rad.


    [Blocked Image: http://imagizer.imageshack.us/a/img923/6195/Mr79i8.jpg]


    [Blocked Image: http://imagizer.imageshack.us/a/img924/3928/5dXK1v.jpg]


    So the idea is in front of the heatsink there will be 2x Corsair ML120s on a bracket, controlled by the Zotac cards PWM controller, with some rubber dampers and digital LED frames from Phanteks, bassically I just designed my own card :p
    And also on the other side, I will mount 2x Corsair ML120s on a bracket, both to cool the GPU but also to help cool the VRM on the motherboard, controlled by the motherboard fan header. There is a PCI space before the 16x PCI on my motherboard, so with a little mod to the case it should just about fit.


    When I wait for paint to dry I tried out a few other things, I have some bamboo I want to incorporate somewhere in the build, because - pandas eat bamboo.
    Not sure where to put it yet, but wanted to see how good the glue is when glued to painted metal.


    Had a piece of my scrap Aerocool case laying around and damn, it's now stuck there!
    That glue is good!


    [Blocked Image: http://imagizer.imageshack.us/a/img924/7825/CxijA7.jpg]


    Let's see what will get the bamboo treatment later on...


    Lastly, unpacked my CableMod cables, and I'm so happy I went for it, they are soo nice!
    Ended up costing me about the same for cables as I originally payed for the PSU, but even if I had switched PSU it would not come with cables this nice.


    [Blocked Image: http://imagizer.imageshack.us/a/img924/4507/OL5e40.jpg]


    For some strange reason they are un-named when they come and you have to figure out what is what. I know that as soon as I have all parts I will assemble this thing quickly, so I sorted them and labeled them...


    I can see now this is not only a casemod, this is a full PC mod, not much I don't modify in some way...


    Stay tuned for more exciting stuff!

  • I have fans!


    [Blocked Image: http://imagizer.imageshack.us/a/img924/6458/Y4tnwG.jpg]


    (that joke never gets old, even though that my tower of ML120s is getting shorter the more I use)


    I received the last fitting i'm supposed to need for finishing the build, so the path from the pump to the top side of my motherboard tray will be assembled something like this, were the 3 pieces in the left corner is the ones going from the radiator and back down trough the motherboard plate:


    [Blocked Image: http://imagizer.imageshack.us/a/img922/8417/hEhDgD.jpg]


    The black valve is my high end ceramic drain valve, the big bulky valve is my loop close off ball valve and the smaller way more restrictive valve above is for blowing air trough a tube, to easier push the liquid out of the loop, im confident this design is going to work a charm when finished for a really easy to maintain system.


    So this is also why I ended up needing to use proper fittings instead of soft tubing under, because all these bits and bobs would be impossible to attach to each other and hold its own weight up, if it could sag down on a soft tube somewhere.
    This ended up costing like 4x as much as intended just this little area, but that's the price for less maintenance hassle I'm ok with paying for.
    Really wish I was sponsored, these parts are from both Barrow, Thermaltake, Alphacool and one from Watercool, but no, only "sponsor" is me.


    Was toying around with the radiator and found out it needs to be mounted when the reservoir is not yet mounted behind it.
    For now I had only mounted 4 of the total 8 fan mount posts, and the rest of them is impossible to get in unless I mount them on the rad first and insert the whole thing into the bracket, but can only do that when the res is away, else there is too little clearance and res and rad will hit each other.


    So one of the coming days I will clean the radiator and get it mounted properly, just not today, its a little too much work.


    So instead, cleaned up the home office and sorted parts so its basically ready for assembly


    [Blocked Image: http://imagizer.imageshack.us/a/img924/9488/Qb693s.jpg]


    [Blocked Image: http://imagizer.imageshack.us/a/img923/4931/1VwU4f.jpg]


    Also, need the last few mods to the case, like fixing where to mount the pump, rivet in the motherboard tray, do something to fit the ekstra fan pci bracket behind the gpu (else its little too wide), make a special extra foot under the pump else the case is sagging down due to being made from rather thin aluminum because my pump is pretty heavy and other small mods.
    Gosh this is way more work than I original intended. Going to take a while before I will mod again.


    It's soon over, stay tuned for the grand finally coming very close.

  • I estimate there will be something new to show the next week or so every single day, so stay tuned and get inspired or leave a comment on how you think I do.


    Todays update, I did different small things and now im quite tired, its already past midnight, pictures say more than words.


    Packages arrived (again)


    [Blocked Image: http://imagizer.imageshack.us/a/img924/1772/zawUEz.jpg]


    Yay, my high quality thermal pads for upgrading the graphics card and fixing my wifes laptop heating issue
    Also, some rubber o rings for the black stop fittings that were unusable (because they lacked o rings and was supposed to be chrome) - actually the seller agreed to refund their value.
    The last one is a 80mm pci fan bracket i ordered way way back, actually the seller have told me she could not longer supply it and it was also refunded long ago, so was pretty surprised to see that it actually arrived.


    [Blocked Image: http://imagizer.imageshack.us/a/img922/8125/Dw994C.jpg]


    I have also been assembling some of the parts I teased yesterday, but ended up actually breaking one of them!
    The alphacool high flow ball valve is terrible quality, the handle is pure plastic and rather soft (or i'm stronger than most?) - it snapped when I tried using it. Completely snapped into multiple pieces.
    Yes there is probably warranty, its under a week old or so, but who cares, it's in the system now and I can use a mini wrench to adjust when I need to, the plastic looked rather cheap anyway so now its little more unintended steam punk.


    [Blocked Image: http://imagizer.imageshack.us/a/img924/6500/HY5vQm.jpg]


    About unintended steam punk, see my hand tightening stop fitting for the other valve, I want a stop fitting in case it don't hold the pressure 100%, but that valve end is in a really awkward spot, so best if its a hand tightening one.
    Could basically choose between this one from barrow or the fancy very expensive bitspower ones.


    [Blocked Image: http://imagizer.imageshack.us/a/img924/4348/Qff9a8.jpg]


    The whole assembly ended up looking rather sweet - a few hardware porn pictures, but I assure you, it looks even better in real.


    [Blocked Image: http://imagizer.imageshack.us/a/img923/4994/kVOMsf.jpg]


    [Blocked Image: http://imagizer.imageshack.us/a/img924/3442/AZpl03.jpg]


    [Blocked Image: http://imagizer.imageshack.us/a/img923/6223/dzQIhV.jpg]


    Closeup from above


    [Blocked Image: http://imagizer.imageshack.us/a/img922/9038/odvghW.jpg]


    Further away


    [Blocked Image: http://imagizer.imageshack.us/a/img923/1240/dpTsmF.jpg]


    Even further away, actually if you spot a Q tip then thats what I have assembled it with so far, not riveted the two halves together yet.
    Also, if anyone notice a difference at the far left cutout for cables, I was trying to mask off the round ends with Sugru mold able glue and it kind of worked, also used the same to fix a few very sharp edges on the cut out for the PSU extension on the back (not shown here)


    [Blocked Image: http://imagizer.imageshack.us/a/img924/4816/tme7al.jpg]


    And then it was time to do something about this


    [Blocked Image: http://imagizer.imageshack.us/a/img922/3528/1R1msV.jpg]


    and this


    [Blocked Image: http://imagizer.imageshack.us/a/img922/7598/tzRbq1.jpg]


    "I have a plan, we need: Rubber gloves, acid, syringes, googles, measuring cup, measuring jar, glass bottle, microfiber cloths - one yellow, one blue, a BLUE marker, funnel and stop fittings, 2 pieces G1/4 black"
    (reference to a Danish trio of thieves in some rather old movies about heists that always include the most obscure combinations of things, Olsen Banden)


    [Blocked Image: http://imagizer.imageshack.us/a/img924/7145/h5BDpQ.jpg]


    Im blitzing my radiator with part 1 solution from Mayhems for 9-10 hours or so, before I go to work tomorrow (technically thats today as its past midnight)


    [Blocked Image: http://imagizer.imageshack.us/a/img923/1705/vwNUnw.jpg]


    also running a proof test with the remainder of solution I mixed (65ml solution 1 to 185ml of distilled water), no clue how it will work on old coins, but my guess is i can see a difference in the morning before I open the rad.


    [Blocked Image: http://imagizer.imageshack.us/a/img923/5033/TXhv9i.jpg]


    I expect the last package to arrive tomorrow, also soon starting a 2 day build for a friend (so for 2 days I can not work on my own stuff but will make a separate thread for that machine) and can also at any time I find free time now fix my wifes laptop (the sooner the better, she is soo nice to me).


    Hope to catch you later.... /out

  • It's morning, about 9 hours later since I started blitzing the rad and I have some little time to update you guys before I rush to work.


    The coin control test have done something over night


    [Blocked Image: http://imagizer.imageshack.us/a/img922/5138/xoIOw1.jpg]


    They turned more shinny, but not the grey coin, it started dissolving - proof that it at least works (not sure what metals the coins are but it at least did something)


    [Blocked Image: http://imagizer.imageshack.us/a/img923/465/ZXyEQv.jpg]


    Its freaking difficult to show in the rad, but I can see that the bottom of it is way smoother than before, also some of the threading looks nicer


    [Blocked Image: http://imagizer.imageshack.us/a/img922/3993/eZK1dS.jpg]


    [Blocked Image: http://imagizer.imageshack.us/a/img922/7810/1lbVTg.jpg]


    Tested the Ph of the rad, and at the bottom its about 6, little higher on my gloves were the top of the paper touched


    [Blocked Image: http://imagizer.imageshack.us/a/img924/7008/JEacDt.jpg]


    Better get to my actually day job to afford more of such things.
    Catch you later!

  • Afhængig af hvor gammel din 1-krone er, så er den lavet af kobbernikkel eller aluminiumsbronze (evt. guldfarvet)
    Din 25-ører fra 1967 med Frederik IX' monogram er lavet af kobbernikkel.


    Hvad de to andre er lavet af, det ved jeg ikke, men vil tro at den med 40 STD er lavet af aluminiumsbronze (guldfarvet) og pfenning er lavet i stål og derefter dyppet i kobber. Det vil jeg i hvert fald gå ud fra med henblik på min research. :)


    Det havde jeg ikke forventet et svar på, nice work!
    Så blev vi alle sammen så meget klogere :)

  • Det havde jeg ikke forventet et svar på, nice work!
    Så blev vi alle sammen så meget klogere :)

    Det var fordi du skrev om du ikke vidste hvad metaller mønterne var lavet af. Jeg mente at de var lavet af zink, men det viste sig så at det var de ikke :) Så blev også selv klogere :p

  • Sorry for the few days of total silence, I have been building a friends computer and will make a separate post about that, it turned out pretty sweet!


    Lets get going with my own project.
    Have now finalized mounting the pump:


    [Blocked Image: http://imagizer.imageshack.us/a/img923/6766/Siz8Qi.jpg]


    Mounted the radiator, fans and fan frames


    [Blocked Image: http://imagizer.imageshack.us/a/img924/5176/DZRtAc.jpg]


    Mounted the res, and mounted both light and temp sensor in it, temp sensor is just about the right size to not interfere with flow
    The banged up res will not be seen, as that's below it and sits totally flush with the motherboard tray


    [Blocked Image: http://imagizer.imageshack.us/a/img924/3740/LbNPUf.jpg]


    Mounted some other parts, like the harddrives/ssd, PSU and a few cables that will be almost impossible to do later on (dont look forward till when I have to swap anything out)


    [Blocked Image: http://imagizer.imageshack.us/a/img922/1364/lzVNY2.jpg]


    So right now the machine looks like this.
    I know these pictures are not top quality grade, but its progress pictures, just wait for the finished product.


    [Blocked Image: http://imagizer.imageshack.us/a/img922/9519/dx1jeG.jpg]


    Stay tuned for more!

  • As I said, been working on a friends PC the past few days and it's now online so you can see what I been tinkering with on the sideline.


    So no update on this one today, as it really takes a while writing up a new thread and make the pictures the best I can do.


    Stay tuned for more Panda Power!

  • I make small progress all the time and try my best not to screw up too much, im so close now to be done so better go easy.


    Did some little more cable routing, and put grommets on the holes I have made, to avoid either cutting fingers and cutting cables, the aluminum is rather sharp when drilled trough


    [Blocked Image: http://imagizer.imageshack.us/a/img924/315/kL9qJP.jpg]


    I have riveted the last bits and pieces in and put feet under again, plus I made a extra support foot in the middle of the case, else its sagging down due to weight of pump and hdds
    Actually the bottom is one of the best places to see that things have changed, almost none of the cutouts match their original purpose anymore


    [Blocked Image: http://imagizer.imageshack.us/a/img923/8059/xfc8ZS.jpg]


    Speaking of cables and modding, I am currently waiting for my black/white front panel connectors to be done drying (i have glued them to the original special connector cable)
    Even a small thing like that is getting a small mod...


    [Blocked Image: http://imagizer.imageshack.us/a/img924/6166/oBrXmX.jpg]


    So for now the build is looking like this, can very soon mount the motherboard!


    [Blocked Image: http://imagizer.imageshack.us/a/img922/6577/puQp66.jpg]


    oh yes I also test fitted a tube and have installed my flow meter. Found out I need some little ekstra adapter fittings to make all happen as intended, so yet again I'm waiting for a package.


    Catch you soon when I have more things to show

  • I had not intended to work on this friday, but instead of going to bed I decided to work.
    And when I finished the time was 3am... So just woke up now (saturday at 10).


    Test fitted many of the wires and components, its way more difficult than it looks.


    [Blocked Image: http://imagizer.imageshack.us/a/img923/225/sthPpy.jpg]


    The front looks the same


    [Blocked Image: http://imagizer.imageshack.us/a/img923/8463/ZhSu50.jpg]


    But from the side a few things are changed


    [Blocked Image: http://imagizer.imageshack.us/a/img924/1556/S1say1.jpg]


    There is less space in the case than I remembered, so will have to limit the amount of fans I originally wanted to use.
    Im little excited to see how my graphics card will turn out with a total makeover. But thats a project for a different day.


    Here you also see my m.2 cooler, with this and a fan directly behind it, then I can't imagine it would ever throttle.


    [Blocked Image: http://imagizer.imageshack.us/a/img923/9297/o1KYnz.jpg]


    In case you did not know, my case is extremely compact for this amount of tech.
    This shot kind of show what I mean, a picture say more than a 1.000 words.


    [Blocked Image: http://imagizer.imageshack.us/a/img923/7979/KU9yU0.jpg]


    I know the pictures are pretty bad and little confusing, but then imagine working on this after a 9 hour long work day, working at midnight and almost sleeping, only willpower pushing it trough.
    It's getting closer by the day.


    Stay tuned for more, hopefully I will have time to do some work today.